
Introduction
Welcome to our Molgras and Murdock Solo dungeon guide. In this guide we’ll walk you through one of the first Solo Dungeons in Throne and Liberty. Solo dungeons, also known as “Halls of Illusion”, provide players with a unique set of bosses and challenges to complete alone. Solo dungeons rotate weekly, each providing rewards up to 3 times a week. As a result, it’s important to learn and complete these dungeons.
Floor 1 – Rift Platform
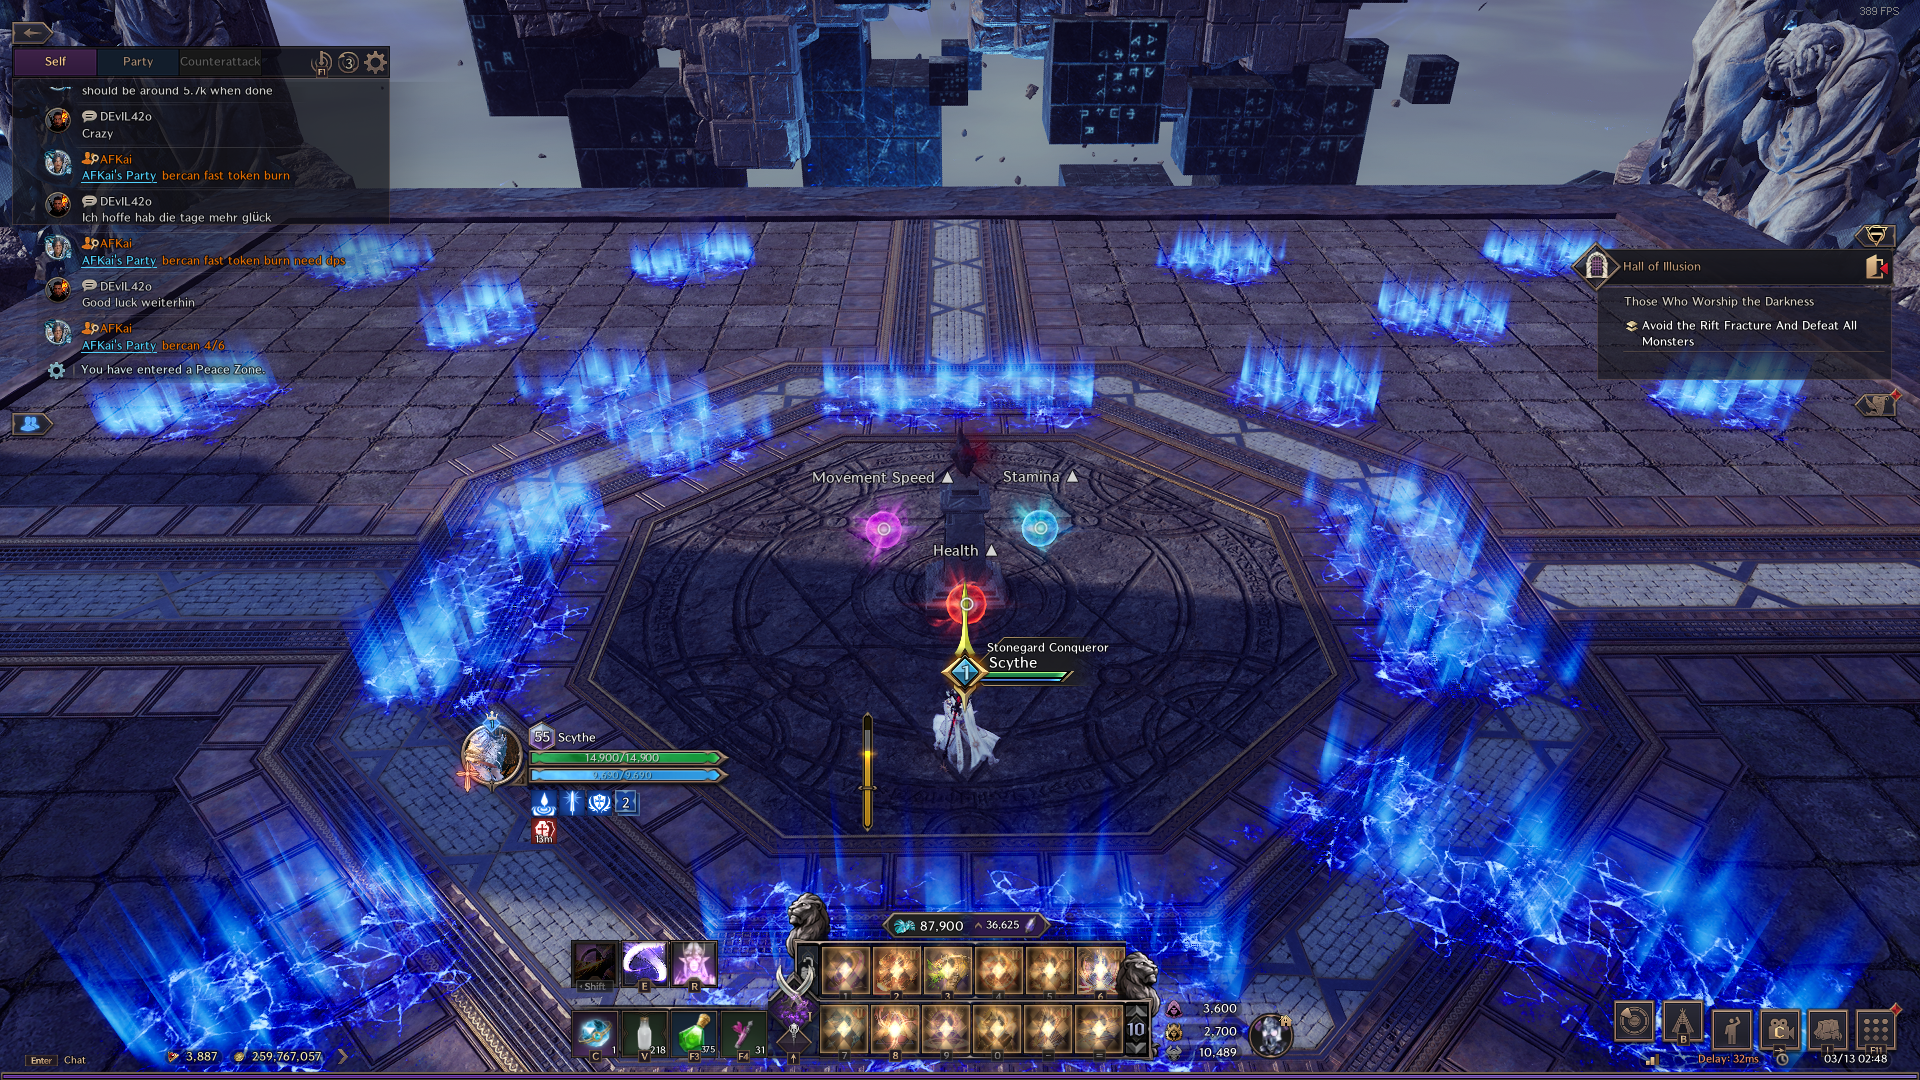
The first challenge floor consists of blue rifts that stun you and deal damage if you walk into them. Each floor and boss gives you three power-up options. For example, Movement Speed, Increased Max Health and Increased Stamina. For this floor, we recommend taking increased Stamina.
A large amount of mobs spawn in once you select a power-up. The goal of this floor is to defeat all monsters while also avoiding the rift fractures. Kills on monsters sends a gold orb to the central statue. This then activates a wrath attack you’ll have to dodge roll to avoid damage from. Once all the mobs are defeated, the floor is complete and you can teleport to the next floor.
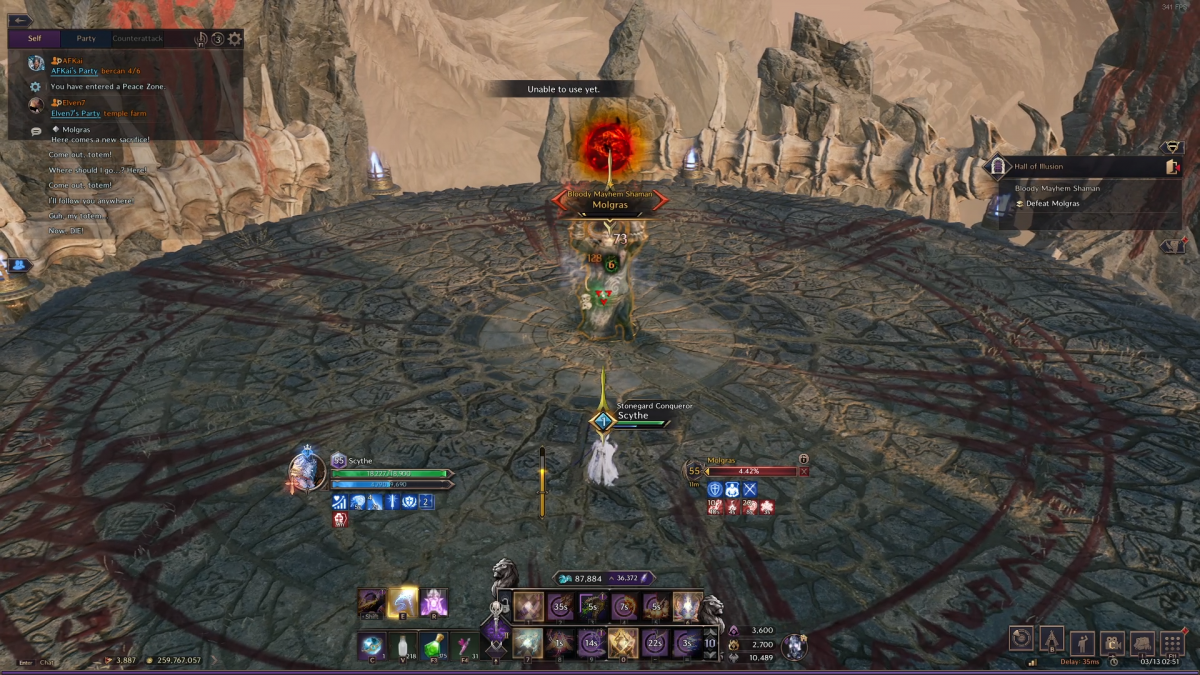
Floor 2 – Molgras
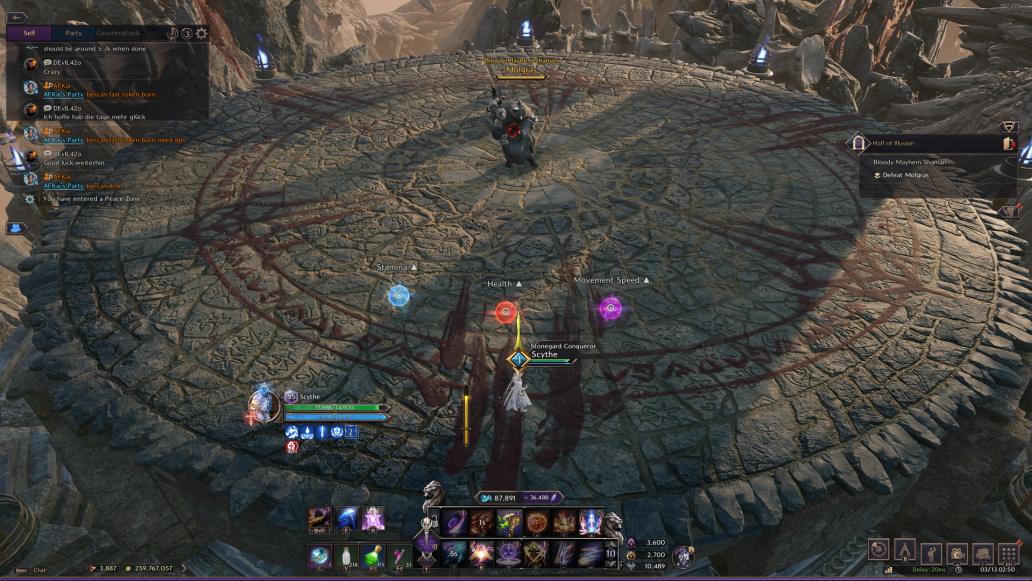
Molgras is the first of two bosses in this solo dungeon. For this boss fight, we recommend taking the increased Max Health buff as it will help to soak up some damage in the fight.
The fight with Molgras is simple, but easy to miss the main mechanics of. The boss attacks you with basic attacks while spawning totems periodically throughout the fight. The key to this fight is to understand that the totems spawn on your current location. As a result, you can bait the totems to spawn on certain locations (which is important for later).
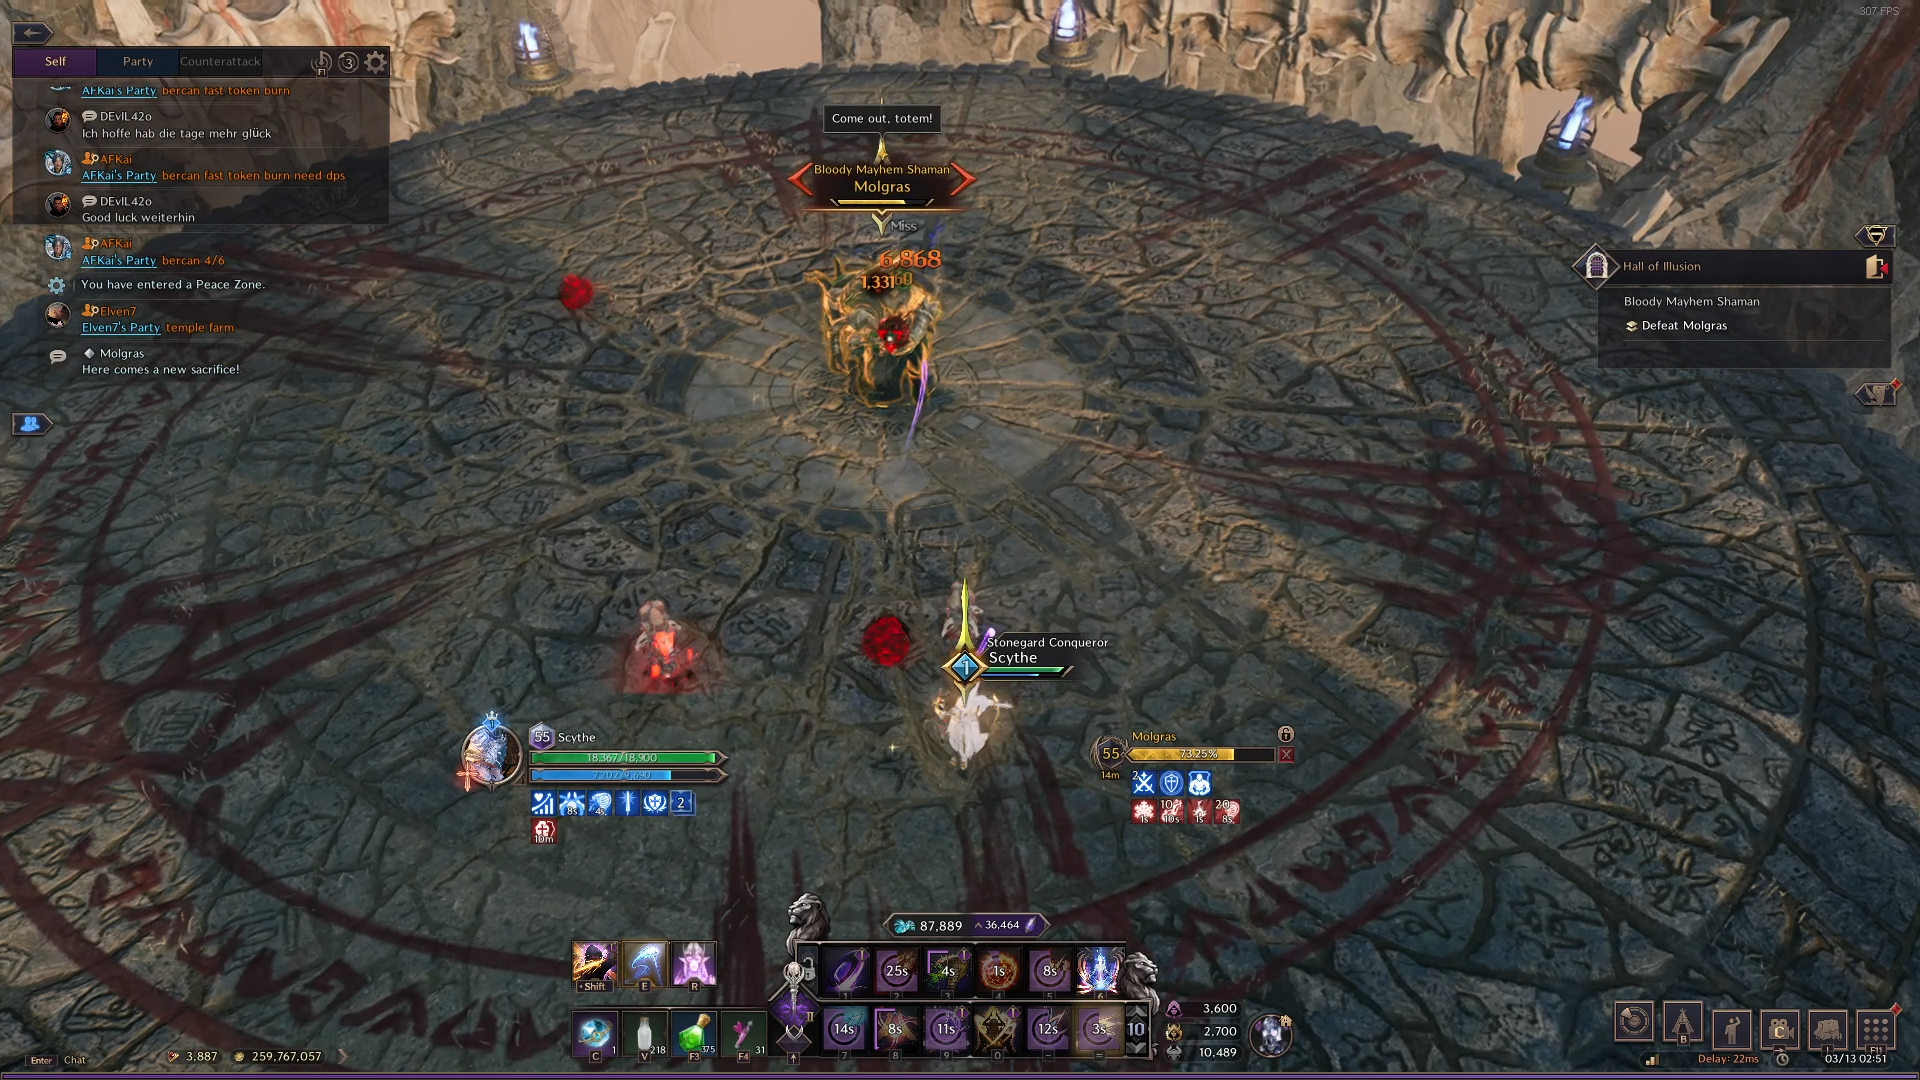
Each totem fires small and large blood balls that deal damage to you if they pass over you. As a result, try to avoid them while baiting totems together. Molgras occasionally channels an arena-wide AoE that you can jump to avoid. However, it doesn’t deal too much damage either way.
It is important to bait and line up the totems as near to each other as possible. This is due to Molgras teleporting to you after 3-4 totems spawn and executing a Wrath Attack. The Wrath Attack itself fires a beam in a line that destroys the totems.
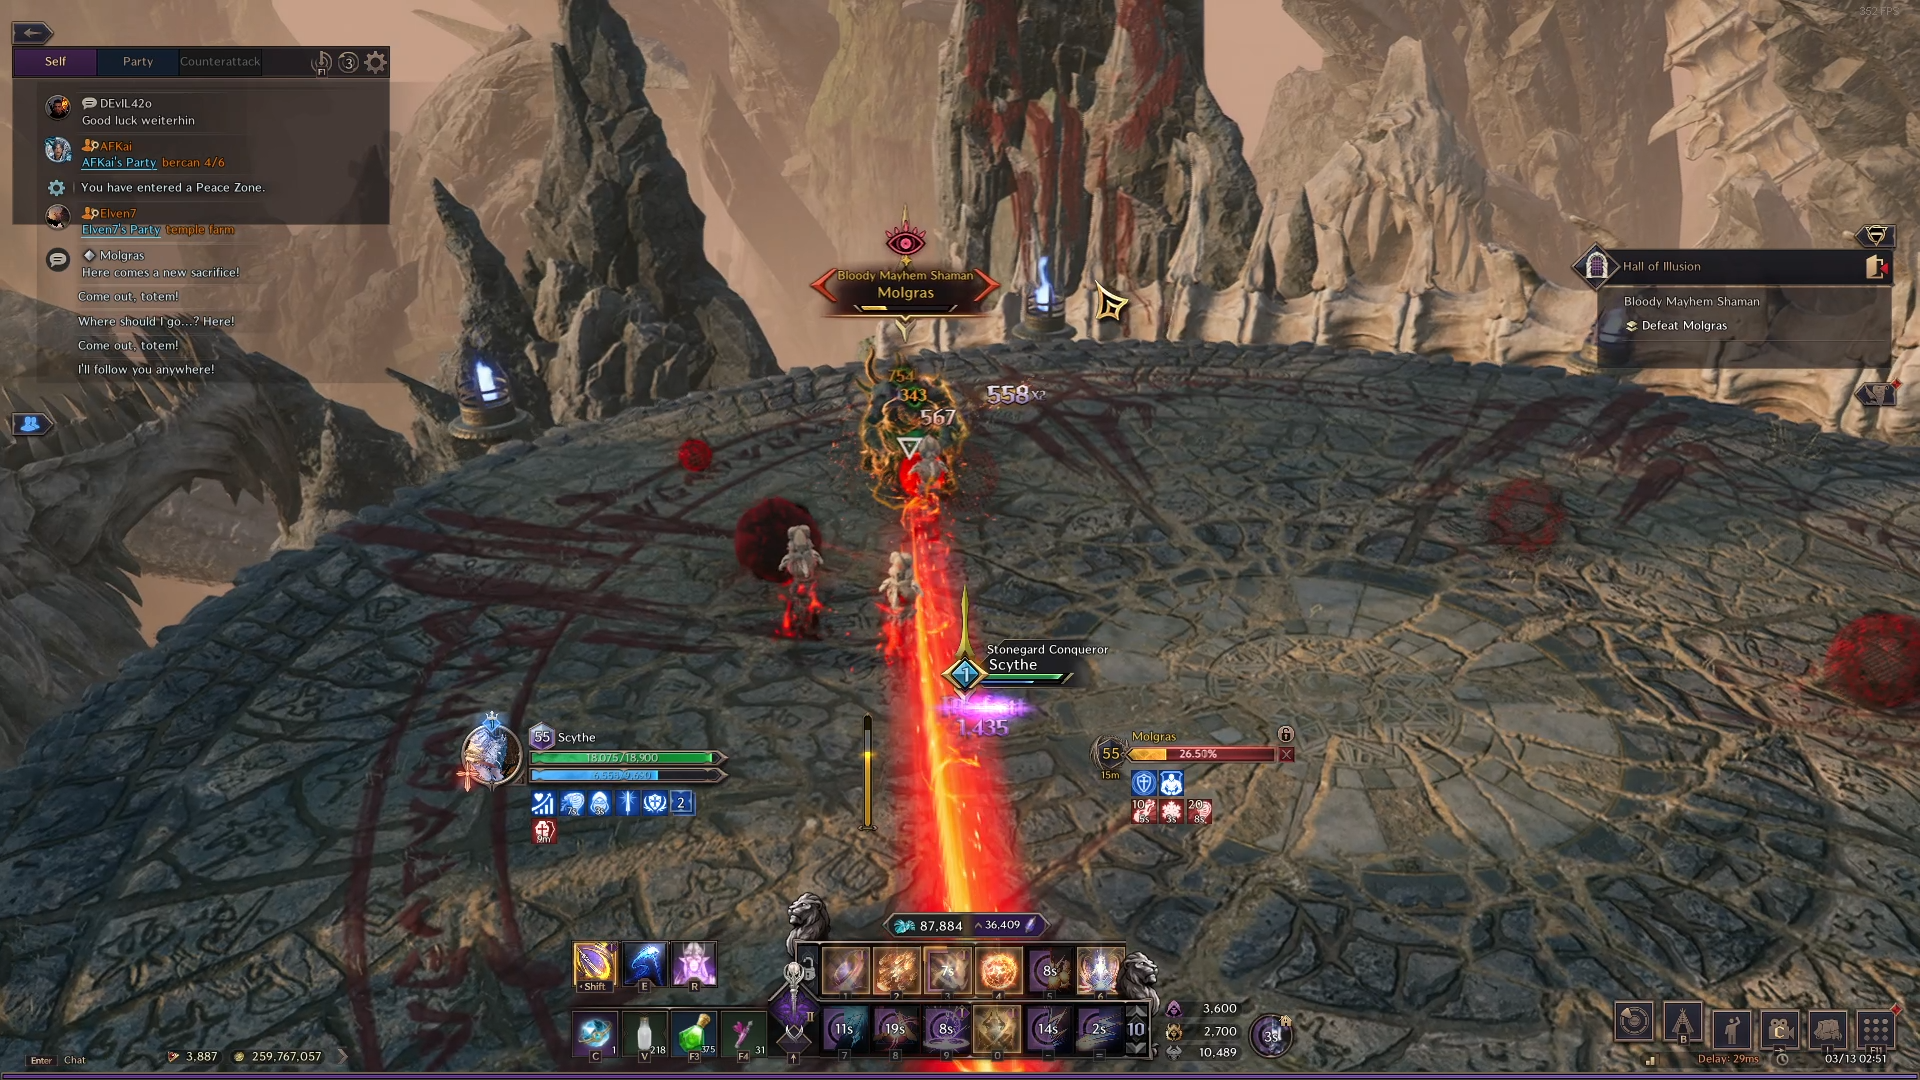
After this attack, Molgras teleports back to the center of the arena and begins channeling a large-scale attack. This attack scales in damage based on the amount of totems on the arena. As a result, it’s important to bait and destroy the totems to take minimal damage.
Once this boss is defeated, proceed to the next floor!
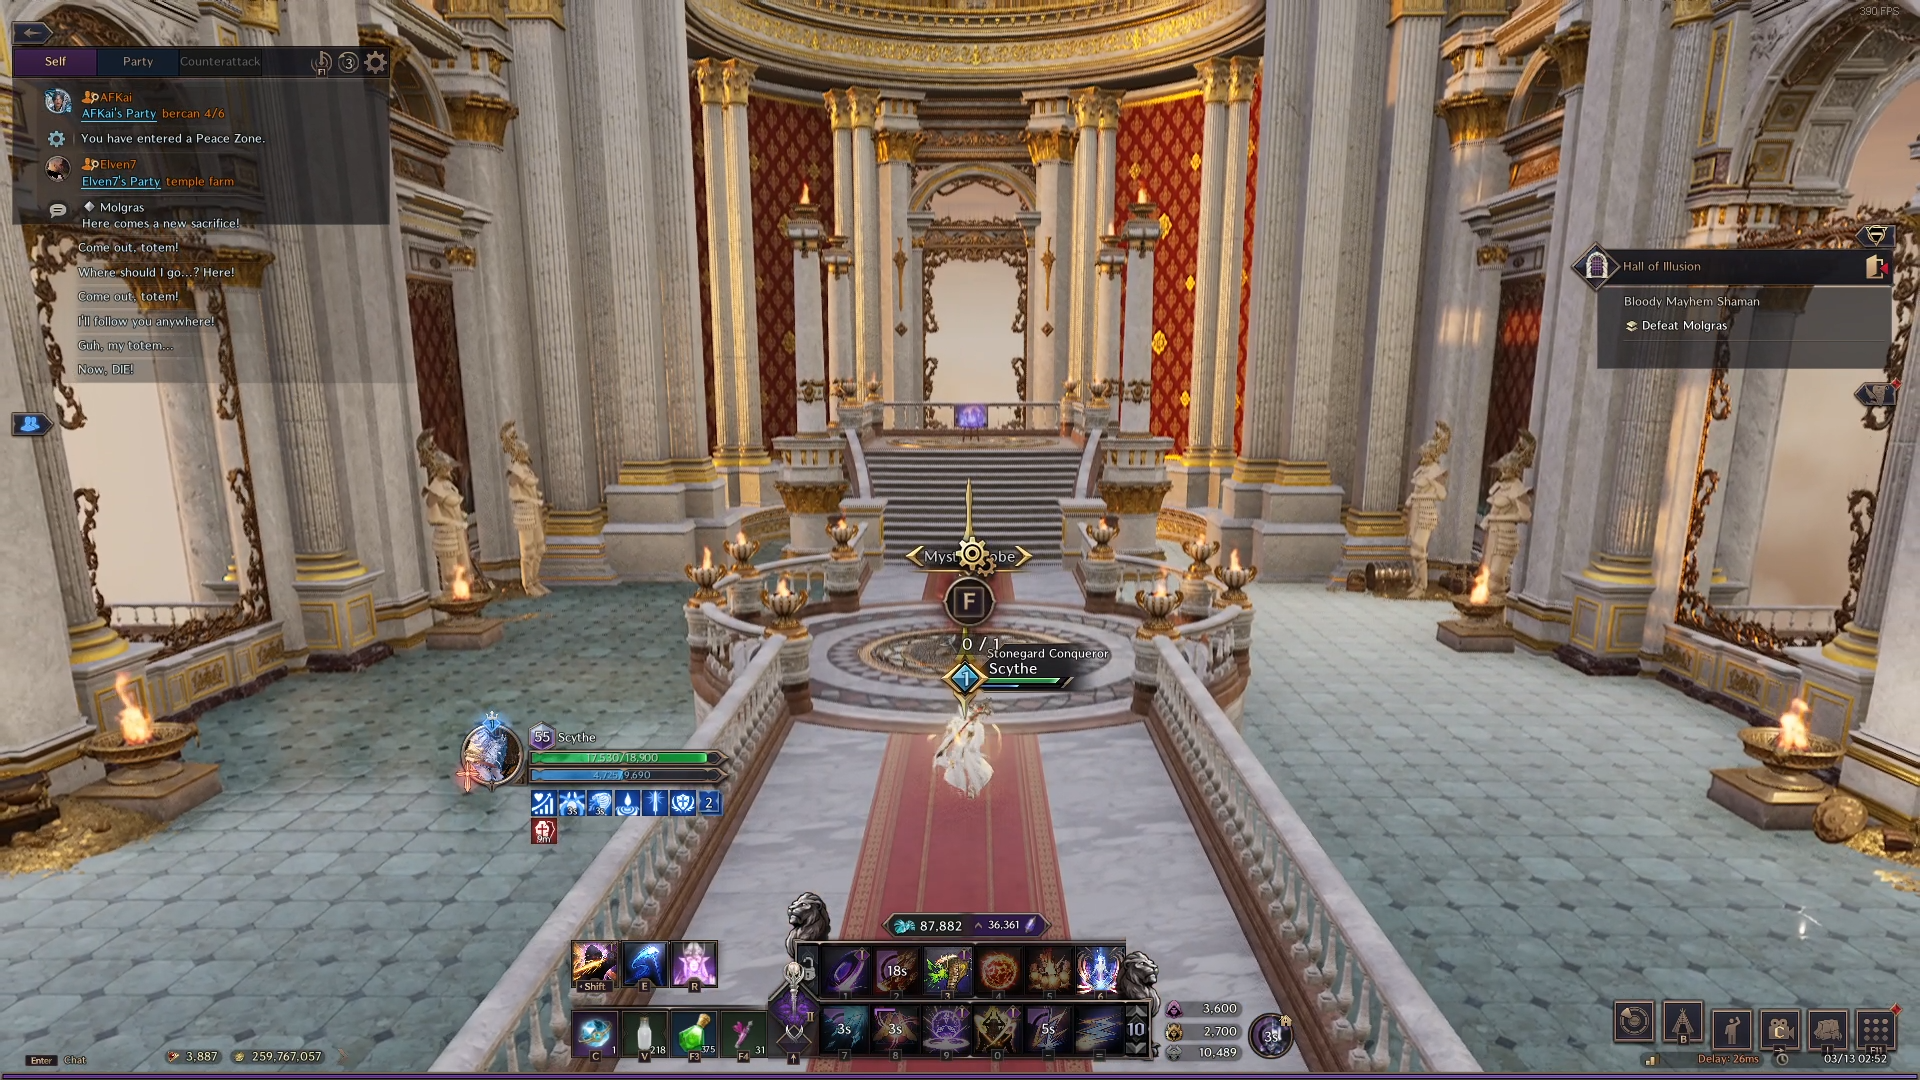
Secret Room
This room in particular seemingly isn’t guaranteed, however, should you get this portal appear after defeating Molgras, you can take it to find a room with a Mystic Portal inside. You still need a Mystic Key to open it though.
Floor 3 – Water Maze
Floor 3 is pretty straightforward but a bit on the long side in terms of duration when navigating. This floor tasks you with reaching the final boss portal through a series of strong-current water corridors. You’ll need to proceed with a bit of nimble caution to avoid spikes in the water.

The most important thing to look out for is above you – the grapple Pitons. Grappling up is a key theme throughout the water ride so navigate with that in mind and you should find yourself progressing pretty smoothly. Towards the later half of the water maze, you’ll find a couple of valve pumps to interact with.
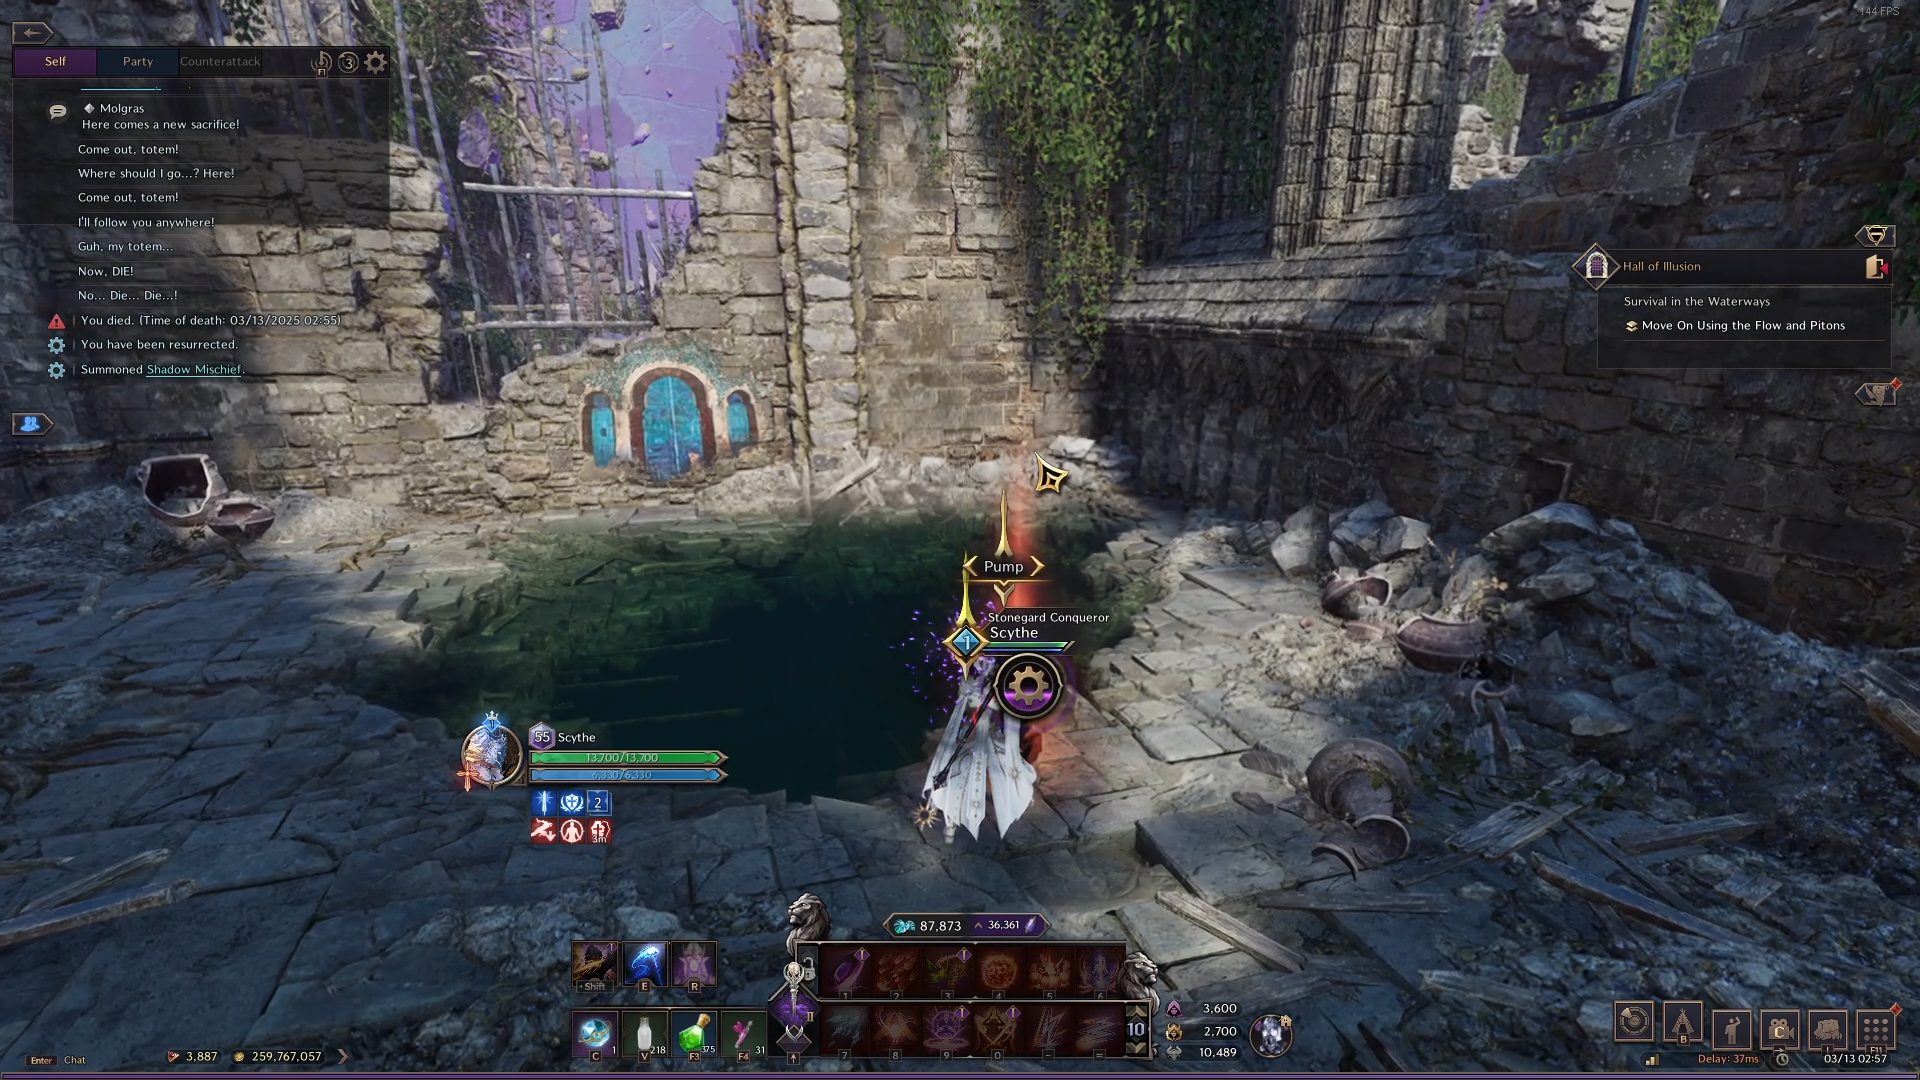
Move towards the lightning-covered sphere with the painting inside and approach the final floor and boss – Murdock.
Floor 4 – Murdock
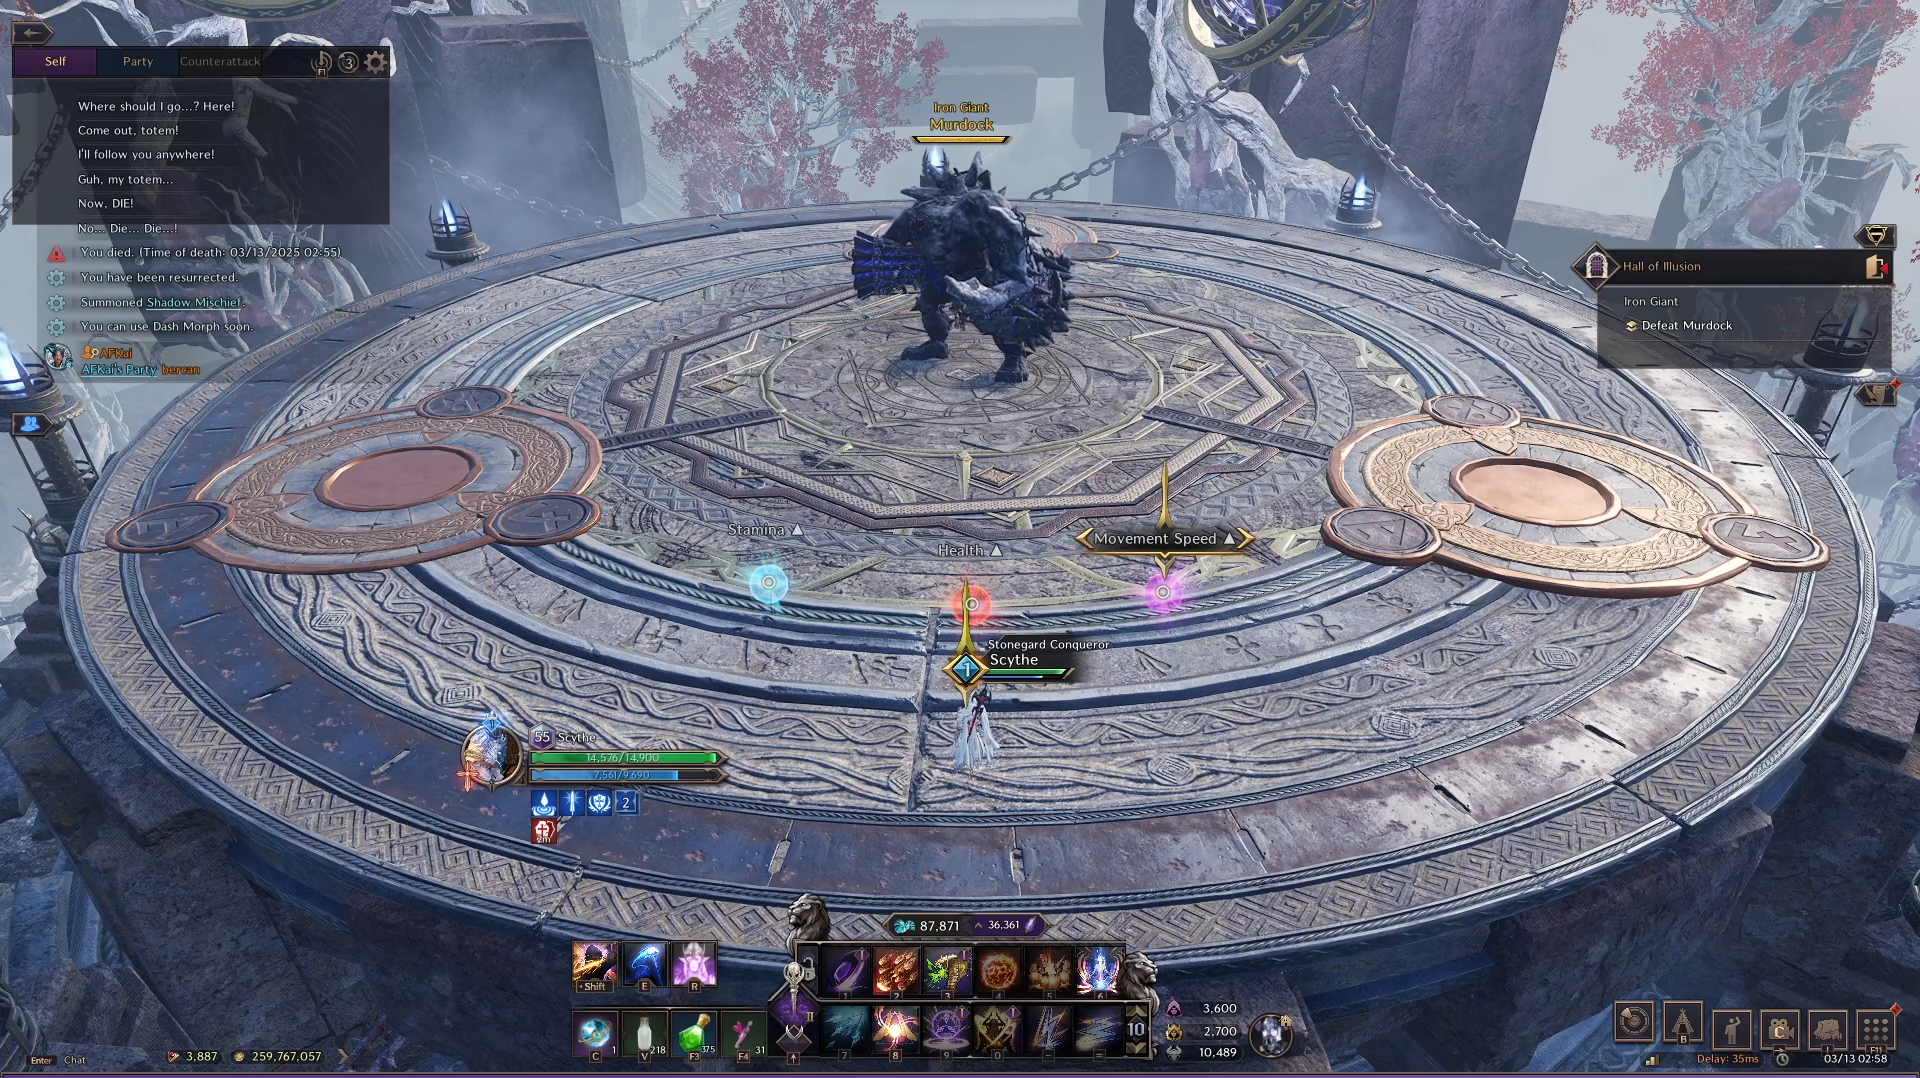
Murdock is a very simple boss to fight, especially if you’re ranged. As a result, we recommend taking Movement Speed increase for ranged players and increased Health OR Stamina for melee.
Almost every attack of Murdock’s is a melee-range attack. As a result, kiting the boss a ranged player is super simple. There is a couple of Fury Attacks that unleash cone-angled attacks that deal damage, however, it isn’t that hard hitting.
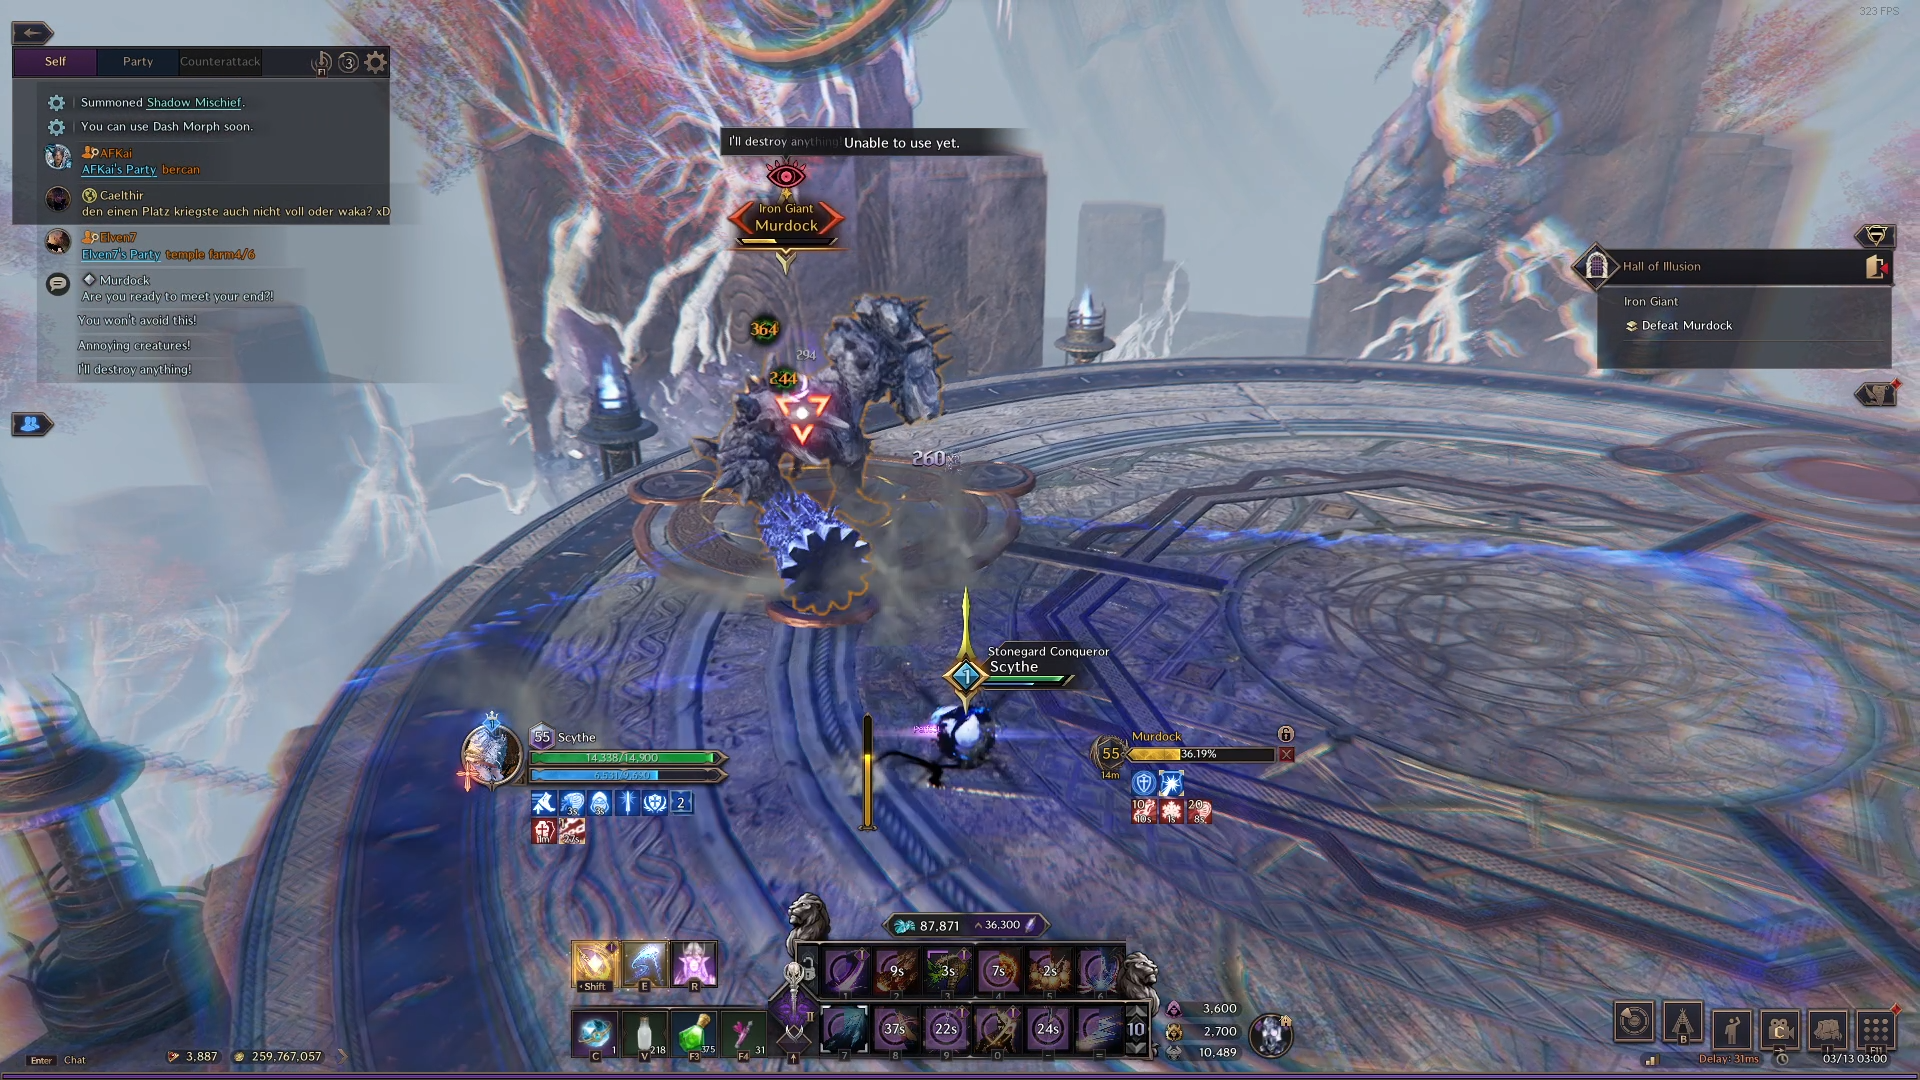
Occasionally, Murdock creates portals, between one portal and several portals and jumps high into the air. In this moment, you’ll have to jump AND prepare for the portals that’re around you. Each portal sends out a clone of Murdock in your current direction, all requiring a Wrath Attack dodge roll to avoid. An alternative to avoiding the attack is to utilize the Movement Speed buff and outrun them. At the end of this mechanic, Murdock rushes you himself also.

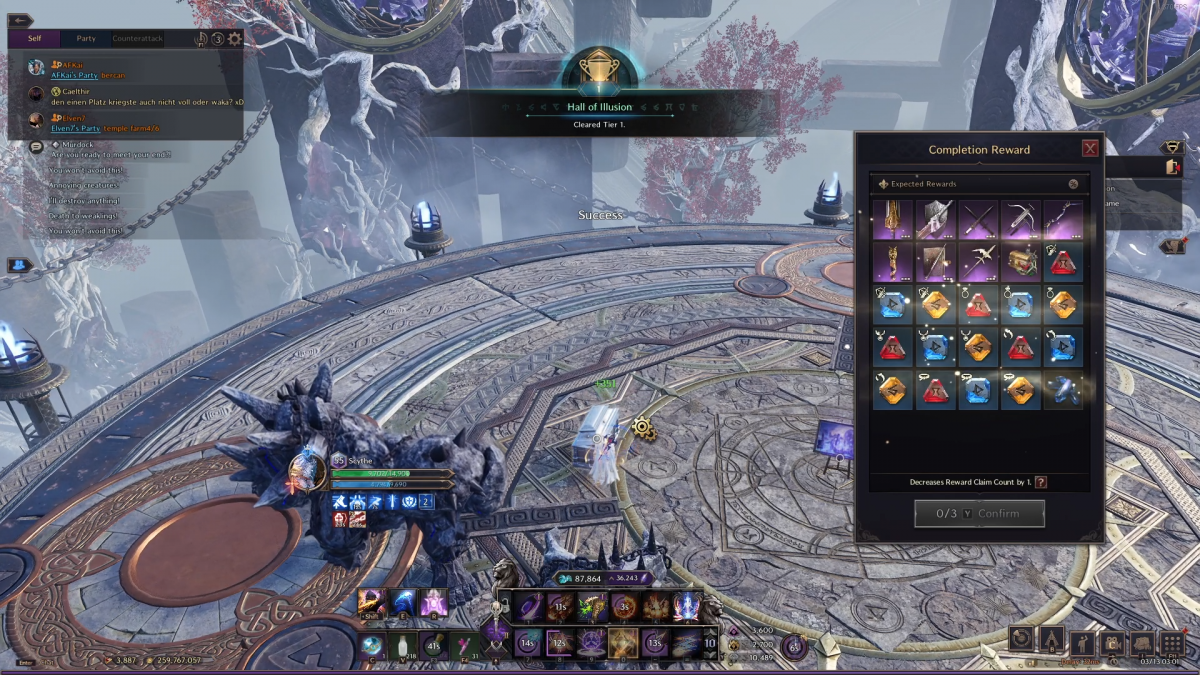
This is all you need to know to continue and defeat the boss, completing the solo dungeon! Claim your rewards as seen below (You can claim rewards up to 3 times a week).
Molgras and Murdock Solo Dungeon Conclusion
This concludes our guide for the Molgras and Murdock Solo dungeon in Throne and Liberty. For more information on Throne and Liberty and future solo dungeons, check out our main page.