Introduction
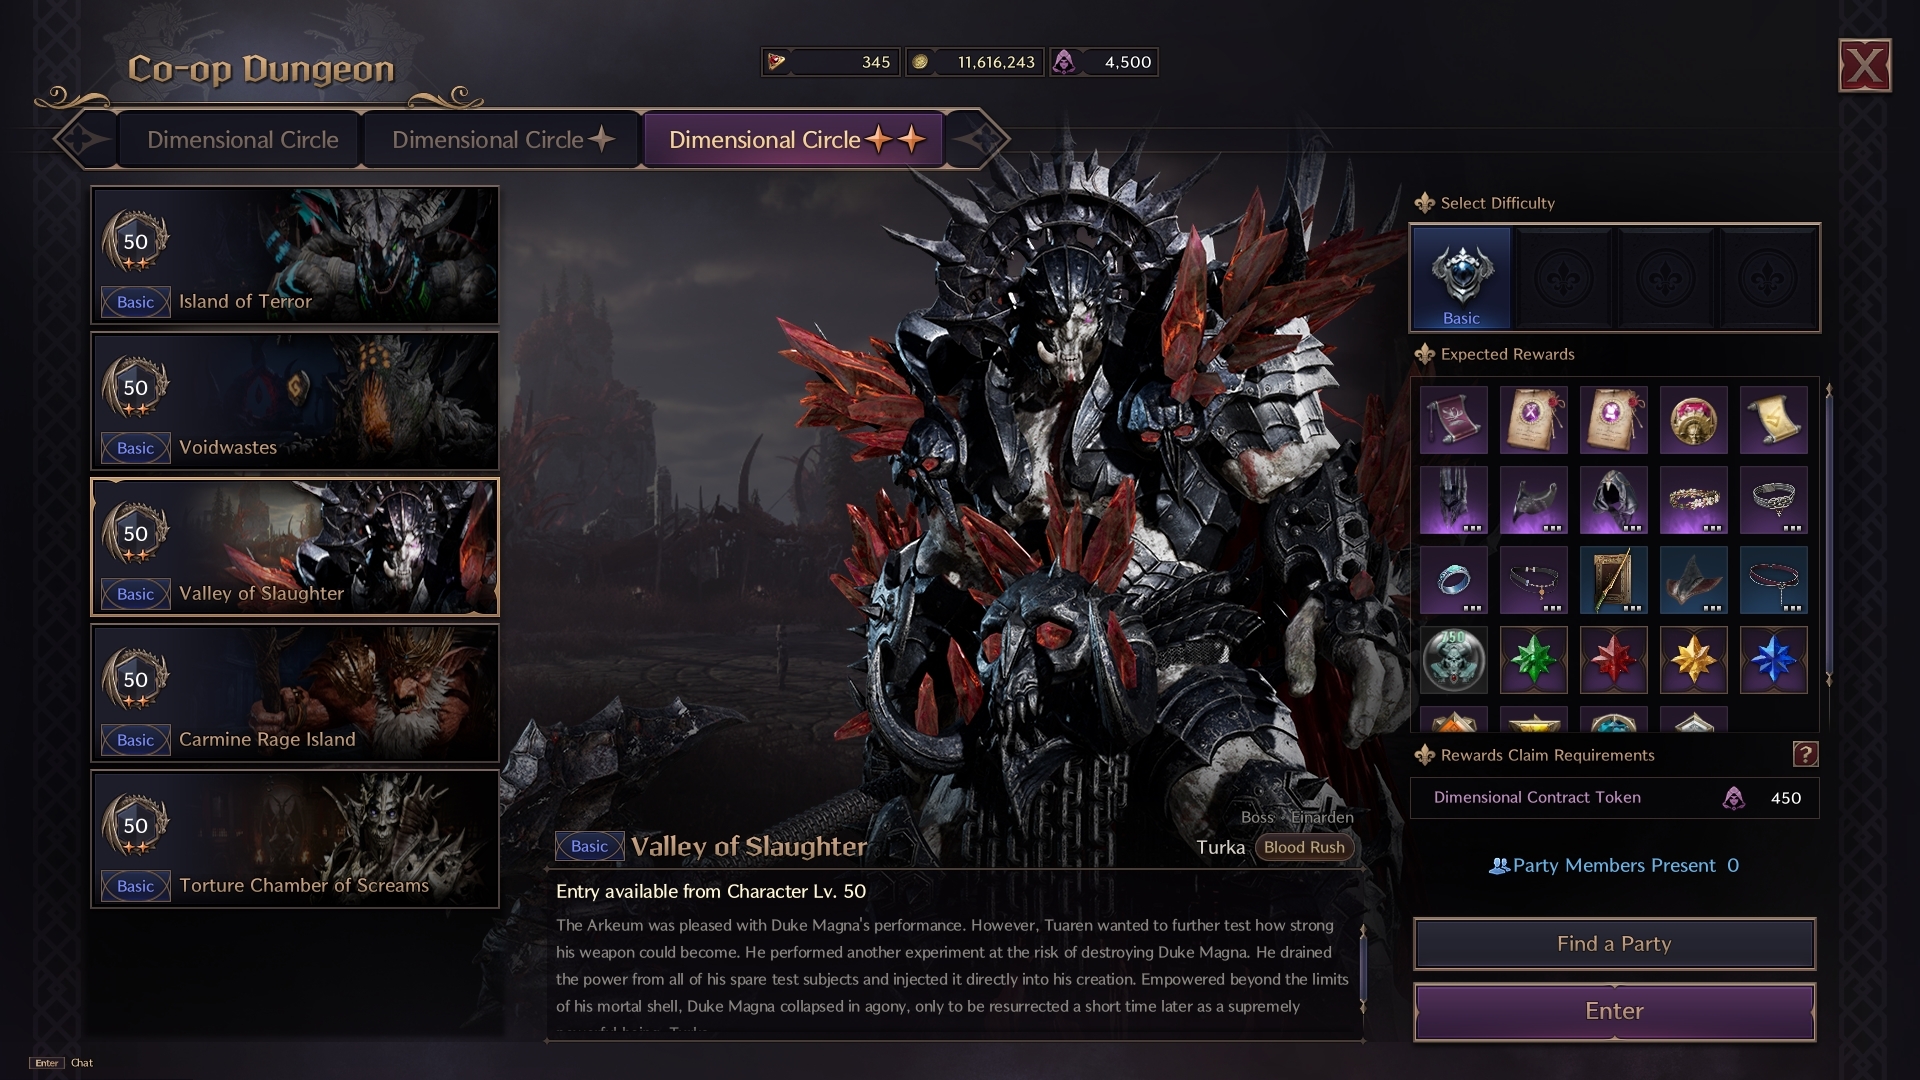
Welcome to our Valley of Slaughter guide. This guide walks you through the Tier 2 dungeon in Throne and Liberty. Valley of Slaughter shares many similarities with Butcher’s Canyon (Tier 1). However, the Tier 2 dungeon is far more difficult and requires decent gear (for example, +9 Epic Grade gear) to smoothly complete.
PLEASE NOTE: The guide below is the COMPLETE guide of the dungeon – all mechanics included. However, some of the mechanics are stripped away in the “base” version of the dungeon. These mechanics are added back in the “Challenge” mode at certain Tiers of difficulty. As a result, the base version of the dungeon is much easier than you might expect after seeing all the mechanics below.
First Section & Mini-Boss
Starting, the dungeon immediately begins with 3 mobs in front of an elevator. The Administrator mob holds the key to activating the elevator. As a result, kill them fast and head up on the elevator.
A quick way to clear this entire section before the first Mini-Boss is to utilize the first bridge you’ll cross over. Have your tank pull the mobs on the bridge and hold them there. Now, your party is able to head on towards the next pack of mobs. Once your party manages to clear out the mobs ahead, leading to the fog gate, the gate clears and the Resurrection Gate activates. As a result, your tank that is holding the first pack of mobs on the bridge can purposely die. Doing this helps the tank to respawn close to the rest of the party and reset the first pack of mobs. This strategy allows for a quick and easy way of dealing with everything by skipping a portion. Once you’re finished with the mobs, continue through to the first mini-boss.
Mini-Boss: Orc Shadow Elder
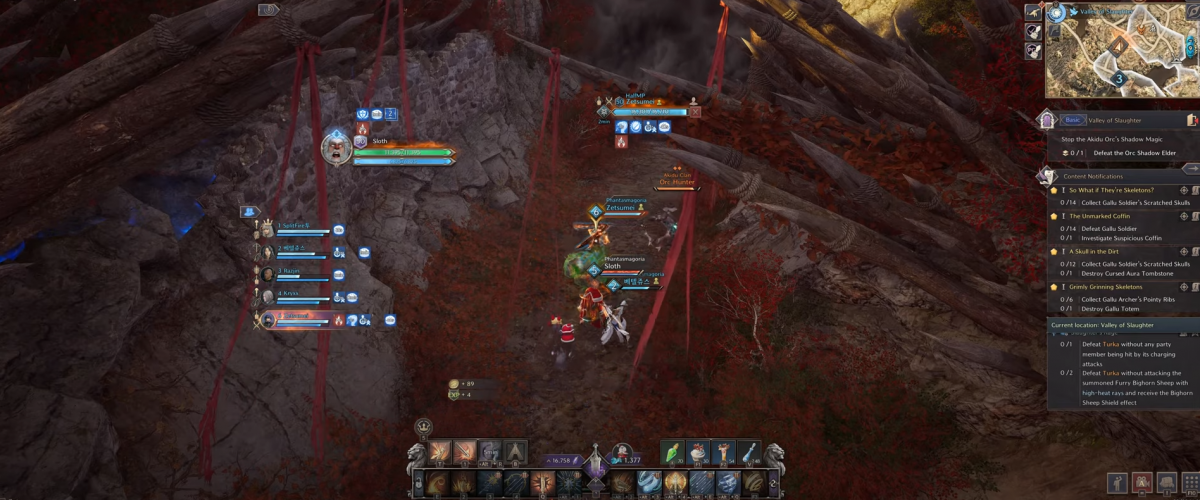
While the Orc Shadow Elder is essentially the same boss and arena as the Butcher’s Canyon mini-boss – it is a slight variation. After dealing around 30% of the Elder’s HP in damage, the boss calls for curse caster to spawn. The Orc Shadow Elder pushes away players and marks one party member with a red aura. The closest player to the red marked member becomes tethered with a purple beam. A red circle also appears around the marked player, indicating the maximum range of the tether.
If the tether breaks, both players get stunned for a short duration. Across the arena, the curse caster summons an explosive sheep with a huge health pool. If the sheep remains in the fight for a certain period of time, it’ll explode, causing a meteor that wipes the party. As a result, have a ranged player pull the explosive sheep towards the tethered players – the tether beam actually deals incredible amounts of damage to sheep in this dungeon.

Towards the boss having 30% HP, the Elder calls for a Shadowmancer to assist the battle. With your tether partner, move towards the Shadowmancer and kill it as soon as possible to avoid any issues. Finally, finish the boss off and move onto the next section.
Section 2 and Mini-Boss 2
Most of the next section is just running towards the next mini-boss. Much like the first section of the dungeon, your tank can hold aggro of all the mobs leading up to the next mini-boss. Up ahead, you’ll see a structure surrounded by three mobs with blue tethers attached to them – this is the next mini-boss.
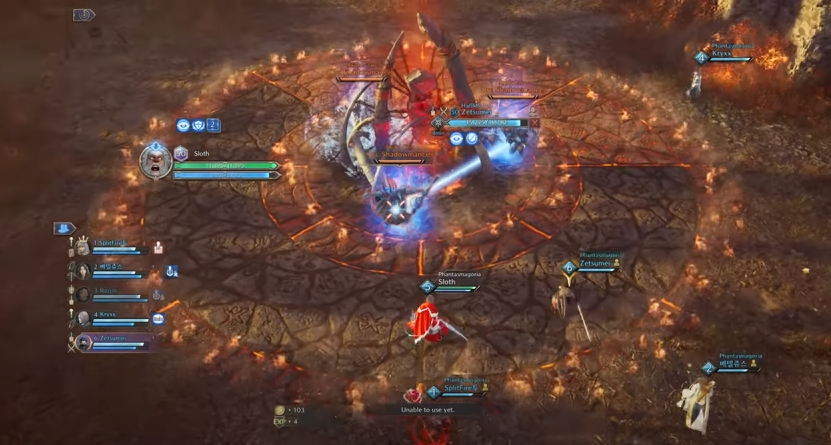
This mini-boss works exactly the same as the Butcher’s Canyon mini-boss. However, it is important to clear out the curse caster nearby first. Mainly to ensure you and your party remain safe while clearing the mini-boss. The Orc Shadowmancer trio are invincible while tethered by the blue light. As a result, this gimmicky mini-boss requires the party to time hard crowd controls. If the CC lands on each of the Shadowmancers at the same time, it breaks the tethers so you can kill them. That is pretty much it for this particular mini-boss!
Final Boss: Turka
Turka is a quite mechanic-intensive fight. As a result, be prepared to assign positions and roles to help your party understand where they should be. The fight starts with Turka launching a cone-shaped flame slam in the direction of the tank. Avoiding this attack by being on the opposite side to the tank is usually the best course of action. After the cone attack, Turka calls out and hits with a standard block-able attack. Turka then dishes out massive AoE damage to all players. The AoE is unavoidable and deals around 9000 damage to each player. Due to the huge damage output, it is worth having the party being stacked close enough together to receive group healing.
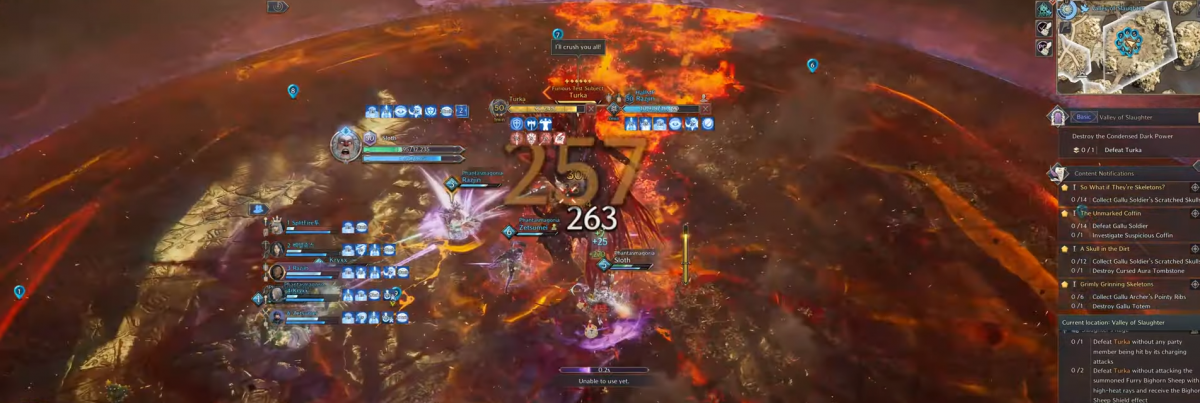
One more cone attack is cast by Turka before moving into the next phase – the Sheep Phase.
Sheep Phase
Turka begins this phase by knocking players back, marking two players. This mechanic is initially introduced in the Elder mini-boss fight and acts the same as a result. To make the tethering easier, assign a designated player to stand right next to both of the marked players. This is due to the closest player always receiving the tether. Shortly after some standard attacks and some meteors to dodge, Turka pulls all players in and spawns 6 sheep. The aim of this mechanic is to pull every sheep to the tethered players as quickly as possible. Additionally, the tether deals incredible amounts of damage to sheep, meaning the tethered players can kill them all quickly.
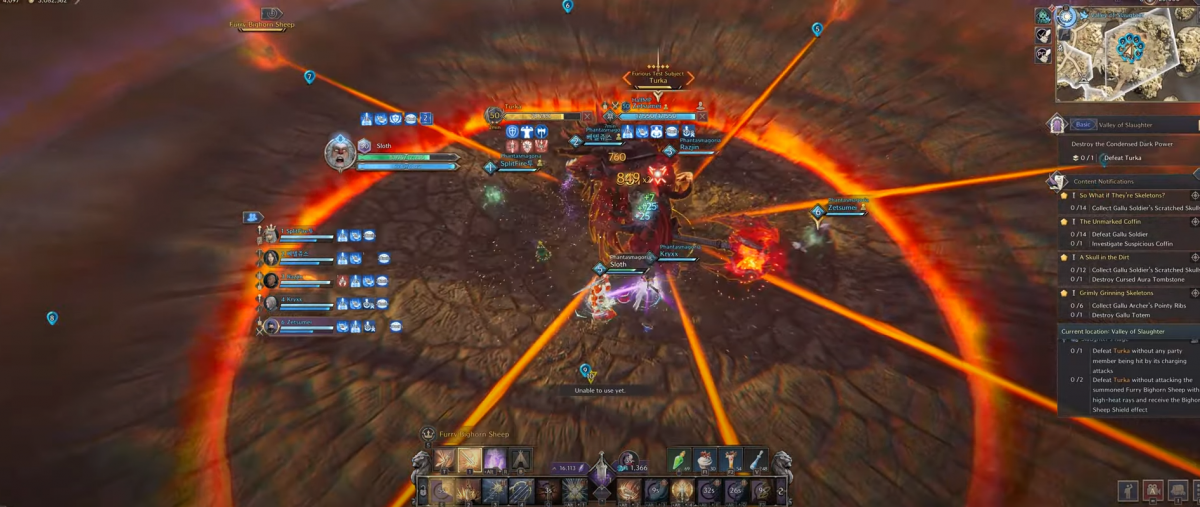
When the sheep meet their end, an interactive object spawns in their place. However, do not attempt to interact with the object right away. As a result of some meteors coming down right after the object spawns, losing the interactive object to the meteors causes a party wipe. To counteract this, quickly step away from the object as a party and then move back and immediately interact with the object. You’ll have an incredibly tight window between gaining an immunity shield from the object and Turka initiating a party wipe AoE.
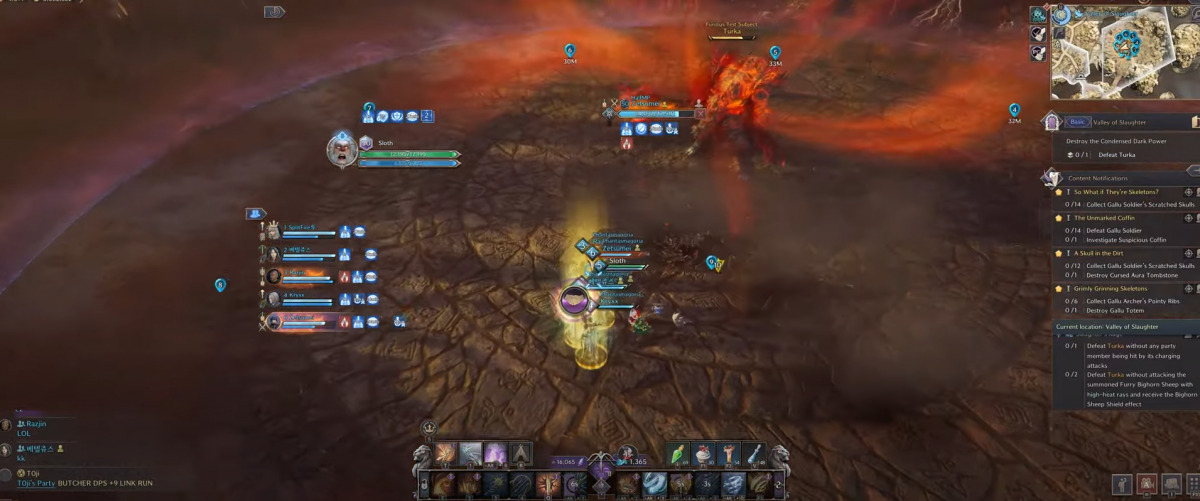
When the AoE wipe attack is finished, the party has a few moments to fully DPS the boss. The DPS phase only lasts for a few seconds. The boss fight soft resets back to the original order of mechanics. However, the boss adds more mechanics to the fight based on how low their HP gets.
Explosive Sheep
The second time the tether is created between players, Turka summons a single explosive black sheep to kill with the beam. If the black sheep isn’t killed in time, a massive team wiping meteor drops down in its place. As a result, deal with the explosive sheep as fast as possible.
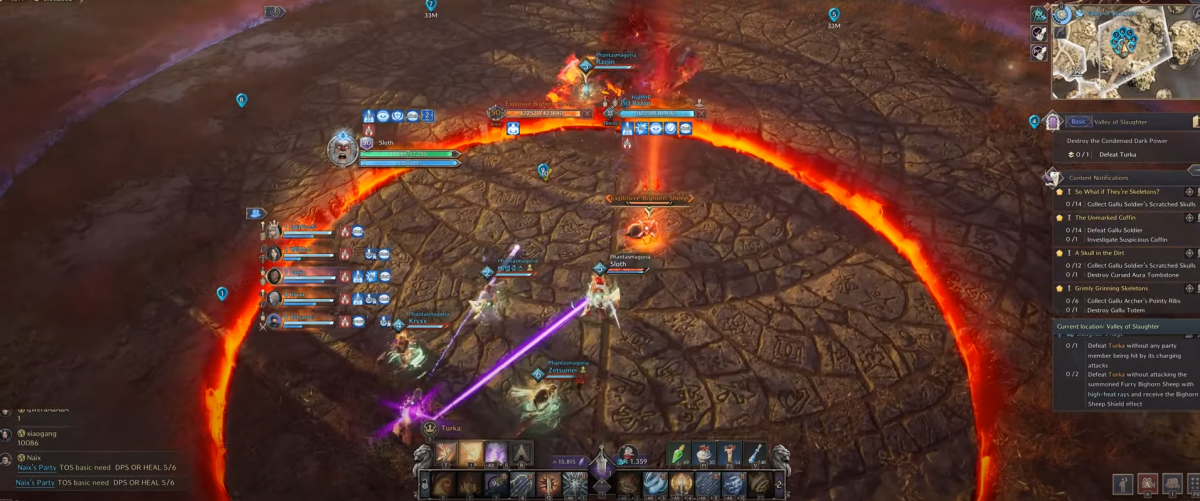
Sheep Phase 2
The next sheep phase when Turka is around 30% HP summons 8 sheeps instead of the original 6. However, the way you deal with the mechanic is the same – bait the sheep towards the tether beam once more.
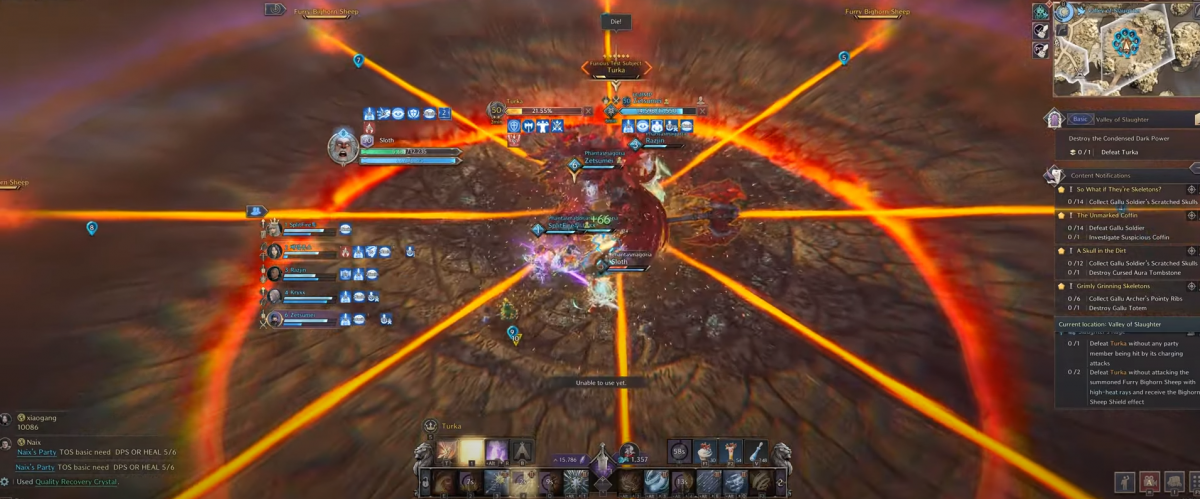
Finally, Turka has a dangerous long lined dash that is only block-able with a movement dodge (directional key + block). Try to keep this attack in mind as the rest of the mechanics unfold around it. Additionally, you can even bait Turka to dash through the sheeps, dealing damage to them.
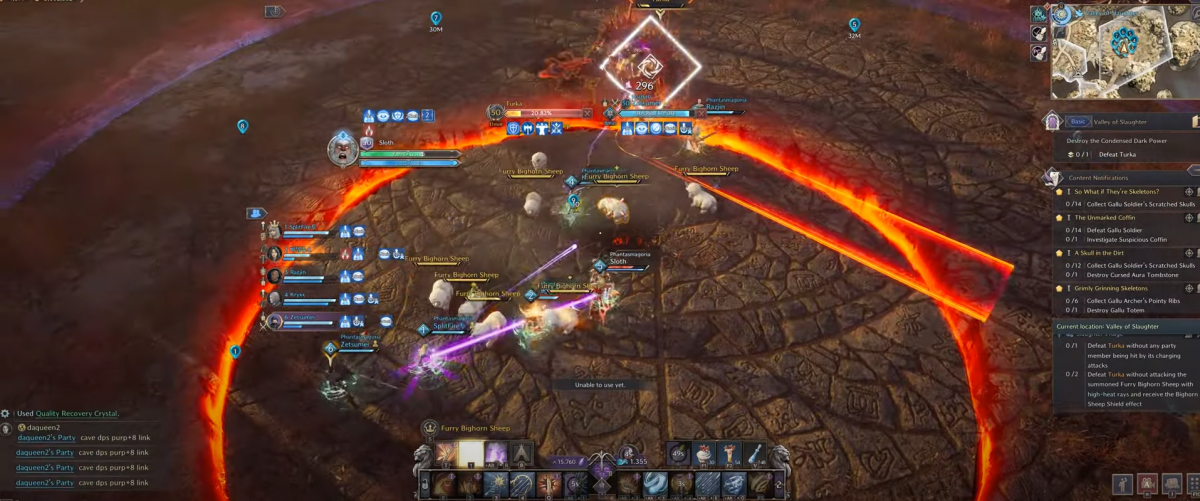
With all the above mechanics out of the way, the boss can be DPS’d down and finished.
Tier 2 Dungeon Rewards
Tier 2 Dungeons provide the next step of progression rewards for players. As a result, each chest looted costs 450 Dimension Tokens compared to the 300 a Tier 1 dungeon chest costs. The power of Tier 2 materials, weapons and armor, however, is a step up from Tier 1.
Challenge Difficulty
Challenge mode is a Mythic+ styled system in Throne and Liberty. Each week, two dungeons are selected to become Challenge mode dungeons. Tied into these two dungeons is a set of “affixes” that change some of the rules in the dungeon. For example, an affix can make it so totems spawn and stun players periodically.
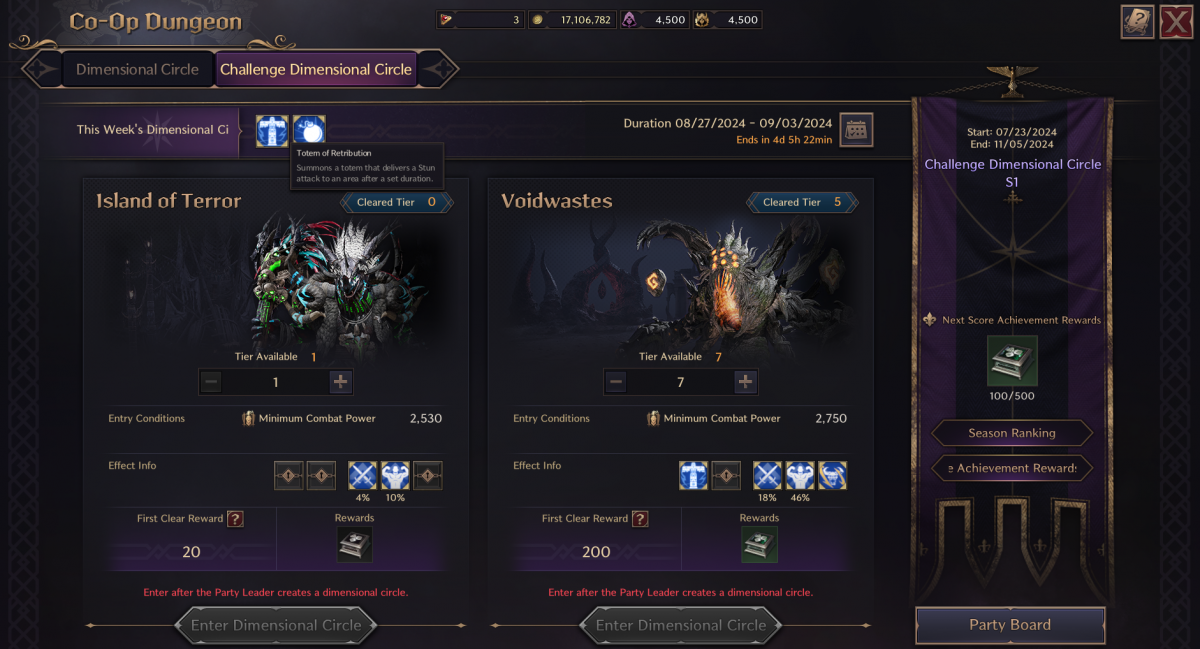
As soon above, depending on the difficulty tier you select, additional mechanics for the dungeon are added (seen in the “Effect Info” section). The Tier breakpoints for each new mechanic is Tier 5, 9 and 13. Below is the list of mechanics that are added to Valley of Slaughter:
- Additional sheep compared to the single sheep you have to kill in the “base” difficulty. (6 sheep up until 30%~ HP left, then it is 8 sheep).
- Two players receive the beam tether to kill the sheep with.
- The Black Sheep mechanic + second tether mechanic.
The Valley of Slaughter Guide Conclusion
This sections concludes the Valley of Slaughter guide for the Tier 2 dungeon in Throne and Liberty. For more Throne and Liberty guides similar to our Valley of Slaughter guide, check out our official Home page!

