
Introduction
In our Carmine Rage Island guide, we’ll explain and take you through a step-by-step of how to progress and beat the final boss to clear this particular Tier 2 dungeon. Tier 2 dungeons in Throne and Liberty provide incredible rewards to aid the next level of progression. However, the typical Tier 2 dungeon is far more difficult and requires high-end gear (+9 Epic Grade) to complete.
Trash Clearing, Mini-bosses and Pre-Final Boss Objectives
Just like in every other Dungeon in Throne and Liberty, there is a number of objectives, basic mobs and a couple of mini-bosses to kill if you want to reach the main boss. This applies to both Tier 1 and Tier 2 dungeons also. However, in this guide, we’ll be focusing on how to defeat the final boss – the hardest part by far. As a result, make sure to check back for the complete breakdown of the Carmine Rage Island guide here in the near future. Finally, keep in mind these objectives while pushing through Carmine Island:
- Clear out any unavoidable trash mobs to ensure you don’t over-pull mobs.
- Check your current objective(s) on the right-hand side of the screen and complete them accordingly.
- Most mini-bosses have minimal if any mechanics, just be sure to stay healthy, dodge attacks and deal damage.
- Pick up any Resurrection Gate where possible.
PLEASE NOTE: The guide below is the COMPLETE guide of the dungeon – all mechanics included. However, some of the mechanics are stripped away in the “base” version of the dungeon. These mechanics are added back in the “Challenge” mode at certain Tiers of difficulty. As a result, the base version of the dungeon is much easier than you might expect after seeing all the mechanics below.
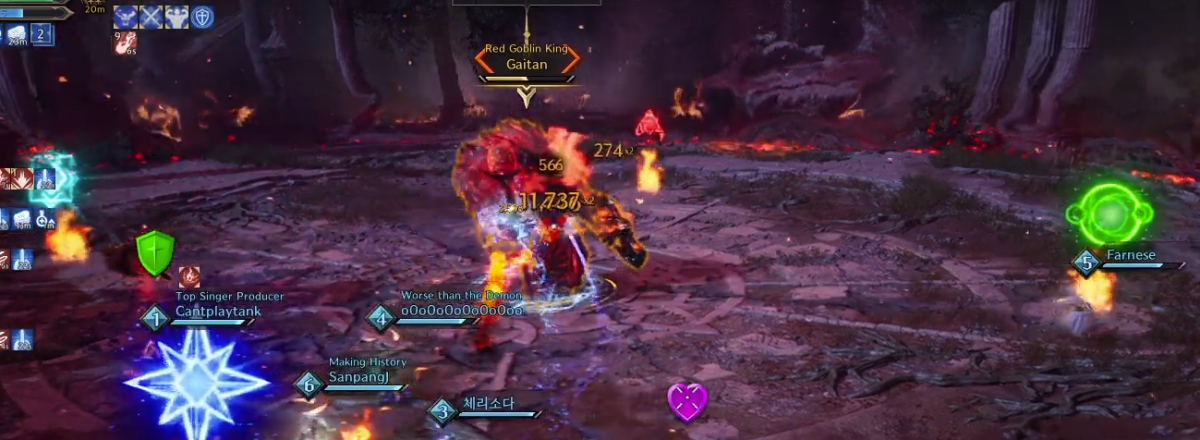
Final Boss – Gaitan
The main boss of this Tier 2 dungeon is Gaitan – the Red Goblin King. Gaitan is an entirely new boss in Throne and Liberty sharing no direct similarities in mechanics with other bosses. As a result, this boss can be much more difficult to initially fight; we’ll aim to assist with this here.
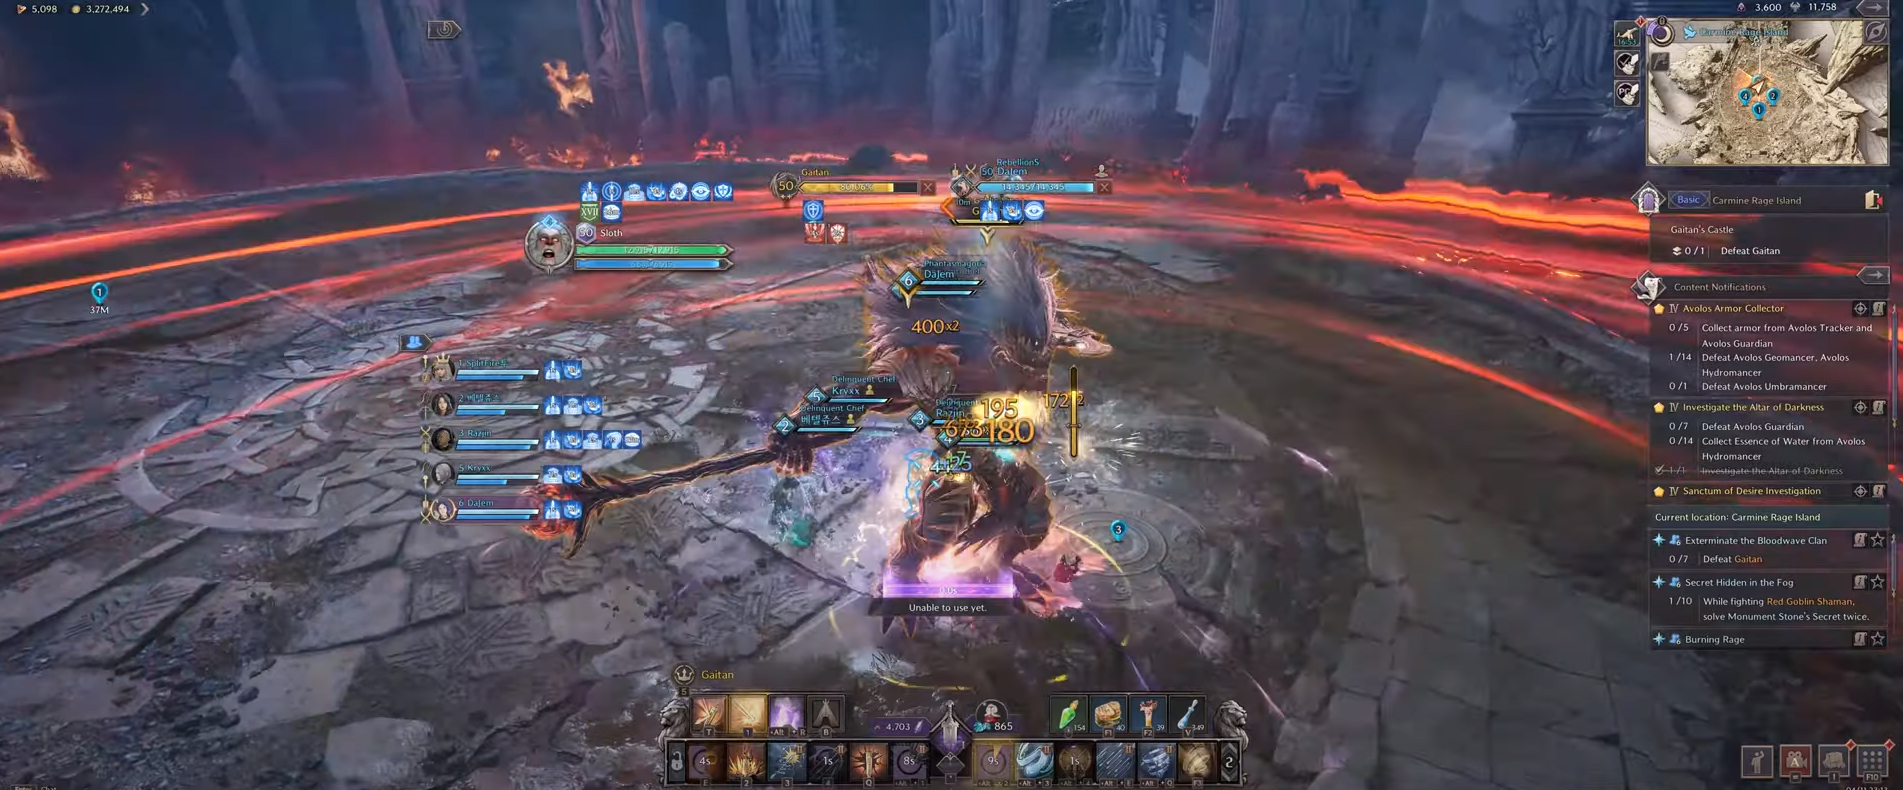
Block Attacks
There is two forms of attacks that every player in the dungeon should be aware of and ready to block. The first is a generic attack indicated by a purple circle that hits in AoE. The second is actually indicated by a diamond-shaped purple indicator. As a result of the indicator being different, you’ll need to use your dodge block (hold a movement key + press block). Most of Gaitan’s block-able attacks come from a phase we’ll explain later in the guide.
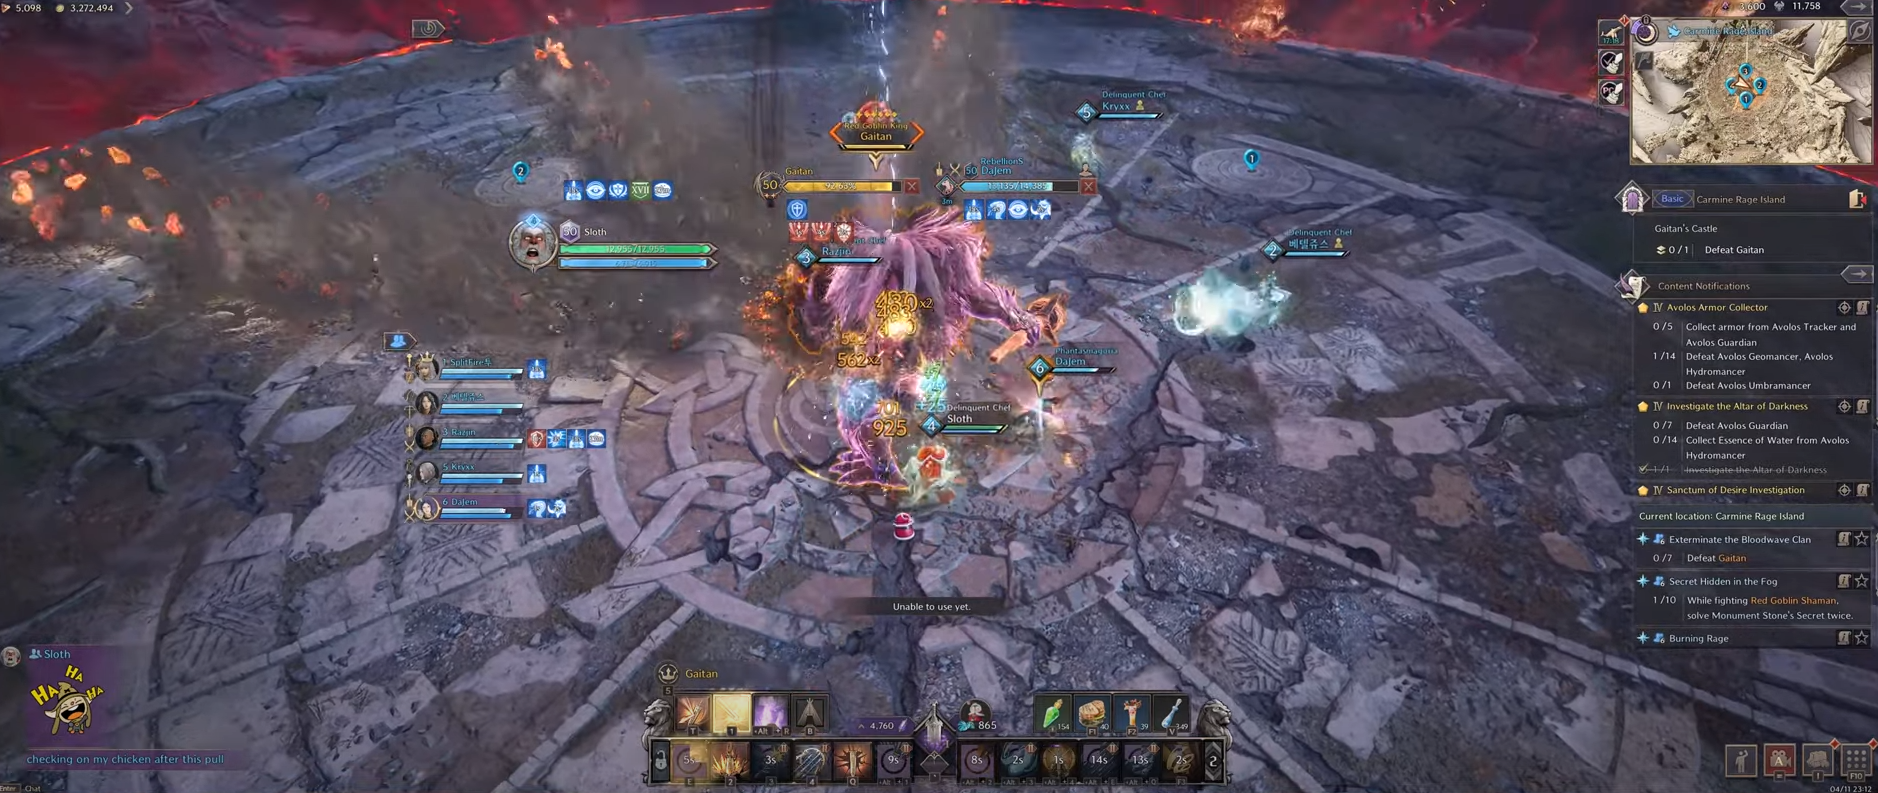
Phase 1
Starting off the boss fight, Gaitan uses standard attacks – both ranged and melee to damage players. Twice throughout this opener, Gaitan launches a 3-line cone attack towards the furthest player away from the boss. As a result, have one or two of your DPS players stand away from the main group to bait the attack towards them.
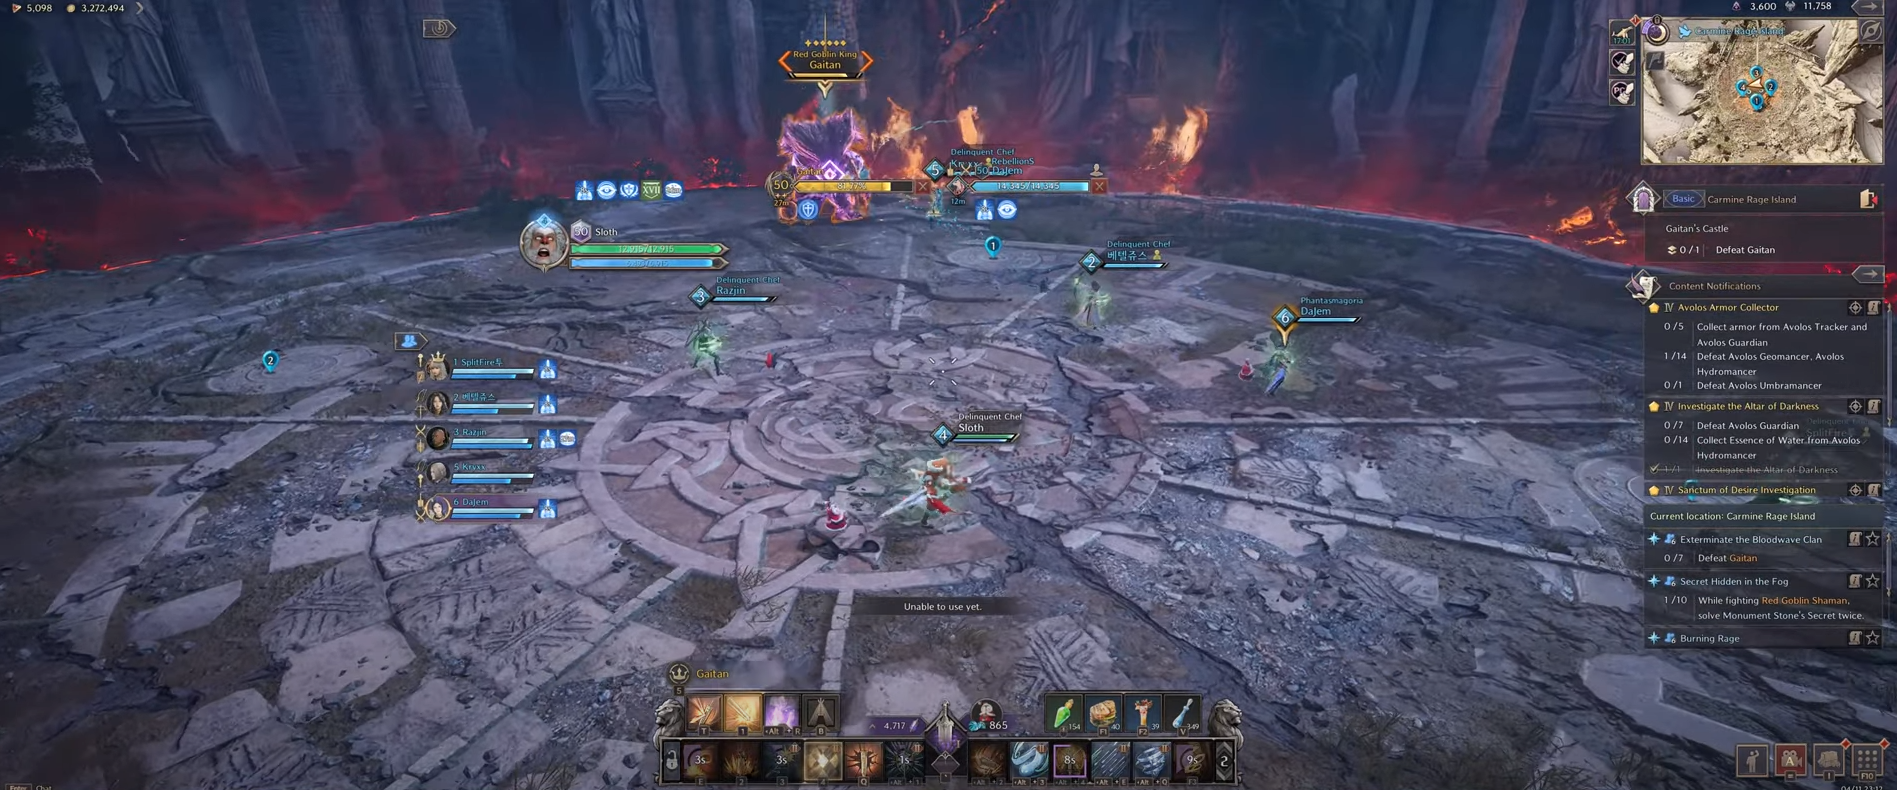
After the second cone is launched by Gaitan, a Block Attack mini-phase begins. Gaitan selects the furthest away player again and prepares to charge. The charge is telegraphed with the aforementioned diamond-shaped purple indicator. To correctly avoid this type of attack, use your block button in combination with a movement key. Once the first charge happens, Gaitan selects the next furthest target to charge at. The third and final charge is aimed at the player with current aggro on the boss.
To round out this section of the boss fight, after the third dash the party has to run within melee range of Gaitan as soon as possible. Gaitan unleashes a massive spinning attack, dealing significant damage the further away from the boss you are. Following the spin is a heavy attack that is a standard block-able attack (just press the block key with no movement input). This phase happens one more time before the next stage of the fight begins.
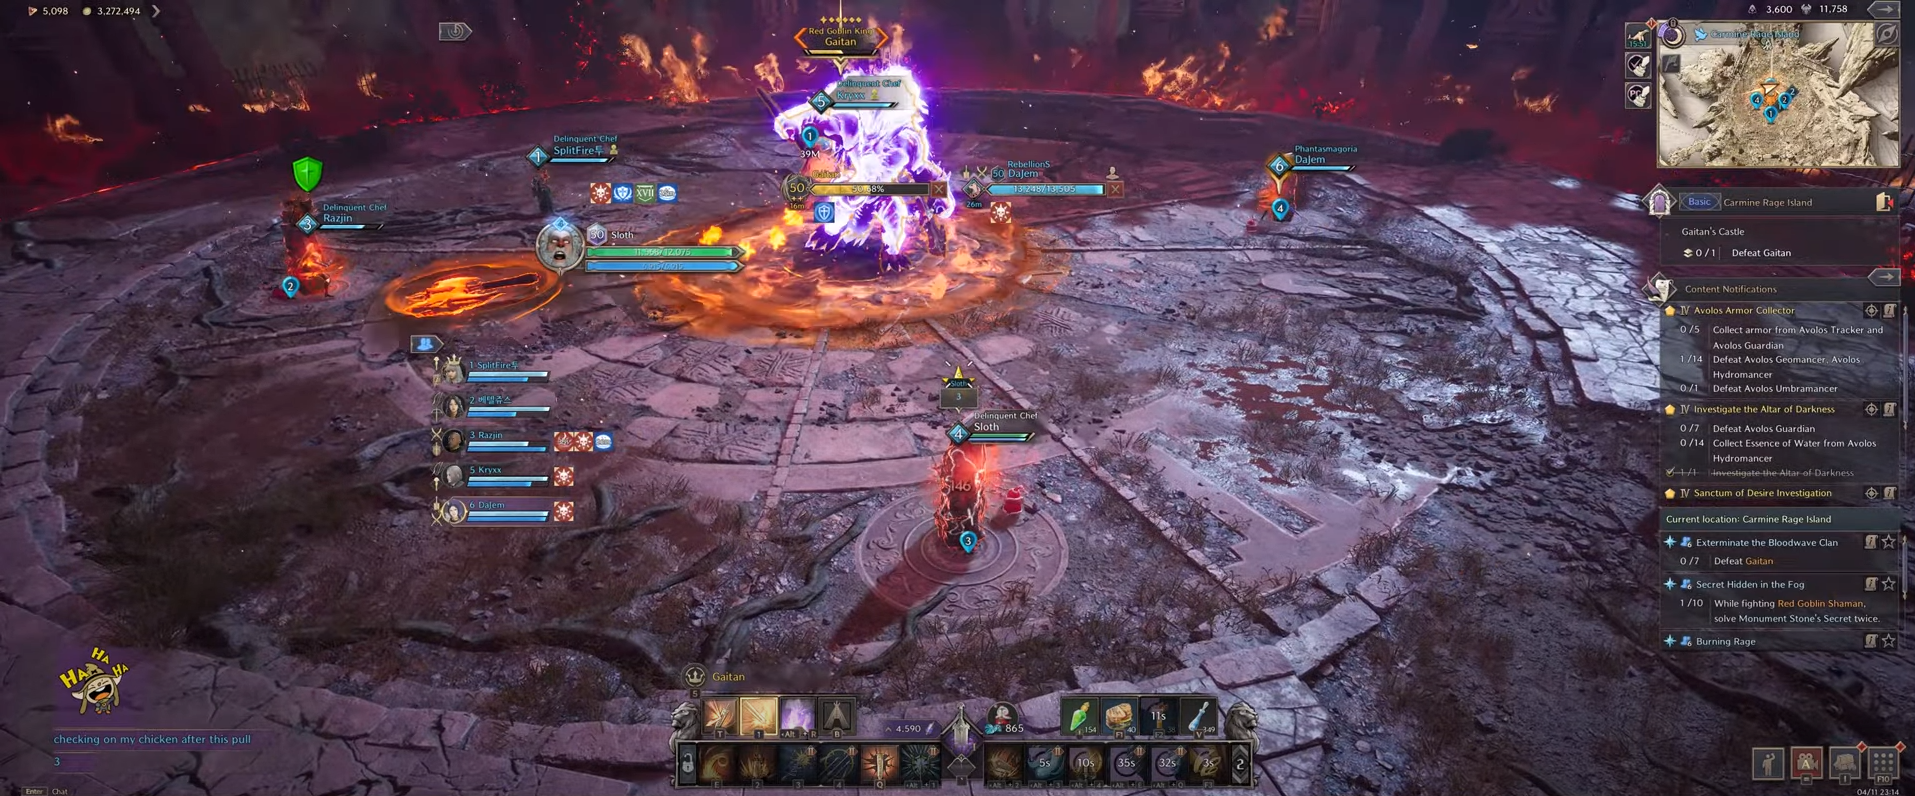
Phase 2
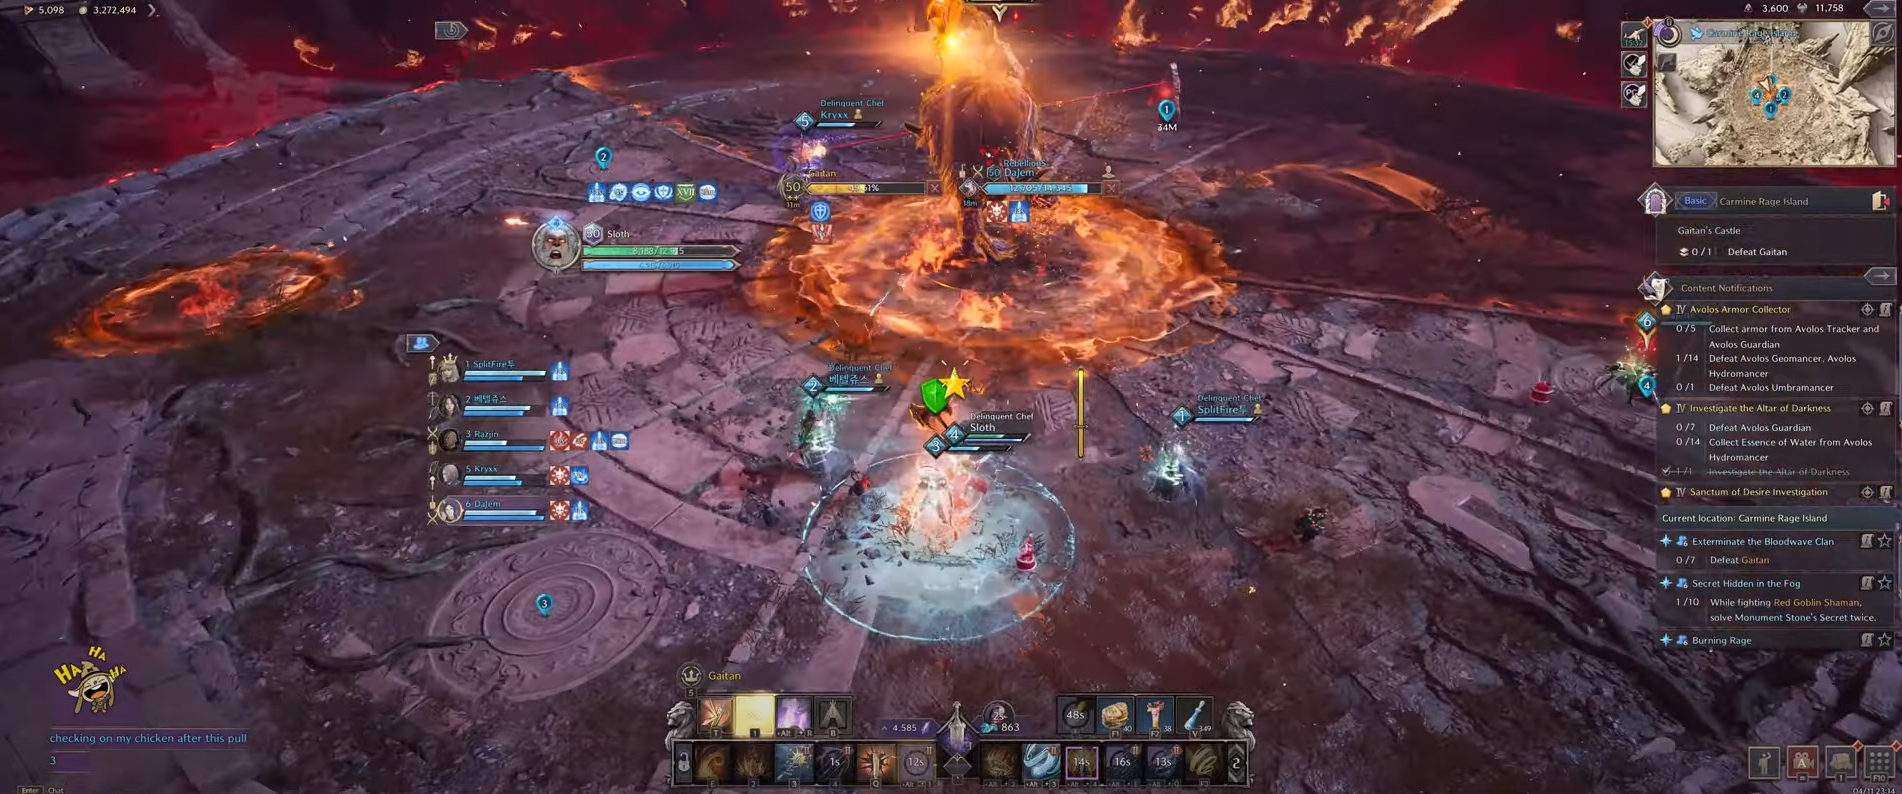
Immediately after the second spin and heavy attack, Gaitan begins the most difficult phase of the boss fight. The boss teleports towards the center of the room and pulls four players across the arena, shackling them to a small pillar.

Based on the center of the arena, the boss selects the furthest player and the second furthest player as targets. The players, once sent to their pillar and shackled up, have a shockwave launched at them, based on that initial targeting distance. As a result, the furthest player is going going to be attacked first, followed by the second furthest player before the pull. Additionally, the second furthest player is going to receive an axe above their head – causing a DoT. For the second player, we recommend a tank standing up for this part of the mechanic.

Spinning Axe
The players that’re shackled to the pillars take damage whenever they move, as a result, try not to make pointless movements. Gaitan, shortly after shackling four players up, launches a spinning axe towards one of the free-moving players. The task for the target is to run the axe around – preferably outside of the arena to avoid contact, allowing it to explode safely. When the axe explodes, it leaves a DoT pool on the ground to avoid.
Healer Duty
The healer of the party is best off playing close to the boss from the moment the mechanic starts. Healing is incredibly important during this phase. So, being close to the boss prevents the healer from being shackled or dealing with the spinning axe. It should also be noted that the player with the small axe above their head dies, it leaves a massive AoE pool for the remainder of the fight.
Shockwaves
Once the players have been shackled up and the entire phase begins, the player to receive the first shockwave attack should check to see where the second player (small axe overhead) is located. The reason for this is to avoid running in their direction to escape the shockwave. As a tethered player, if you run out of the shockwave range, the tether breaks. Immediately after the tether breaking, the player is stunned for several seconds. As a result, running into the player taking the second shockwave is a guaranteed death. Be careful!
Now that every player is free to move, stacking up to be AoE healed is a good first approach before dealing as much DPS to the boss as possible. While this phase has many parts to it, it all happens quite fast. As a result, be prepared ahead of time and talk to your party to assign roles.
Blue Axe
Another small mechanic to take note of is a small blue axe appearing over a players head randomly. This mechanic is the least dangerous out of the fight. However, it should not be ignored – heal up wherever possible and you’ll be fine.

Memory Game
Finally, the boss resets back to Phase 1 and repeats Phase 2 like before until defeated.
Tier 2 Dungeon Rewards
Tier 2 Dungeons provide the next step of progression rewards for players. As a result, each chest looted costs 450 Dimension Tokens compared to the 300 a Tier 1 dungeon chest costs. The power of Tier 2 materials, weapons and armor, however, is a huge step up from Tier 1.
Challenge Difficulty
Challenge mode is a Mythic+ styled system in Throne and Liberty. Each week, two dungeons are selected to become Challenge mode dungeons. Tied into these two dungeons is a set of “affixes” that change some of the rules in the dungeon. For example, an affix can make it so totems spawn and stun players periodically.
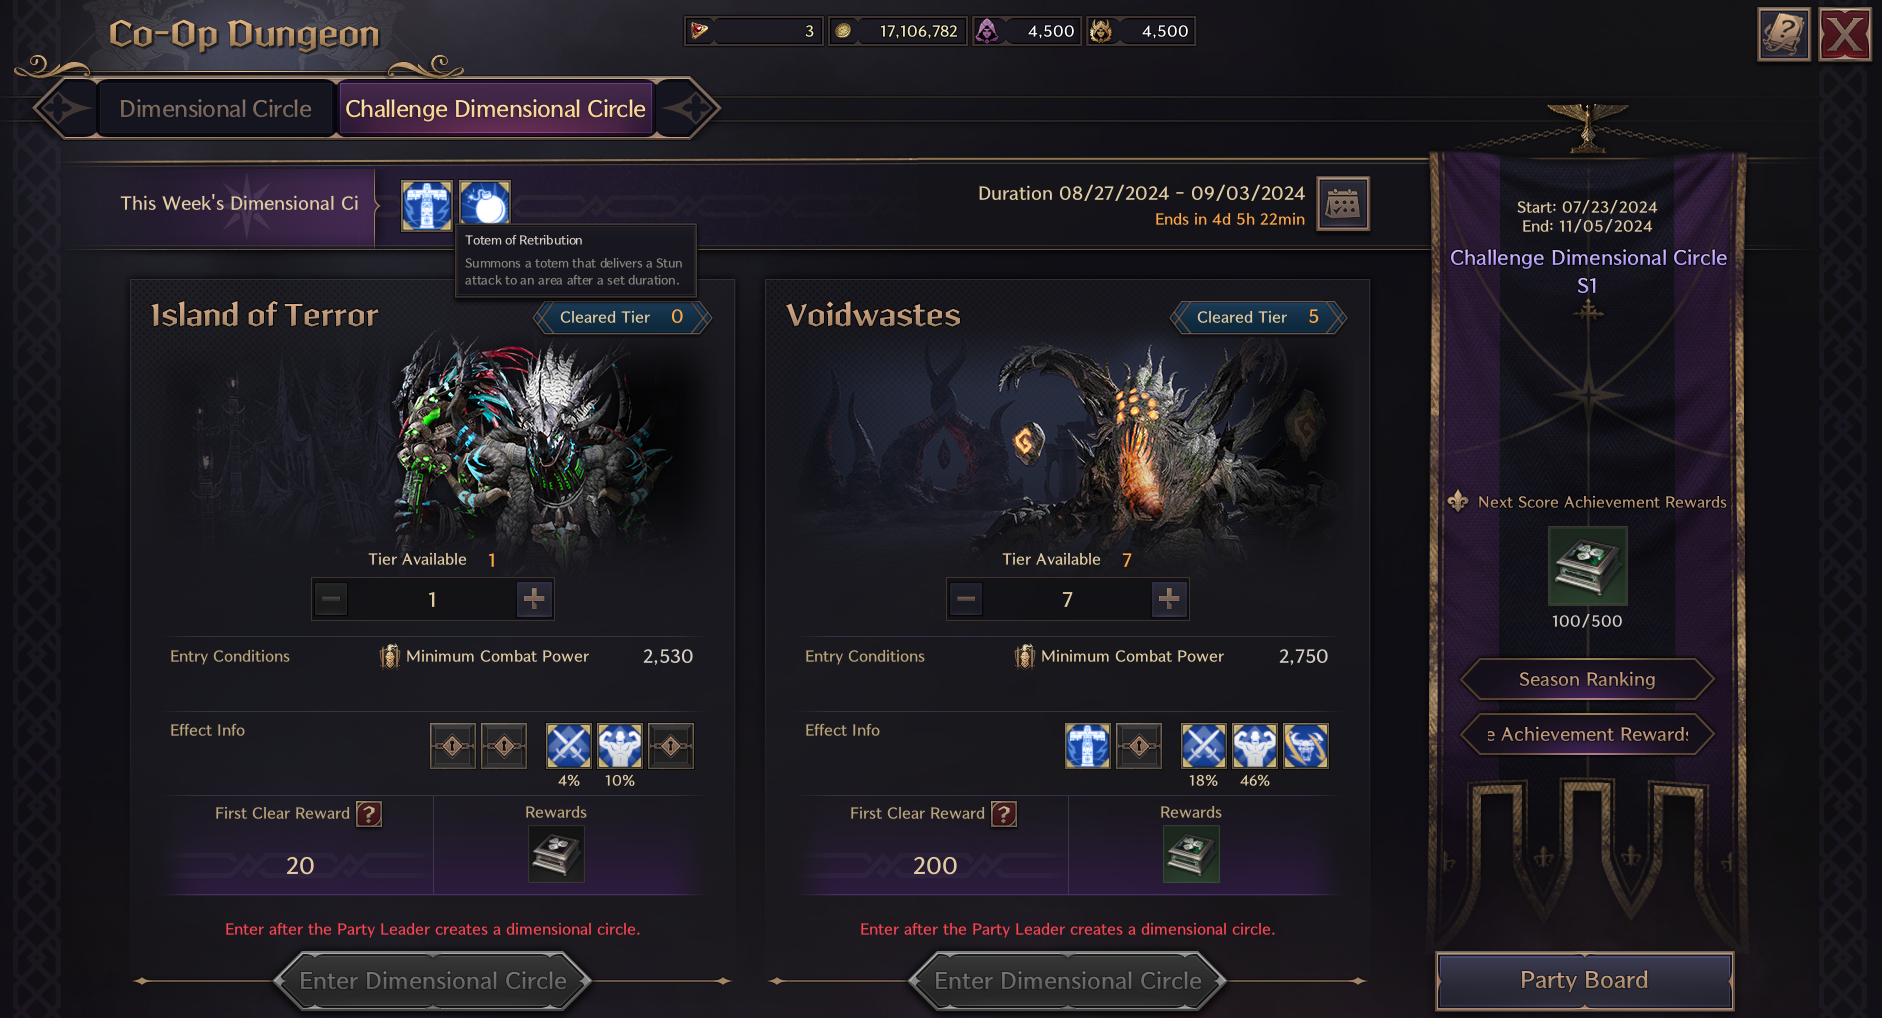
As soon above, depending on the difficulty tier you select, additional mechanics for the dungeon are added (seen in the “Effect Info” section). The Tier breakpoints for each new mechanic is Tier 5, 9 and 13. Below is the list of mechanics that are added to Carmine Rage Island:
- An additional party-wide attack that must be perfect blocked following the spin attack in Phase 1.
- The memory game mechanic. Four players are marked with color-coded symbols above their head. Each player must remember their color and find a small flame platform around the boss that flashed their color symbol above it. This mechanic occurs after phase 2.
Carmine Rage Island Guide Conclusion
This sections concludes the Carmine Rage Island guide for Throne and Liberty. For more guides, please check out our official Home page!