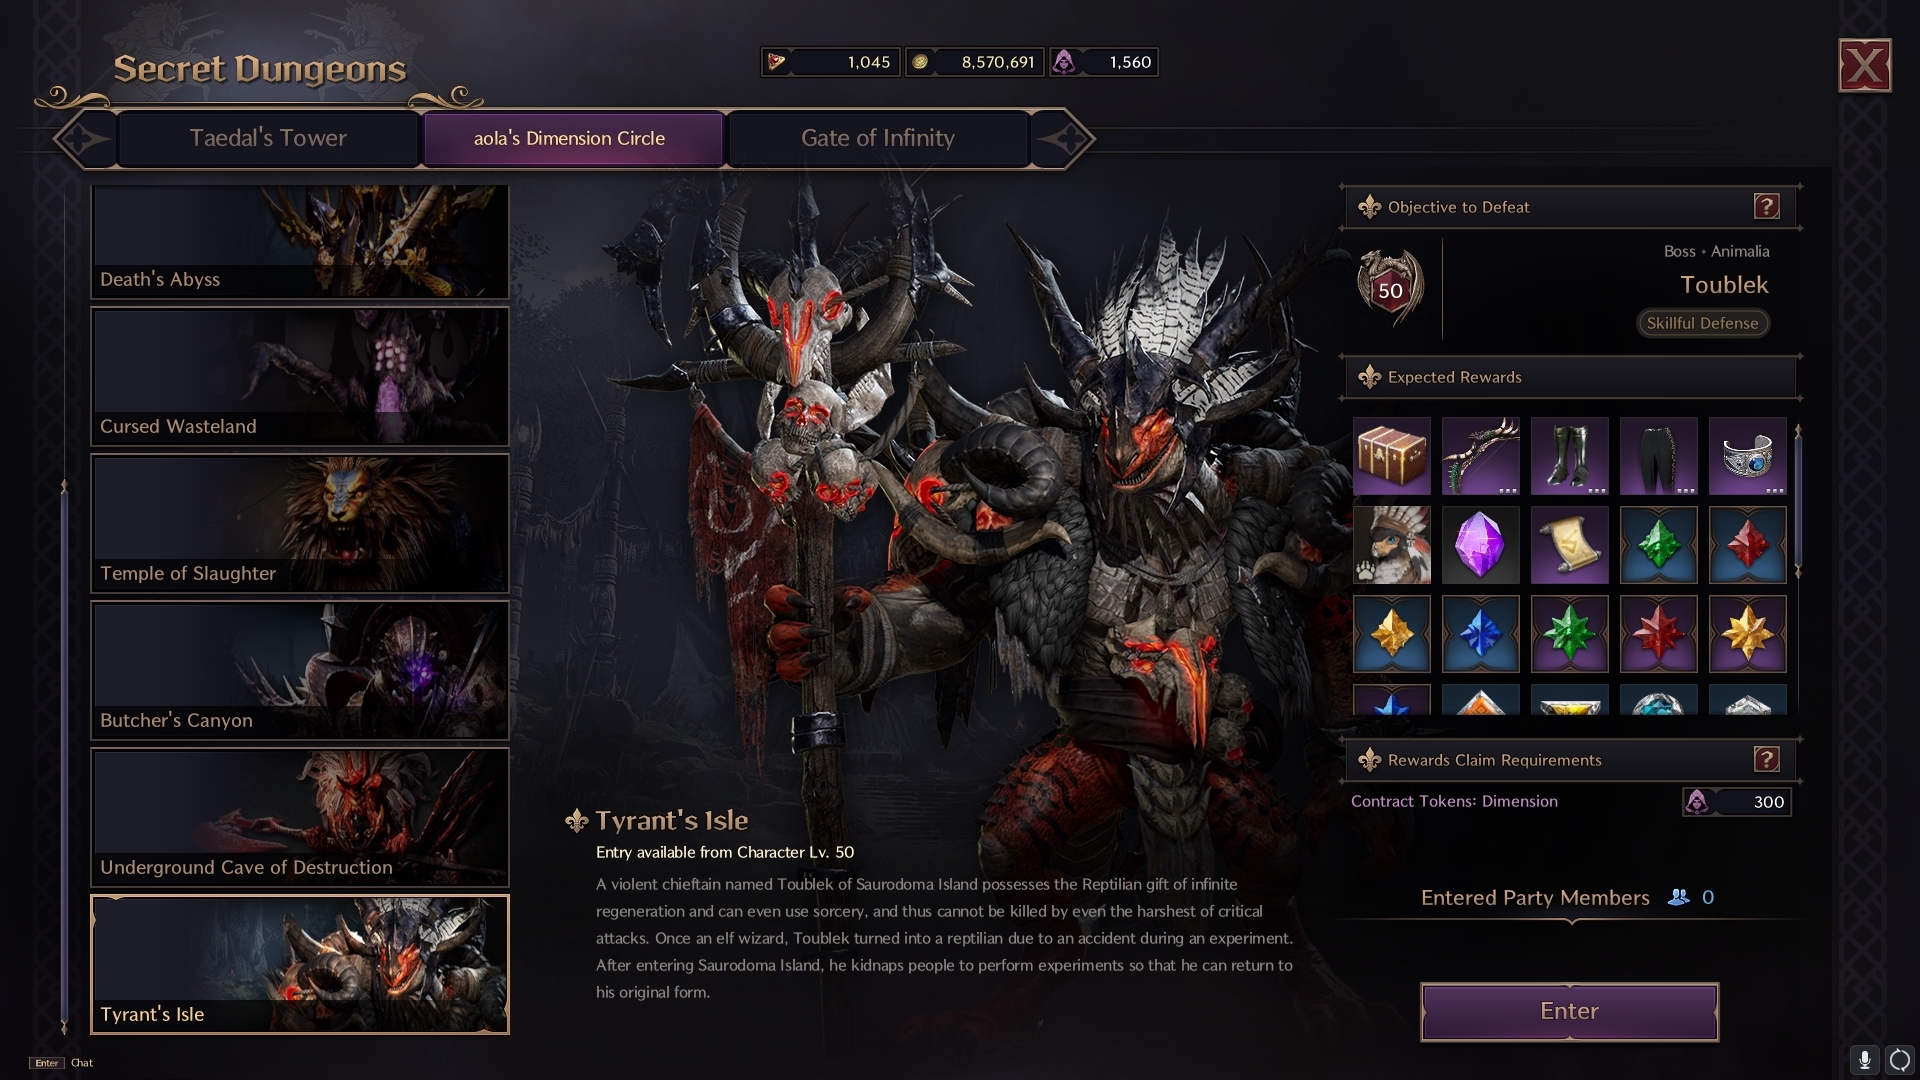
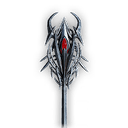
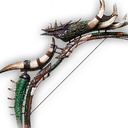
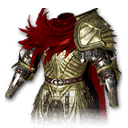
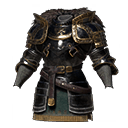
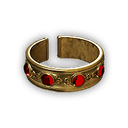
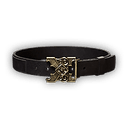
Welcome to our Tyrant Isle Dungeon guide. In this guide, we’ll be heading to Saurodoma Island to investigate the Tyrant Isle, controlled by Toublek. Level 50 is required for this dungeon, however, the dungeon is fairly straightforward once you know how to navigate it!
Drops
Other Drops (Materials)
- Precious Rubrix, Stalon, Emeret, Marind, Ore
- Precious Polished Crystal
- Rare Polished Stone
- Reaper’s Soul and Mana Blood
Section 1 and Mini-Boss 1
The first section of the Tyrant Isle is pretty open in terms of level design. As a result, to try and not get lost, just follow a straight line while clearing any mob on the way. Eventually, you’ll run into the first mini-boss – the Reptilian Butcher.
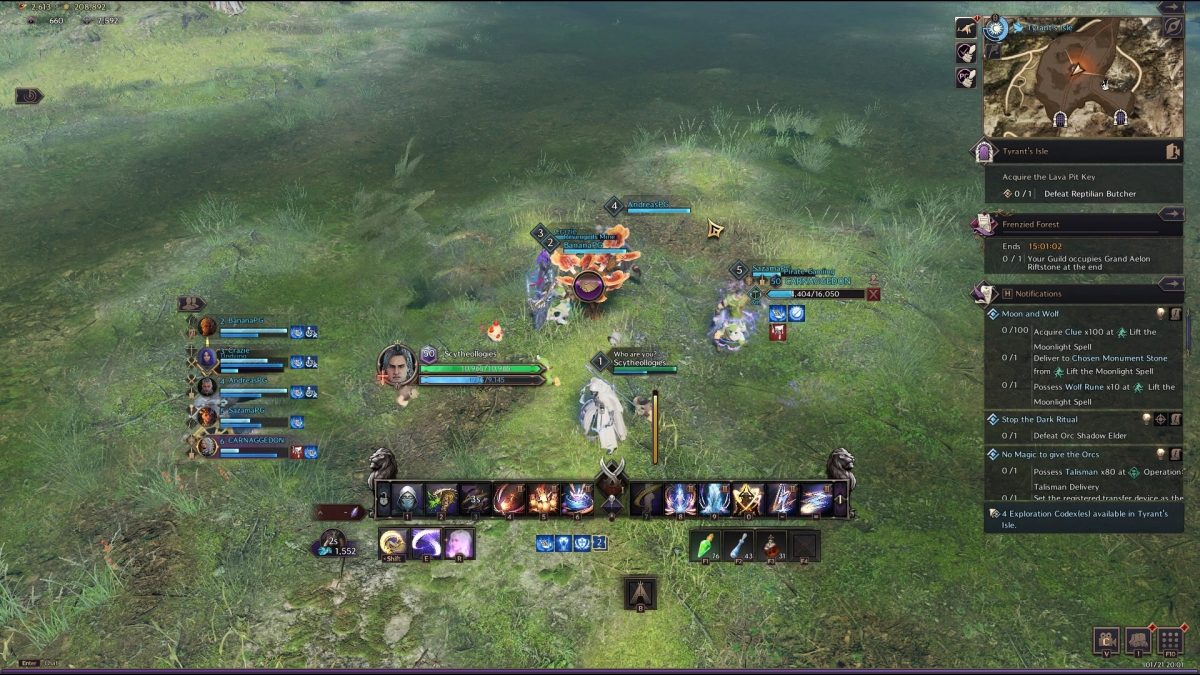
During the fight with the Butcher, it’ll choose a moment to turn invisible. In this phase, the Butcher periodically lashes out at the party until you activate one of the few Coral Flowers surrounding the boss. If you activate the Coral next to the boss, it’ll stun it out of stealth allowing you to continue the fight and deal damage. After the boss is dead, it’ll drop a key to the right entrance of the mountain.
Section 2 and Mini-Boss 2
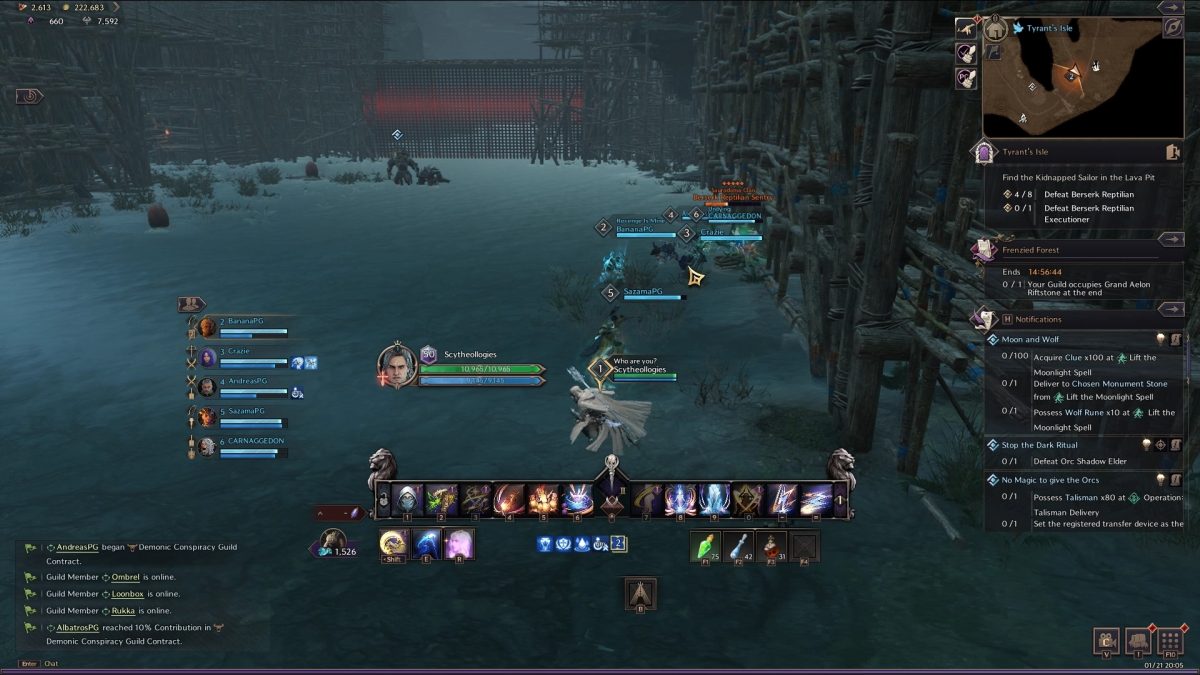
Heading through the gate brings the party to a cavernous area full of many threats. From the entrance, proceed through the cavern, clearing out mobs on the way. Next, the party receives a task to rescue Kidnapped Sailors with a couple of other tasks too. As a result, head through rescuing any Sailor you find until you reach the next mini-boss, located by a giant gate.
Shaman Executioner
The Shaman Executioner is a ferocious boss that has a Reptilian Fighter assisting it from the start of the battle. First, it is pretty important to kill any mob that assists the boss during the fight. This is so you don’t get overrun by mobs, such as the additional Shamans the Executioner summons! The Shaman Executioner throws out a binding bola to lock a party member in place, then begins charging a fury attack to leap at the target. As a result, be prepared to perfect block it to escape!
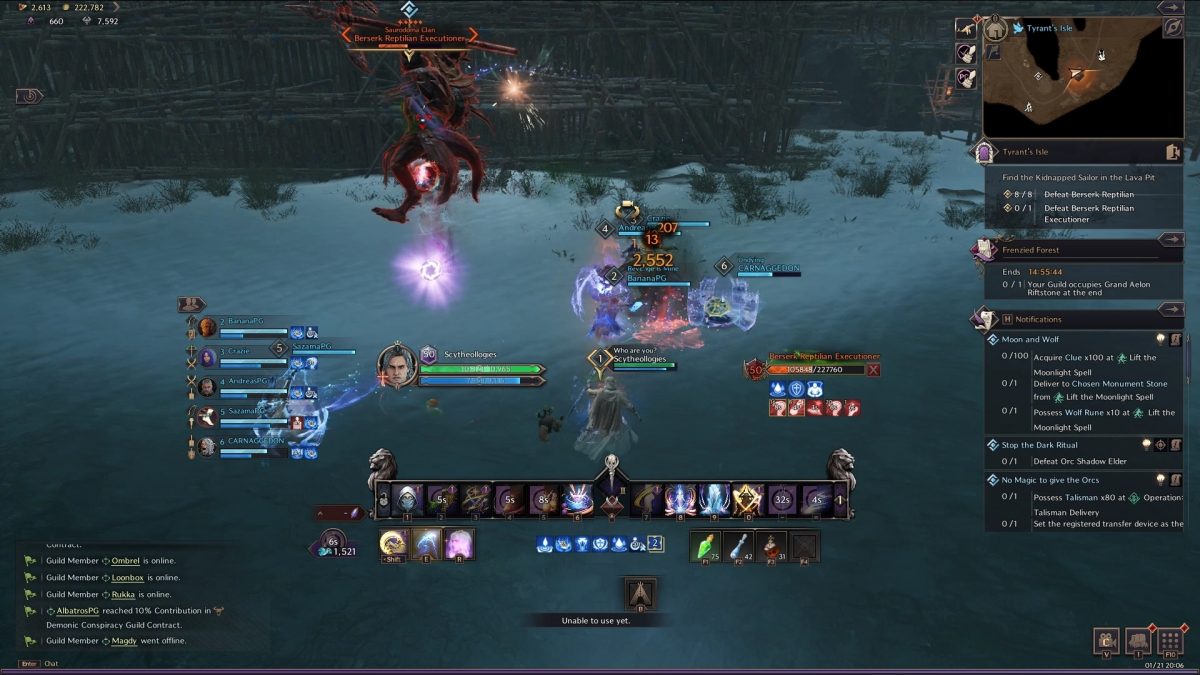
The next major mechanic from the Executioner is a huge red wave of water that rushes towards you from the gate. To avoid this wave, players have to time a perfect jump over it!
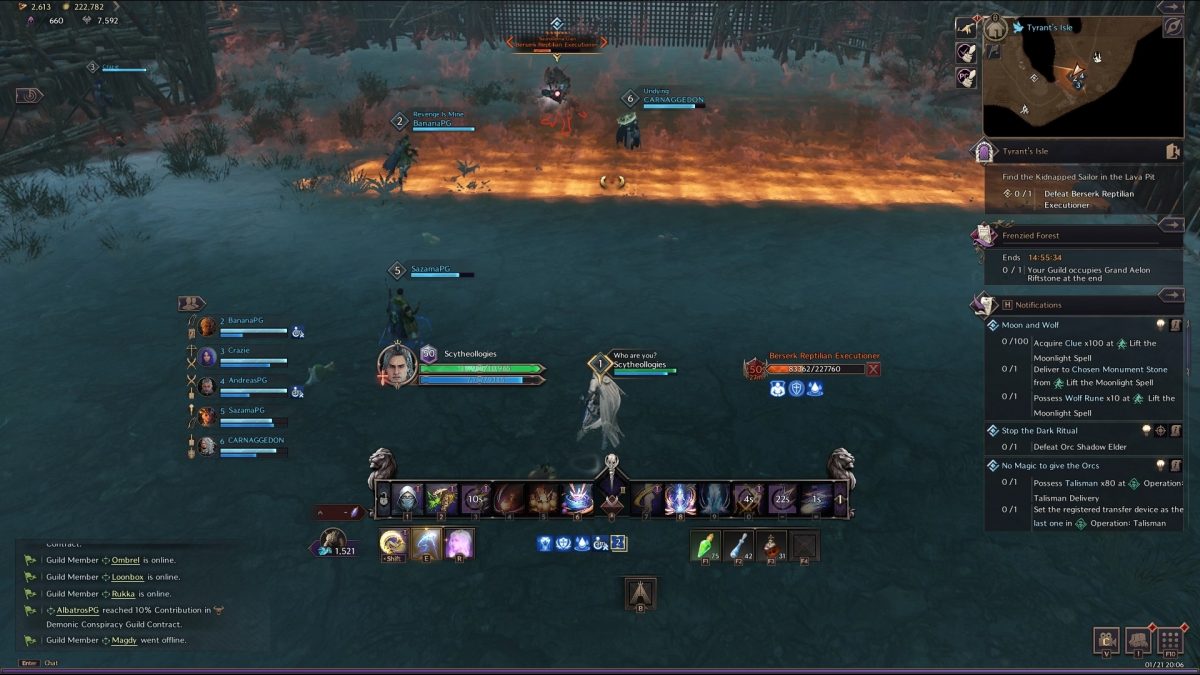
The boss fight repeats until it’s taken down! Next, head on through the gate and keep a hard left hug on the wall to proceed. The next location to aim for is the next mini-boss between four totem pillars.
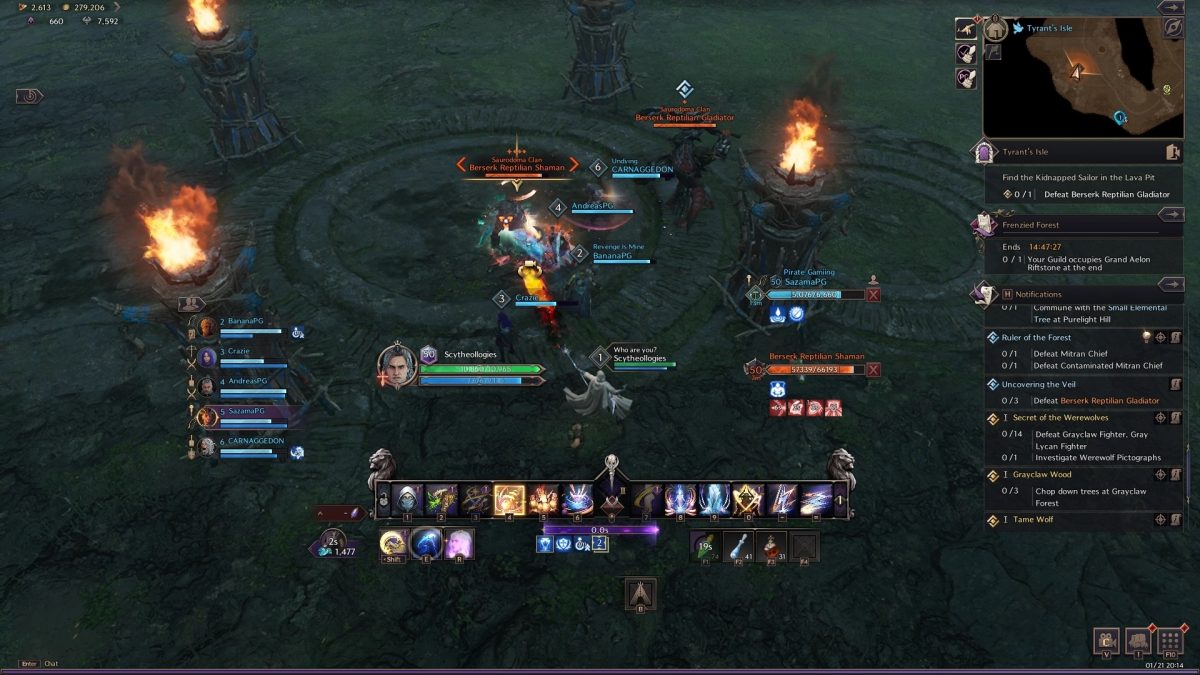
Reptilian Gladiator
this mini-boss, the Reptilian Gladiator is a very straightforward boss to fight. As usual with mini-bosses, there is a few standard attacks that can be dealt with easily. However, the main mechanic requires you to pay attention to the fight. The Gladiator picks a player in the party and prepares to charge at them. As a result, have the party member that’s glowing red run behind one of the four totems. The Gladiator then runs into the totem, stunning itself – the perfect opportunity to attack! Once the boss is dead, head to the huge geyser located nearby.
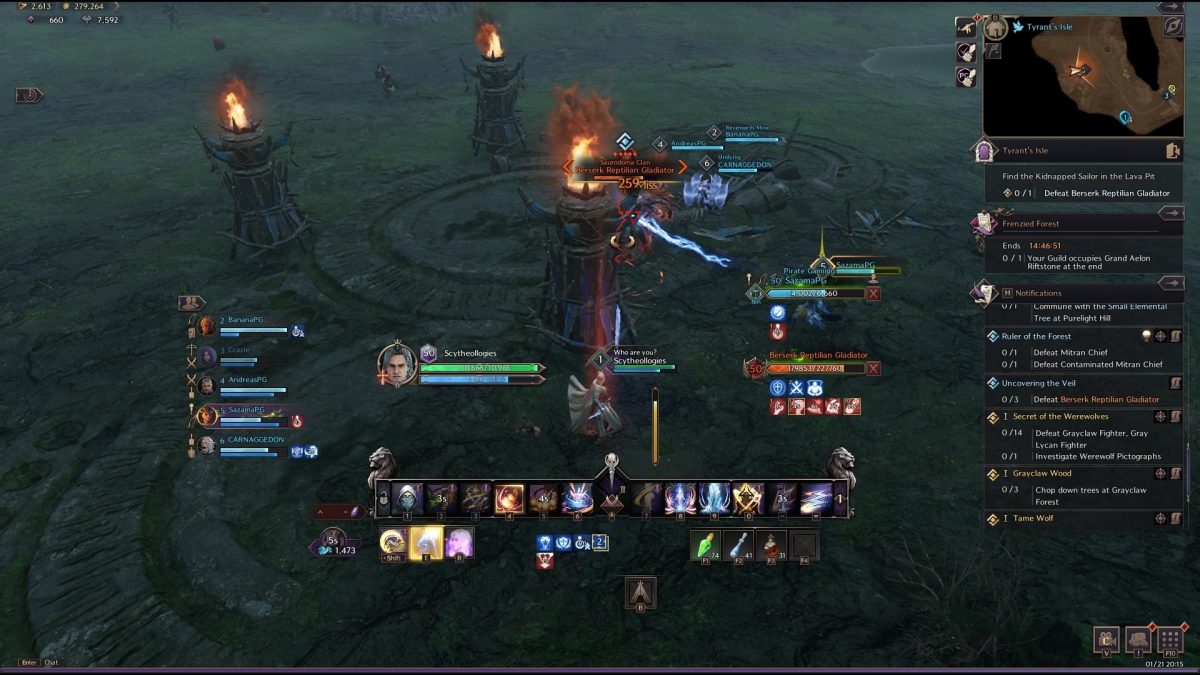
Standing inside the geyser for a period of time shoots you up into the air, as a result, use this air time to glide over the huge wooden barricade to reach the next area.
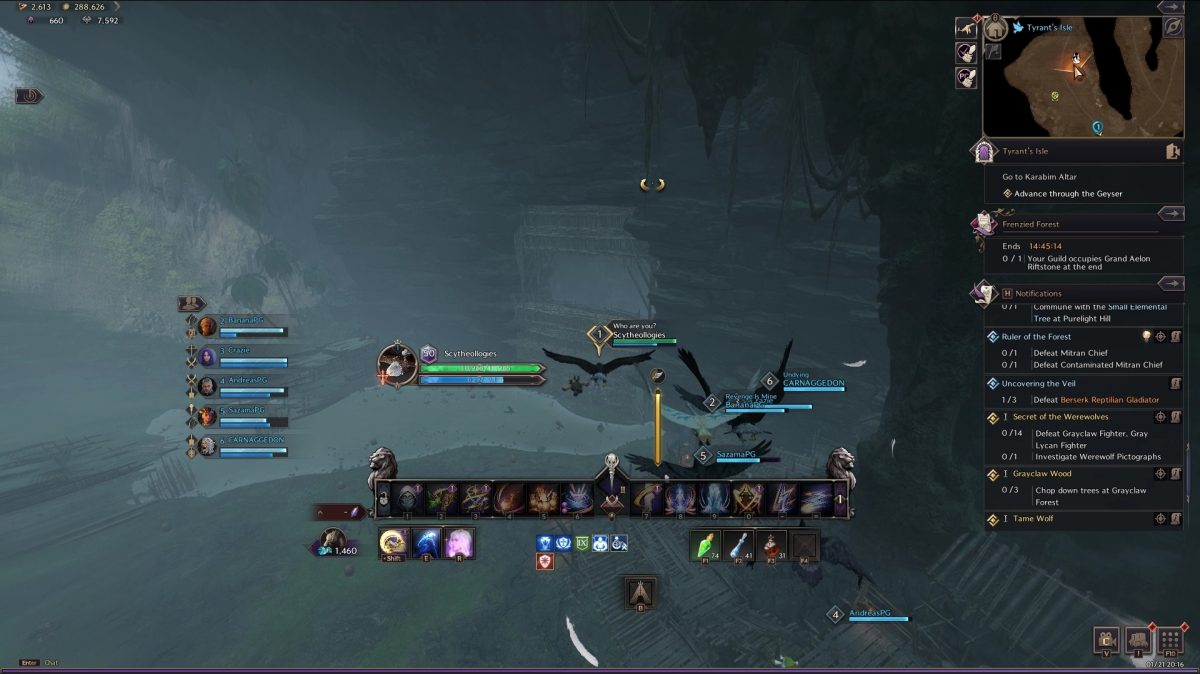
Shortly after the wooden barricade is a second geyser, repeat the gliding process until you’re at the final boss!
Final Boss: Toublek
Toublek is a behemoth ruling over Saurodoma Island. Several of his attacks are vicious and have to be avoided as a result at all times. Toublek unleashes a fury attack (indicated by the purple circle) that can be perfect blocked. Also, Toublek prepares a spell and starts sending down high-damage fire balls on several players. Make sure to morph and run to avoid these as fast as possible – or you’ll be a tombstone in no time.
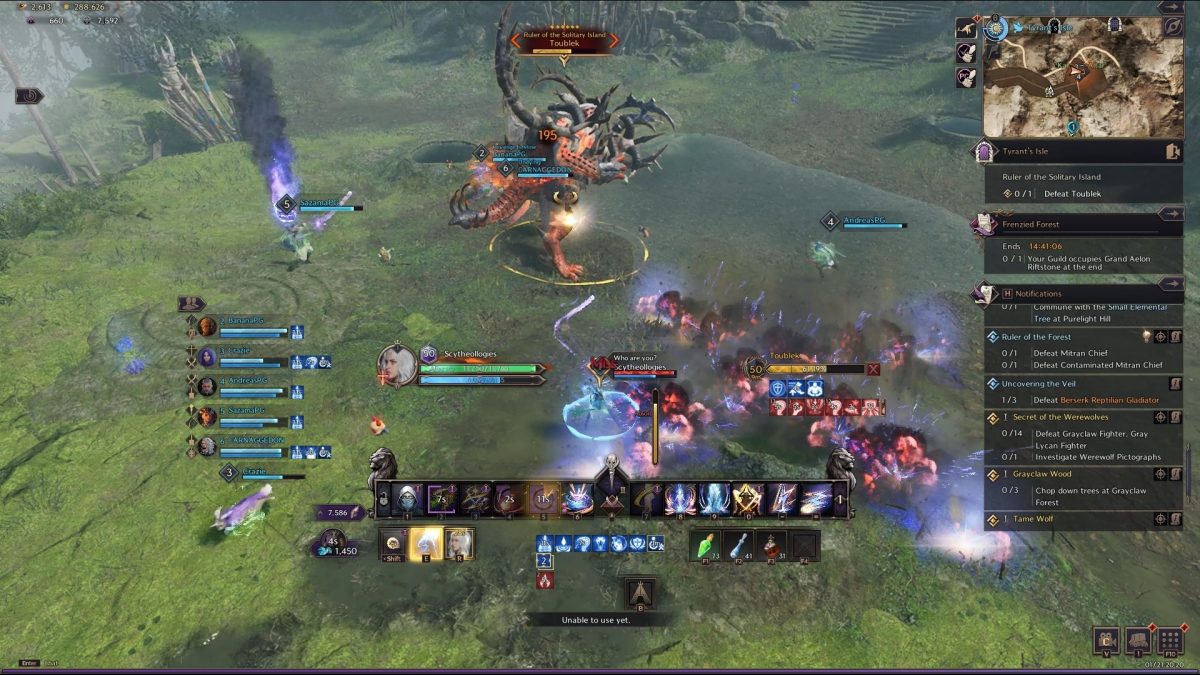
Shortly after the fireballs, Toublek shouts out “Try to dodge this”. Suddenly, three of the geysers in the arena begin bubbling. The entire party has to stand in an active geyser, this is to be shot into the air safely to avoid a party wipe.
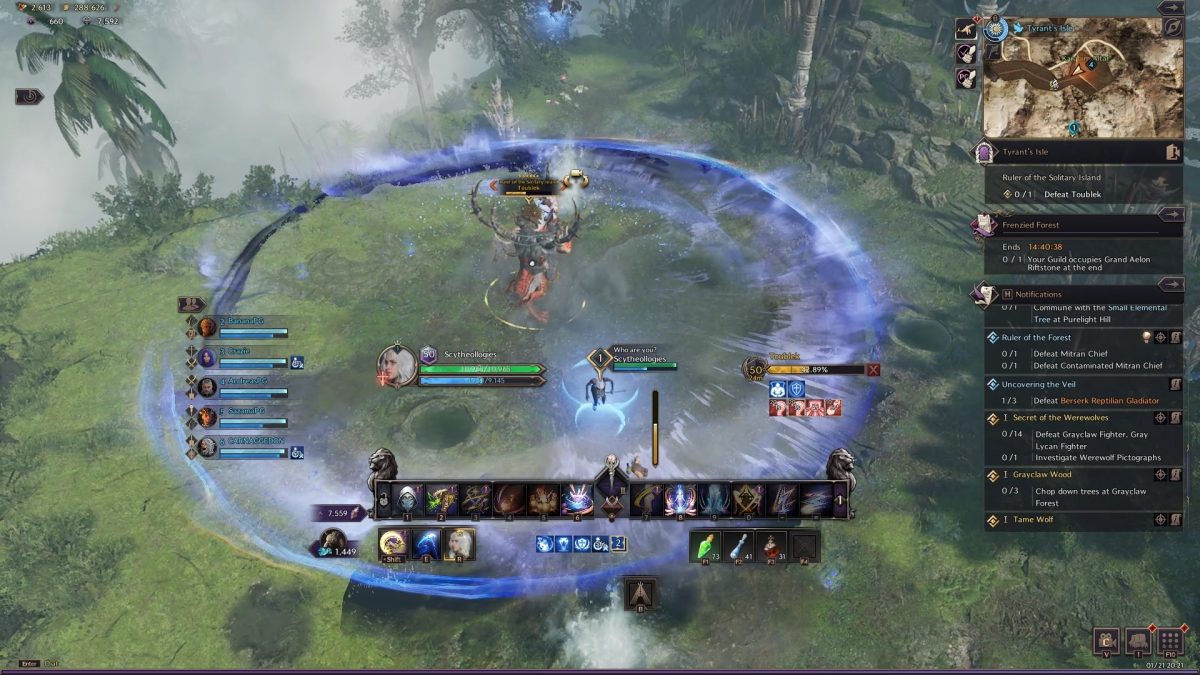
The final mechanic Toublek has up its sleeve transforms you into a little rat. Toublek pulls the entire party towards him and transforms you, on the outer edges of the arena, you’ll notice blue flowers dotted around. The objective in rat form is to reach the flowers in time to transform back into your human form. While running towards the flower, Toublek unleashes a party wipe wave. By pressing “1” on your skill bar, you can dig underground as the rat – avoiding the wave entirely. After, press “1” again to resurface and make contact with the flower. Be warned that if you cannot reach the flower in time, Toublek eats you, killing you instantly.
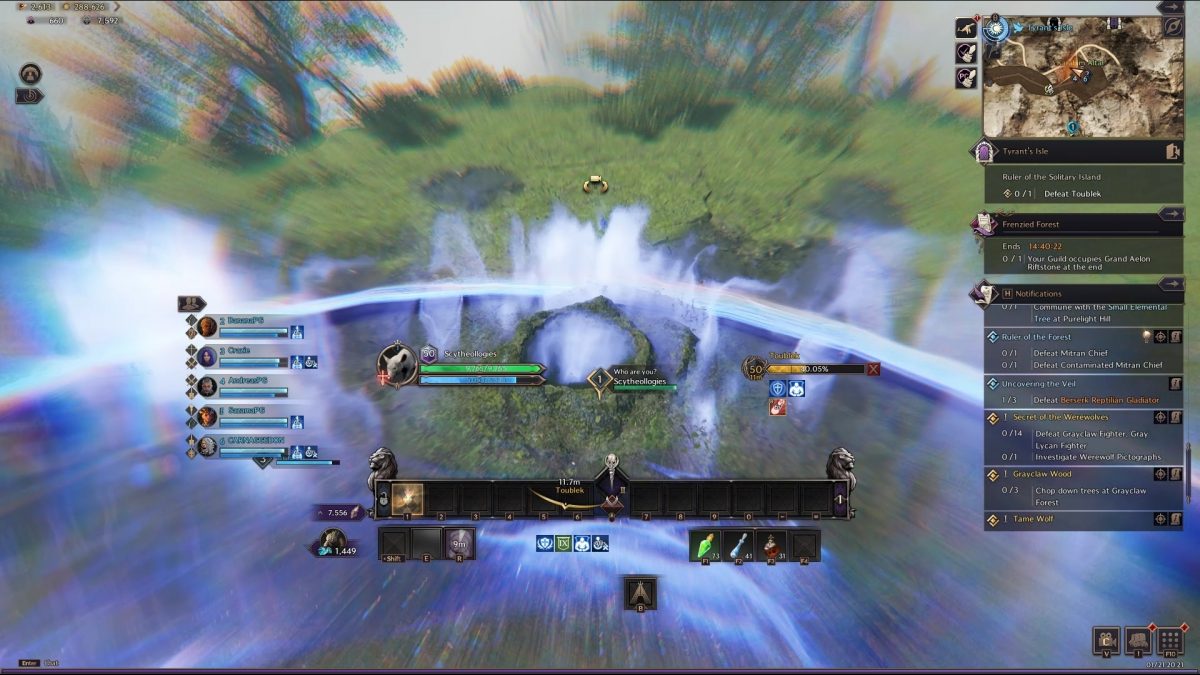
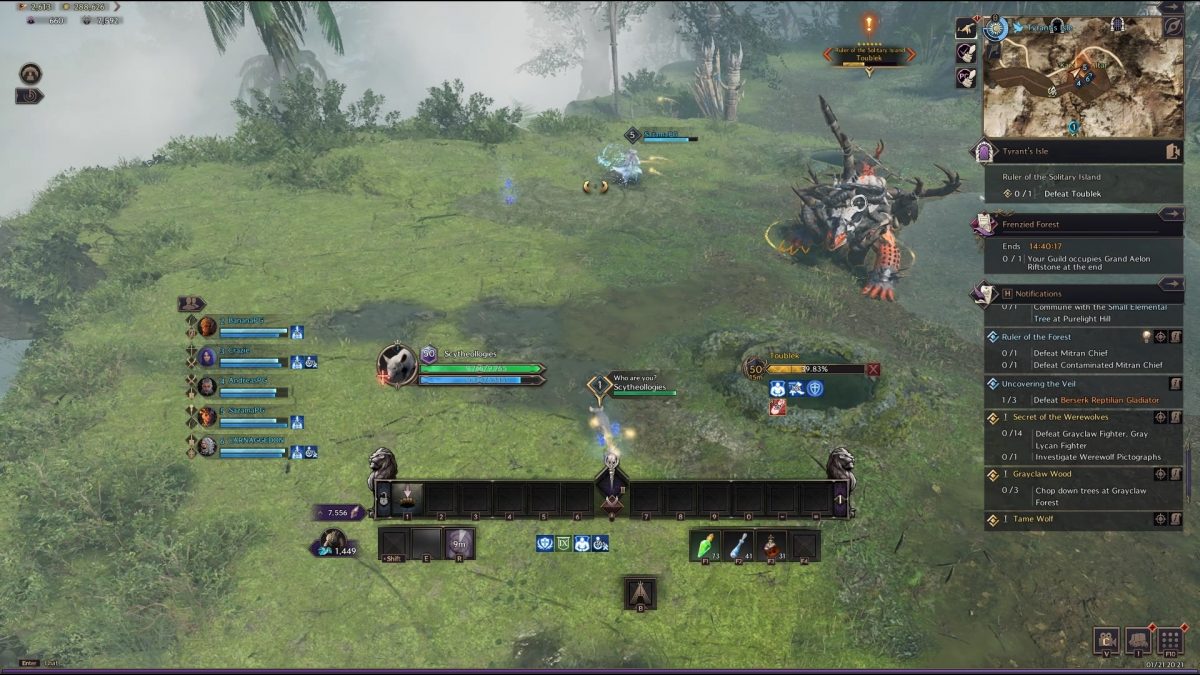
Finally, the phase resets back to the beginning of the fight – repeat this until Toublek is defeated!
Challenge Mode
In Throne and Liberty’s Tier 1 Dungeons, you have access to two modes. The first mode is your “Basic” level of dungeon difficulty. However, an additional mode can be accessed – this is the Challenge mode difficulty.
Challenge mode in Tier 1 Dungeons act as a slight difficulty modifier that tasks you with completing a tougher dungeon, but with slightly better reward. For example, currently in the Challenge Mode dungeons, the only change to the Tyrant Isle dungeon is an increase in mob health and an increase in damage taken. As a result of these minor changes, however, it means you have to be careful of your mechanical failures and the fight durations themselves.
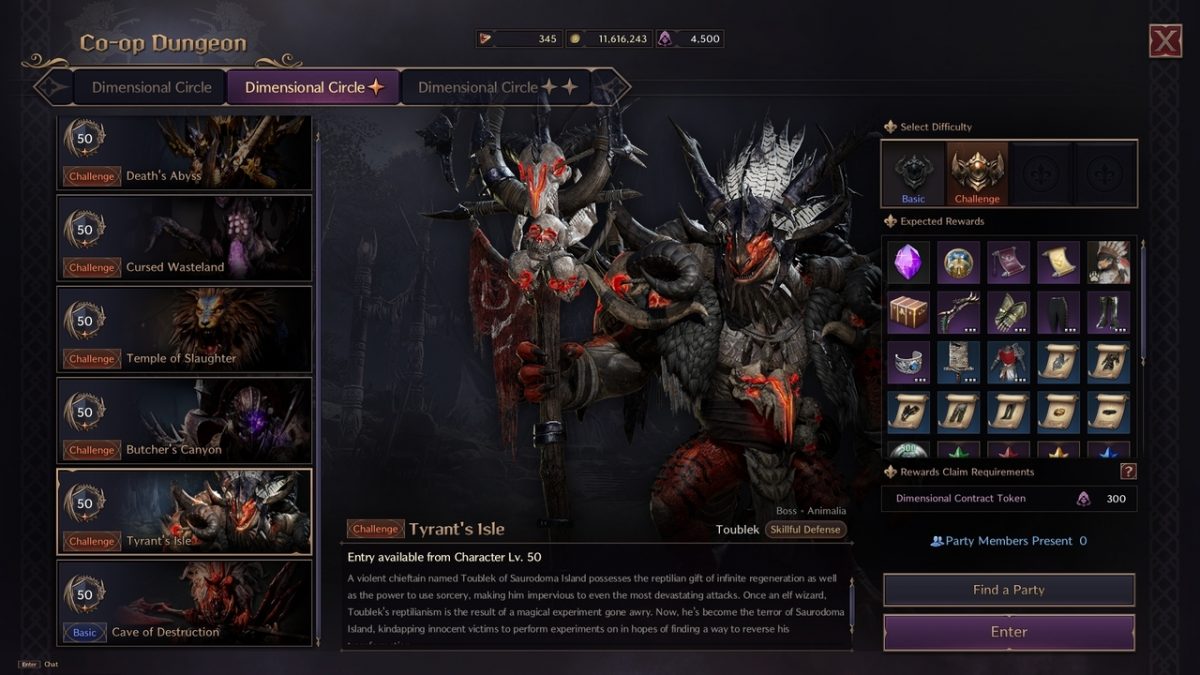
At the end of each Challenge mode Tier 1 Dungeon, on top of the usual reward you’ll have a chance of looting from the chest, you’ll gain a certain amount of “Almighty Parchment”. Almighty Parchment in Throne and Liberty is used to create Omnipotence Skill Books. The Omnipotence Skill Books serve two purposes:
- Used to grow and upgrade your Resistance Skill (for example, the Staff’s Inferno Meteor)
- Usable in any Epic-grade Skill growth
As a result, eventually switching up to Challenge difficulty is 100% worth it to gain the parchment to max out your skills. It is also worth noting you also gain a small amount of progress towards earning a piece of Tier 2 gear over time, too.
Tyrant Isle Dungeon Guide
That concludes our Tyrant Isle Dungeon guide for Throne and Liberty. For more information on Throne and Liberty, check out our official Home page!

