Introduction
PLEASE NOTE: THIS GUIDE IS RELEVANT FOR THE OPEN WORLD, RIFTSTONE AND GUILD RAID VERSIONS OF TALUS
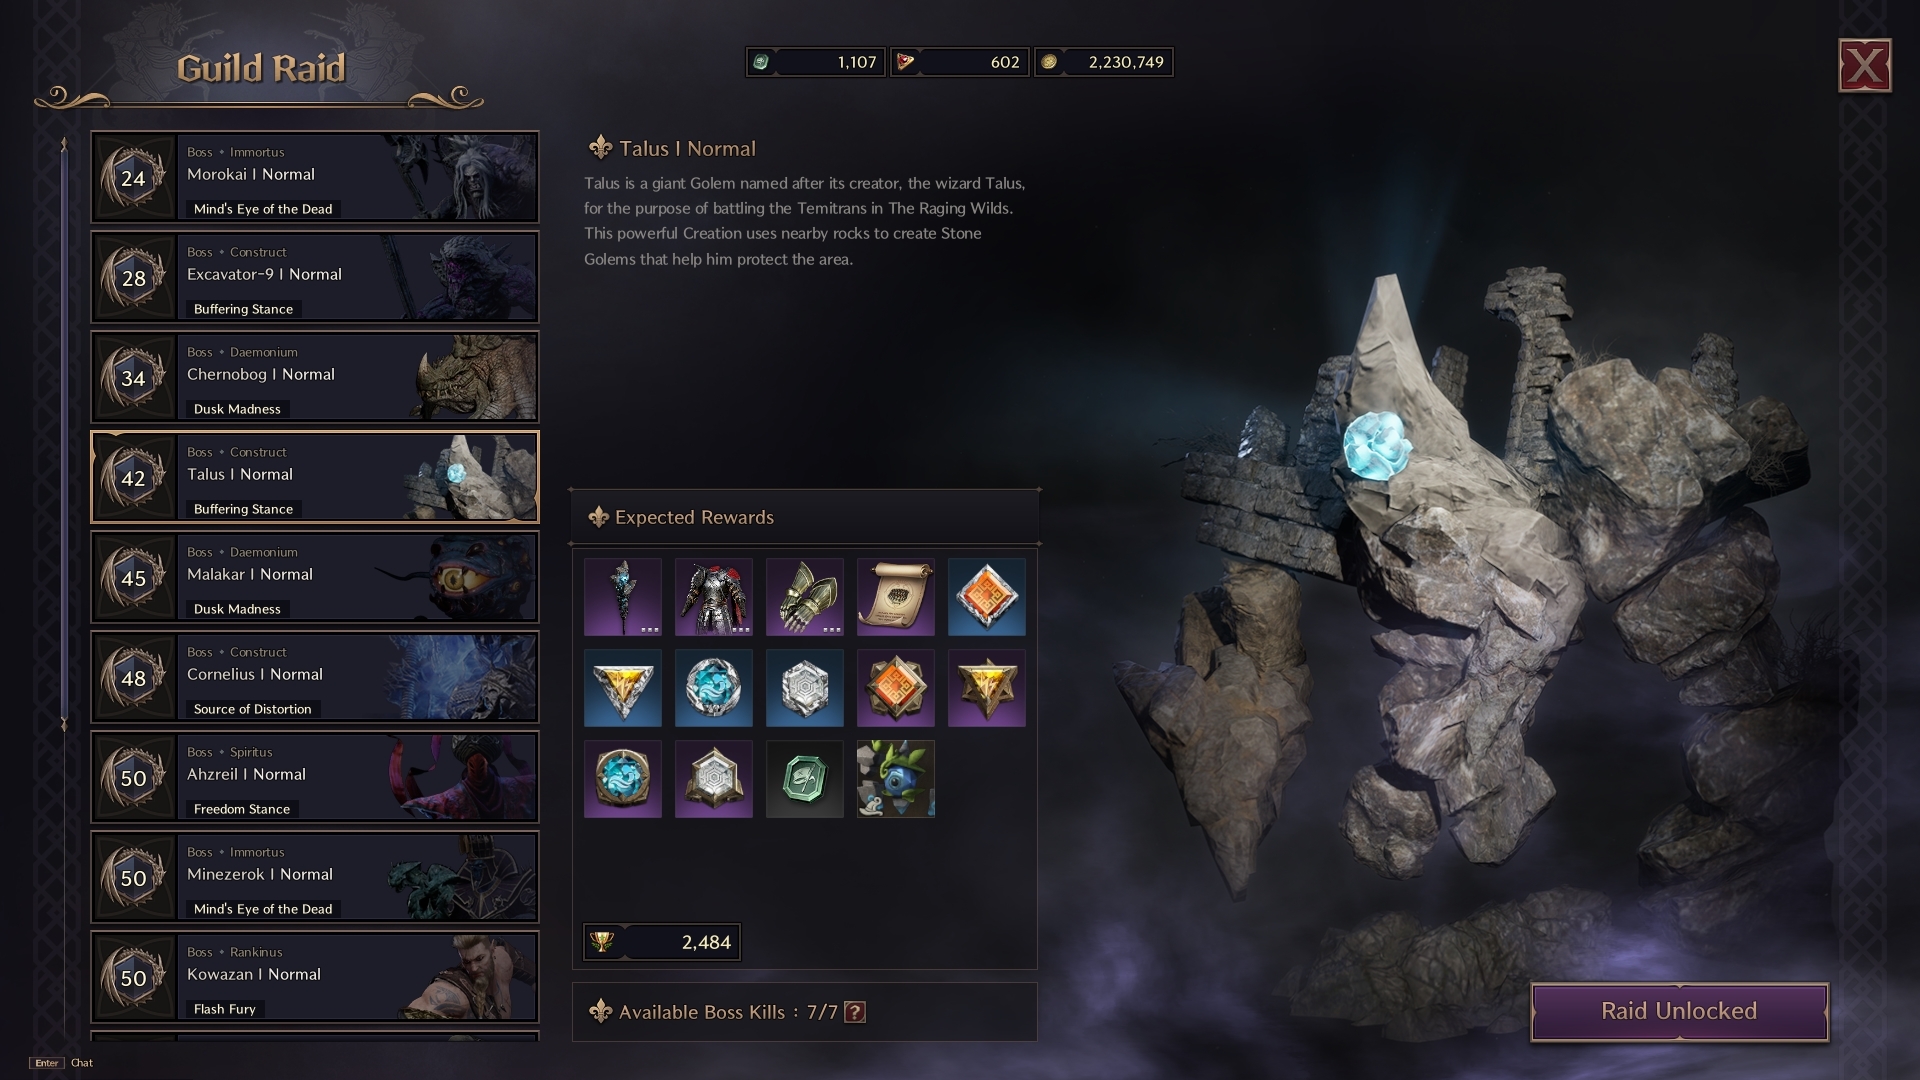
Welcome to our Talus Guild Boss guide. In Throne and Liberty, multiple Raid Bosses appear throughout the open world and in Guild Raid activities. Each boss is at a different level and brings their own unique mechanics. Talus is a Level 42 Boss, as a result, we recommend tackling this with guildmates that exceed that level. Talus in the open world is found at The Raging Wilds. However, once your Guild hits level 15, you can take on Talus with your Guild via the Guild Hall. Lets take a look at Talus’s mechanics and how to defeat it!
Talus Drops
Talus Boss Fight [Normal Difficulty]
Phase 1
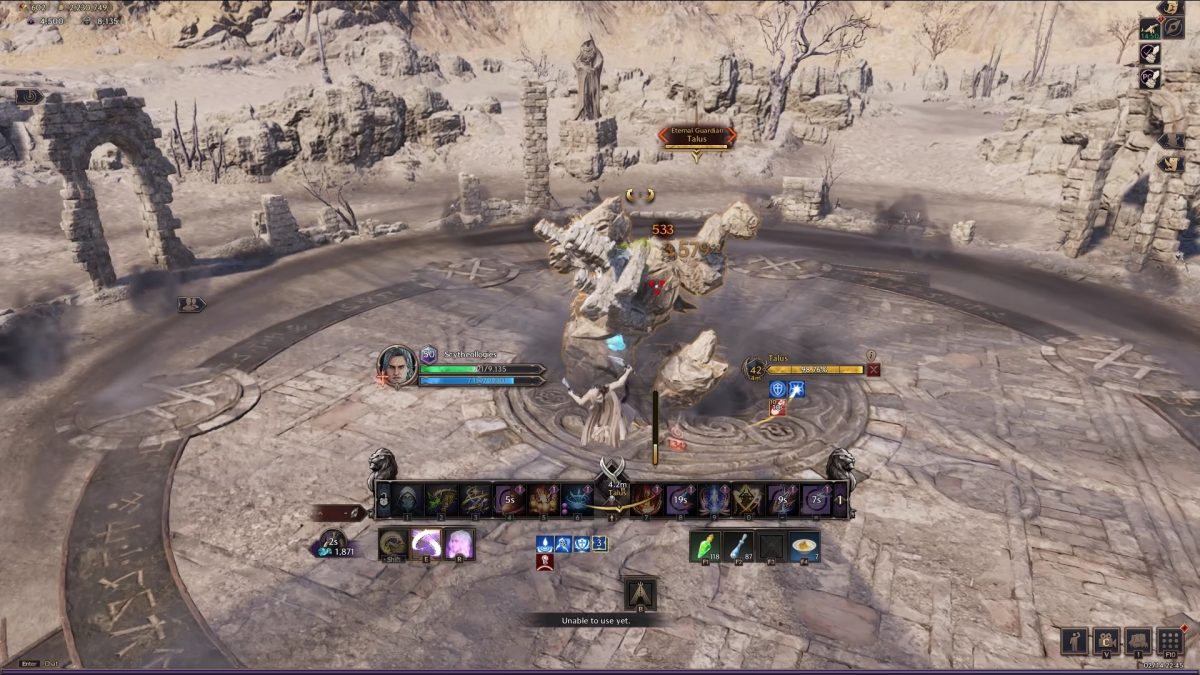
At the beginning of the fight, Talus has a standard array of attacks to watch out for. Typically, like most bosses in Throne and Liberty, Talus attacks close-up targets with melee attacks. However, if there is no melee players in range, Talus unleashes both a Fury Attack AoE wave and a ground-slam that knocks players up.

Phase 2
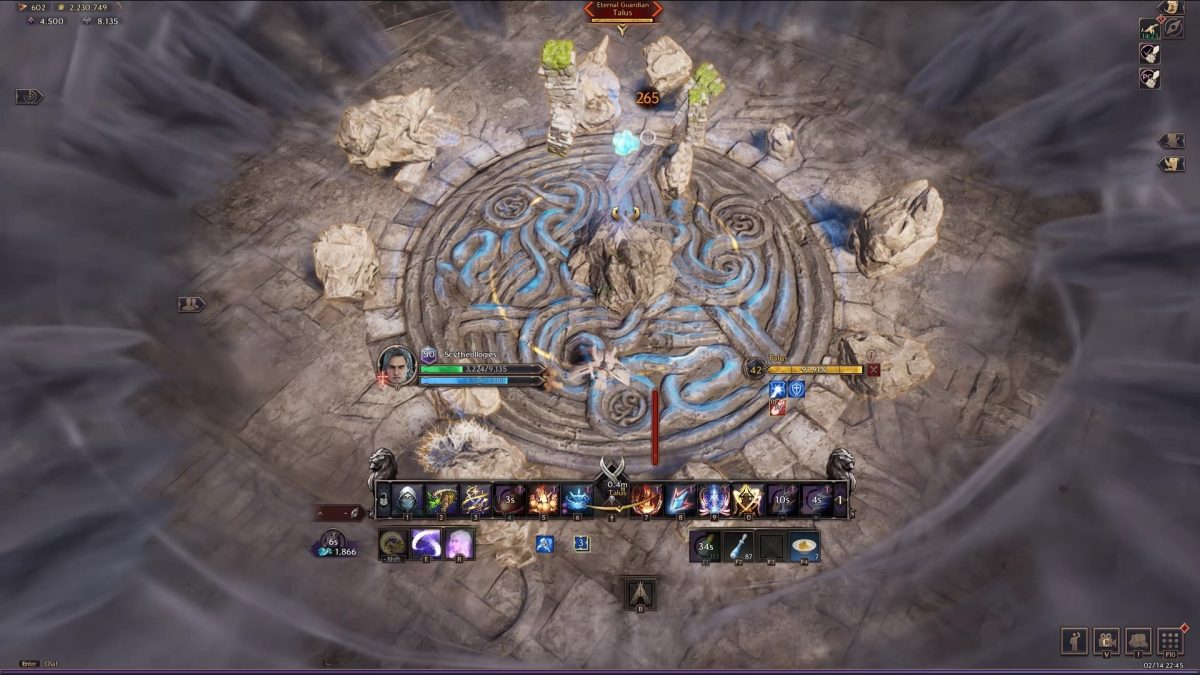
After a period of time has passed in the fight, Talus begins its first major mechanic addition in the fight. Talus winds itself up, signaling an attack with the line “Expel….Magic…!”. This attack is arena wide, Talus spins its arms around the whole arena dealing large amounts of damage. As a result, try to move in closer to Talus and continue dealing damage! You can also leave the arena entirely, however, this is a DPS loss.

Phase 3
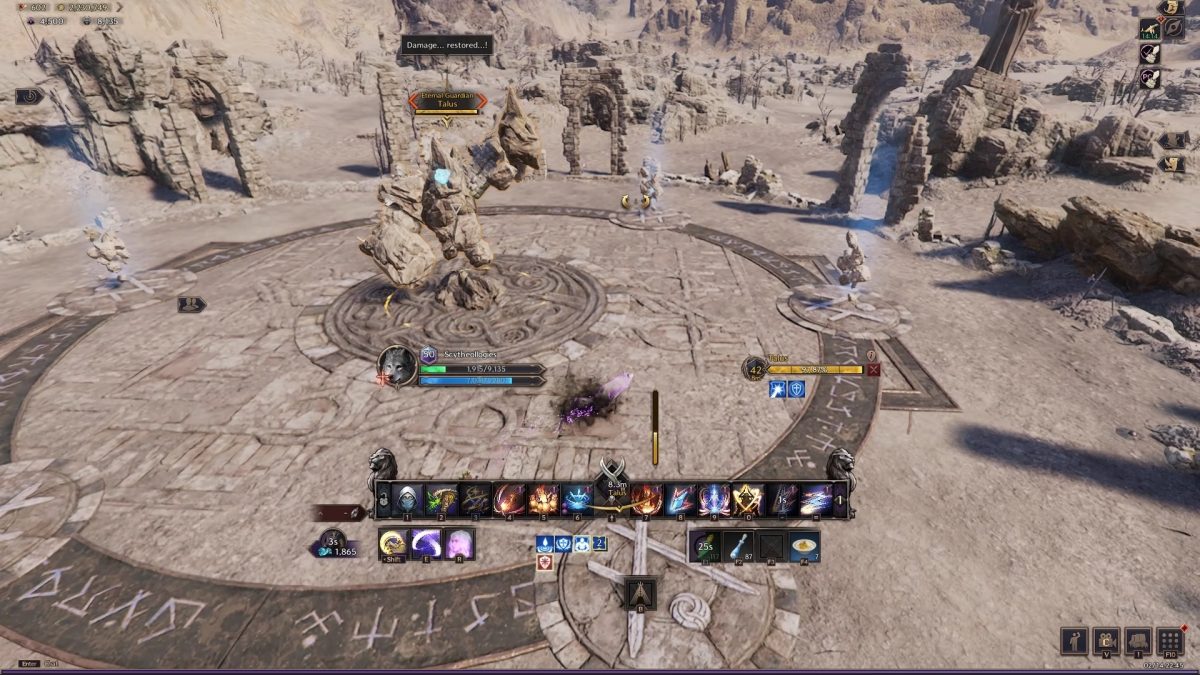
The final additional mechanic Talus adds into this fight is also time (or attack queue) based and not based off of the remaining HP of Talus. Talus calls out “Damage… Restored…!” before spawning three Golem Destroyed Core’s. The objective here is to have your guildmates run to these cores as soon as possible.

As a result of standing on one of the cores, you and your guildmates receive a protective barrier. This is important because if you do not manage to stand next to a core to charge a shield up – you and every player that didn’t reach it in time become immediately wiped. This is the only major wipe mechanic of the Normal Difficulty fight. After this mechanic, Talus resets back to Phase 1 and repeats until defeated!
Talus Guild Boss Guide Conclusion
That concludes our Throne and Liberty Talus Guild Boss guide. For more information on Throne and Liberty, check out our official Home page!


