
Introduction
Welcome to our Lionhead and Umbrakan Solo dungeon guide. In this guide we’ll walk you through one of the Solo Dungeons in Throne and Liberty. Solo dungeons, also known as “Halls of Illusion”, provide players with a unique set of bosses and challenges to complete alone. Solo dungeons rotate weekly, each providing rewards up to 3 times a week. As a result, it’s important to learn and complete these dungeons.
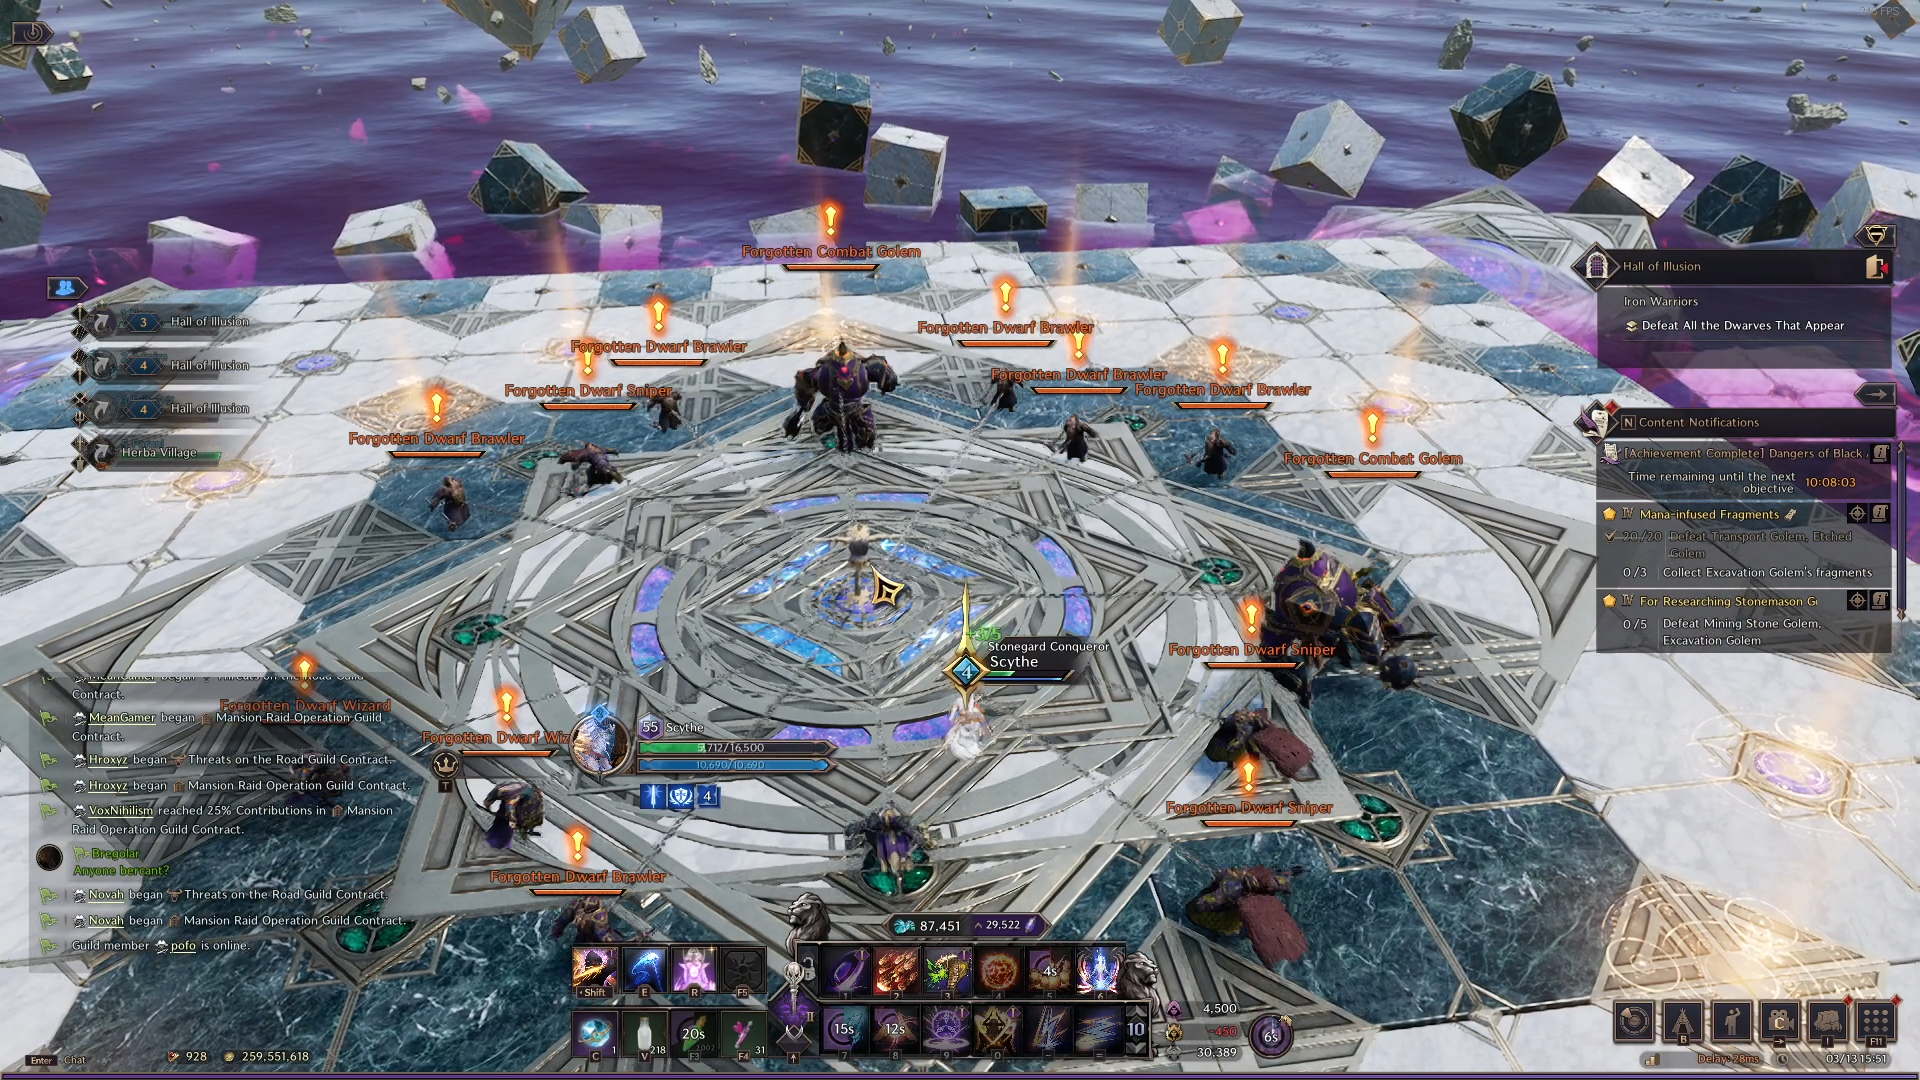
Floor 1 – Dwarf Platform
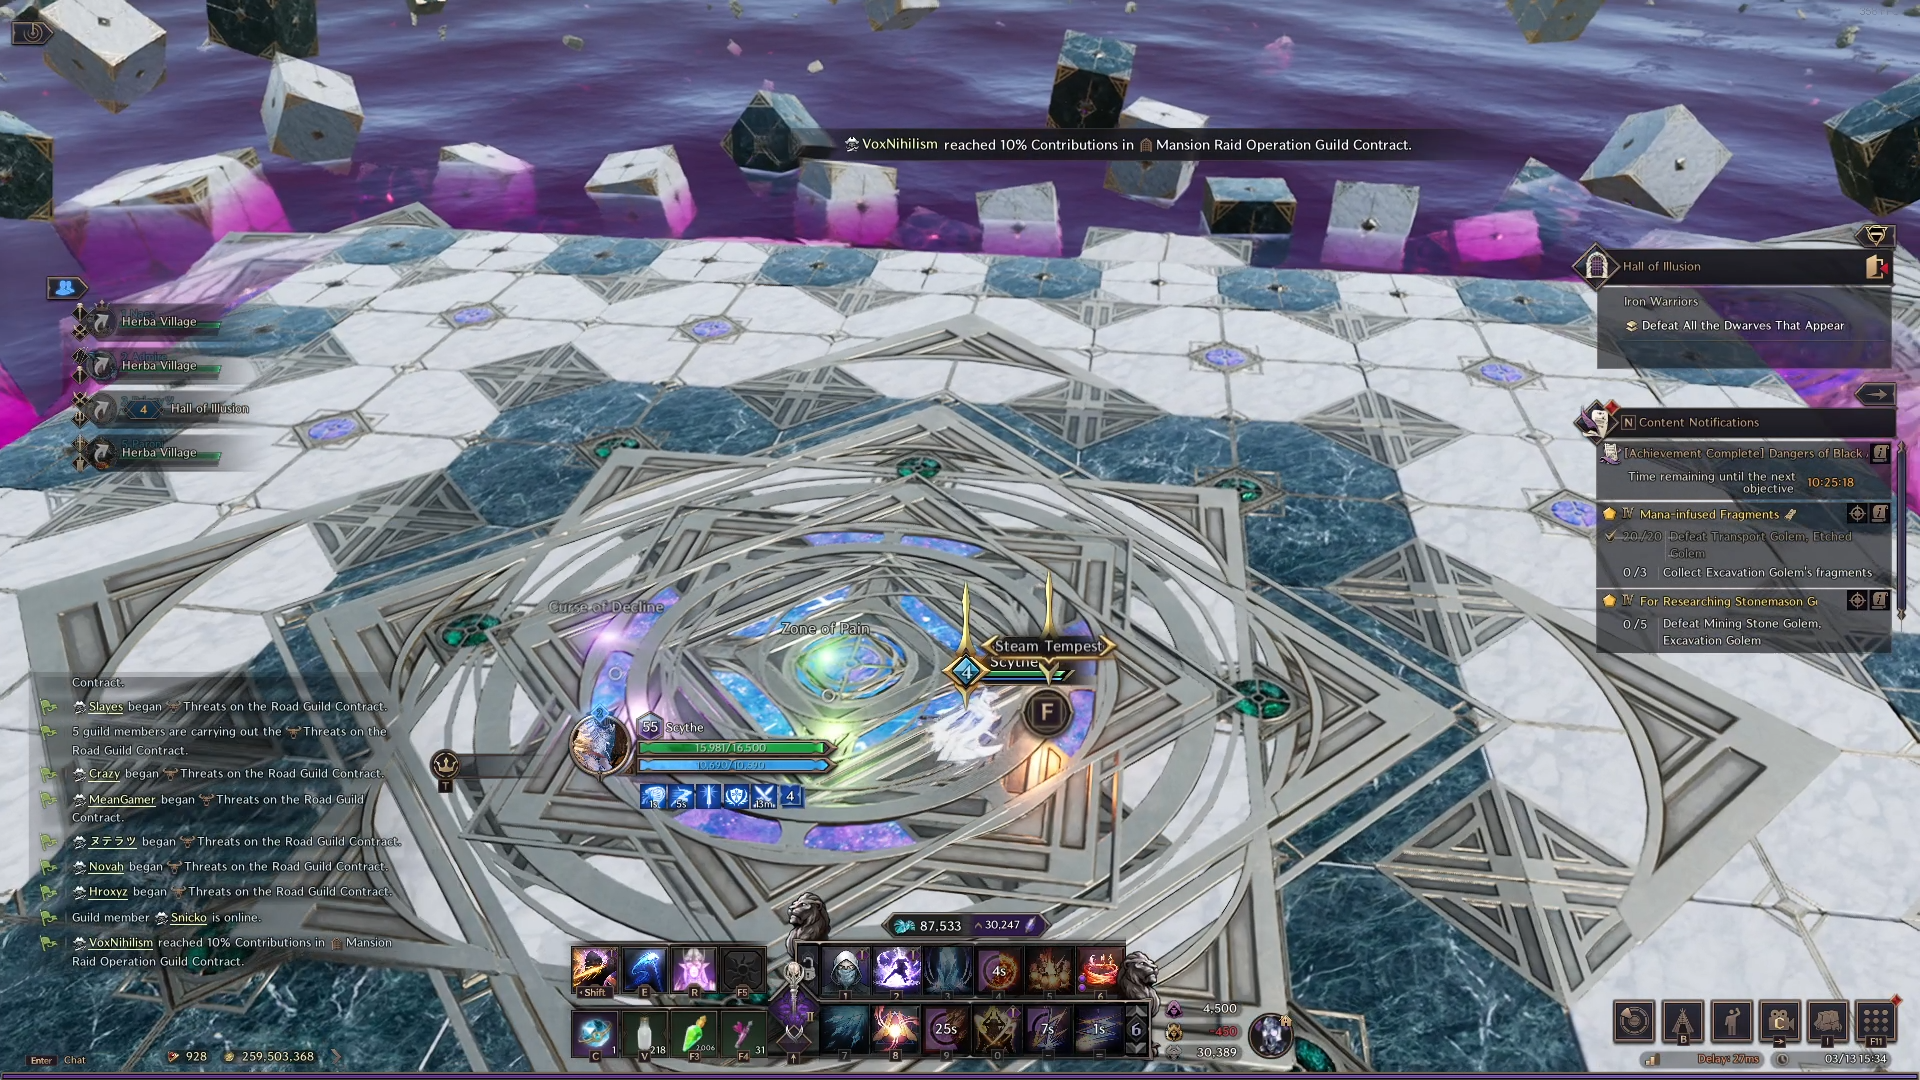
The first challenge floor consists of three power-ups to select between each phase of the floor. Each buff option provides a different but fun buff that is positive for you, for example, the Chain Doll power-up. The Chain Doll power-up pulls the entire wave of monsters into the center of the arena – allowing you to blow up all the monsters in AoE.
Once a power-up is selected, a large wave of Dwarves spawns in a circle around you. As a result, finish each wave of Dwarves, selecting new power-ups between each wave until completed.
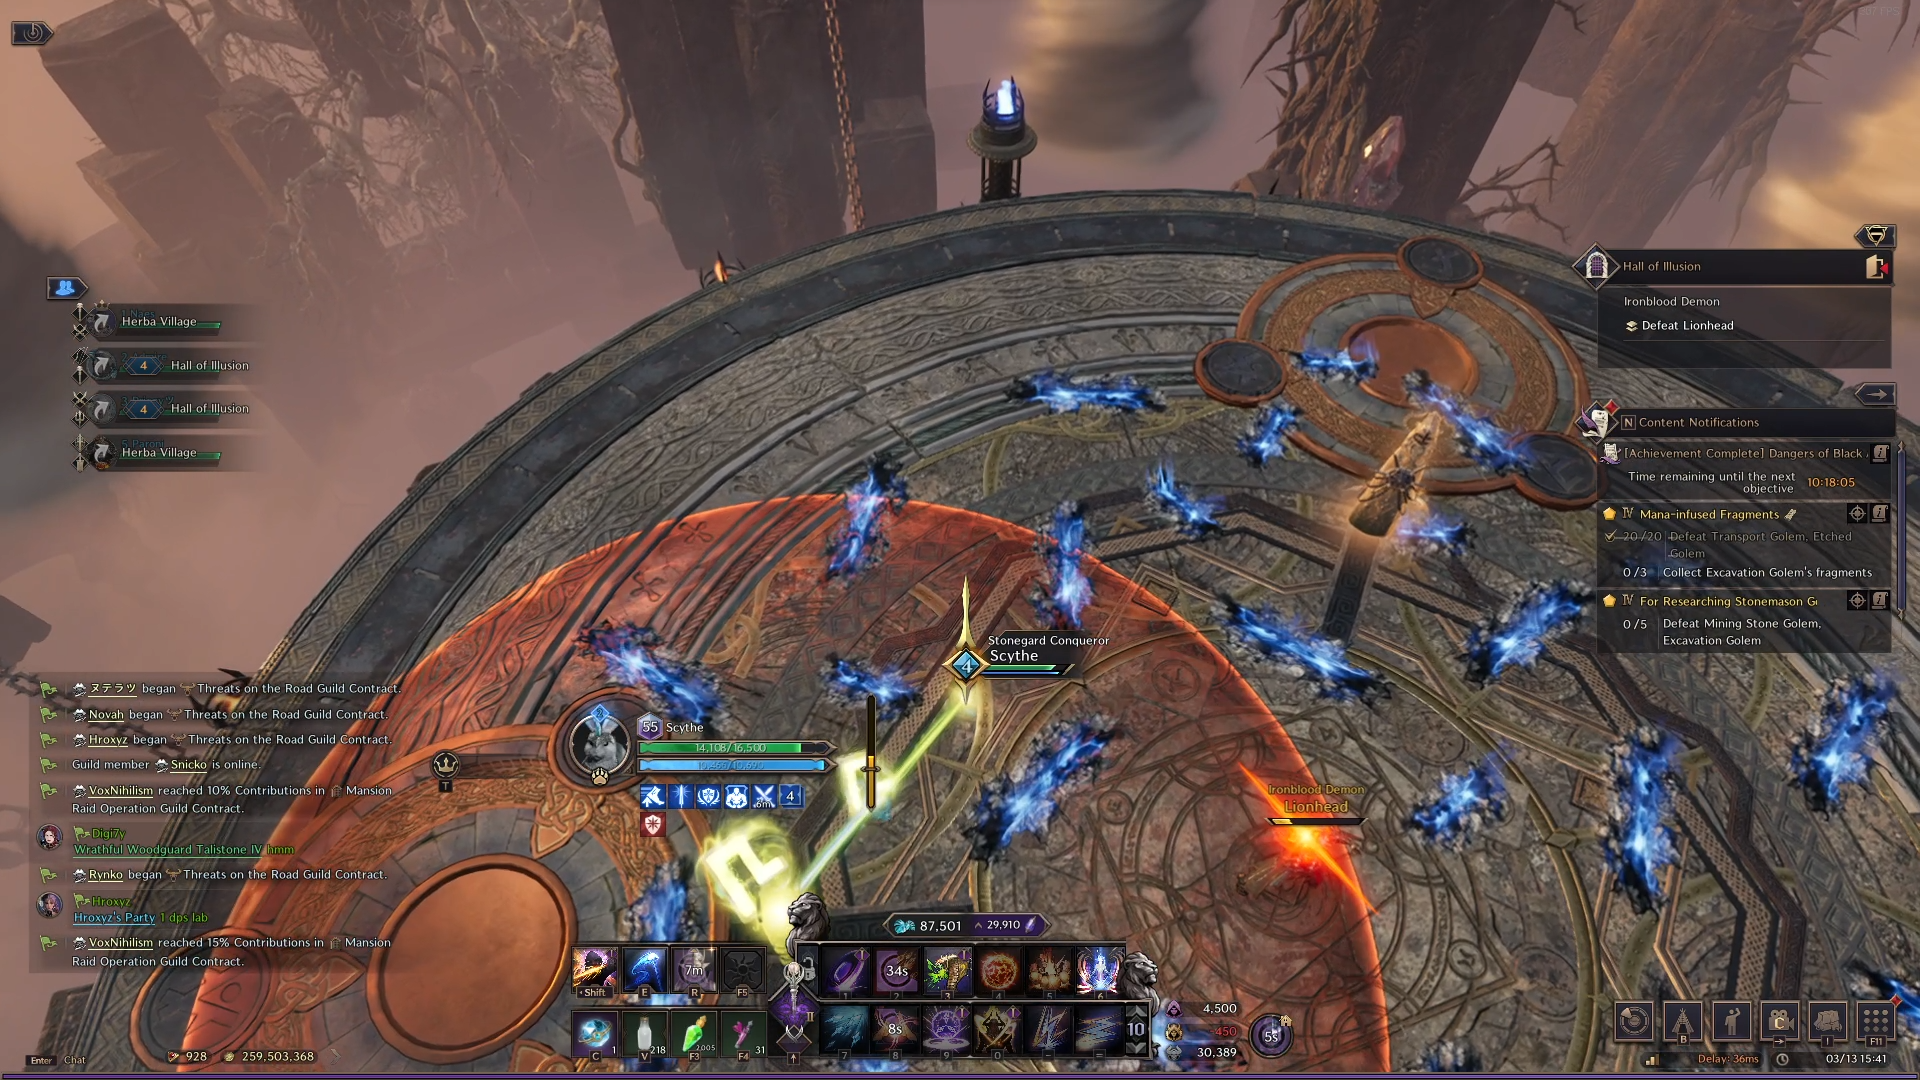
Floor 2 – Lionhead

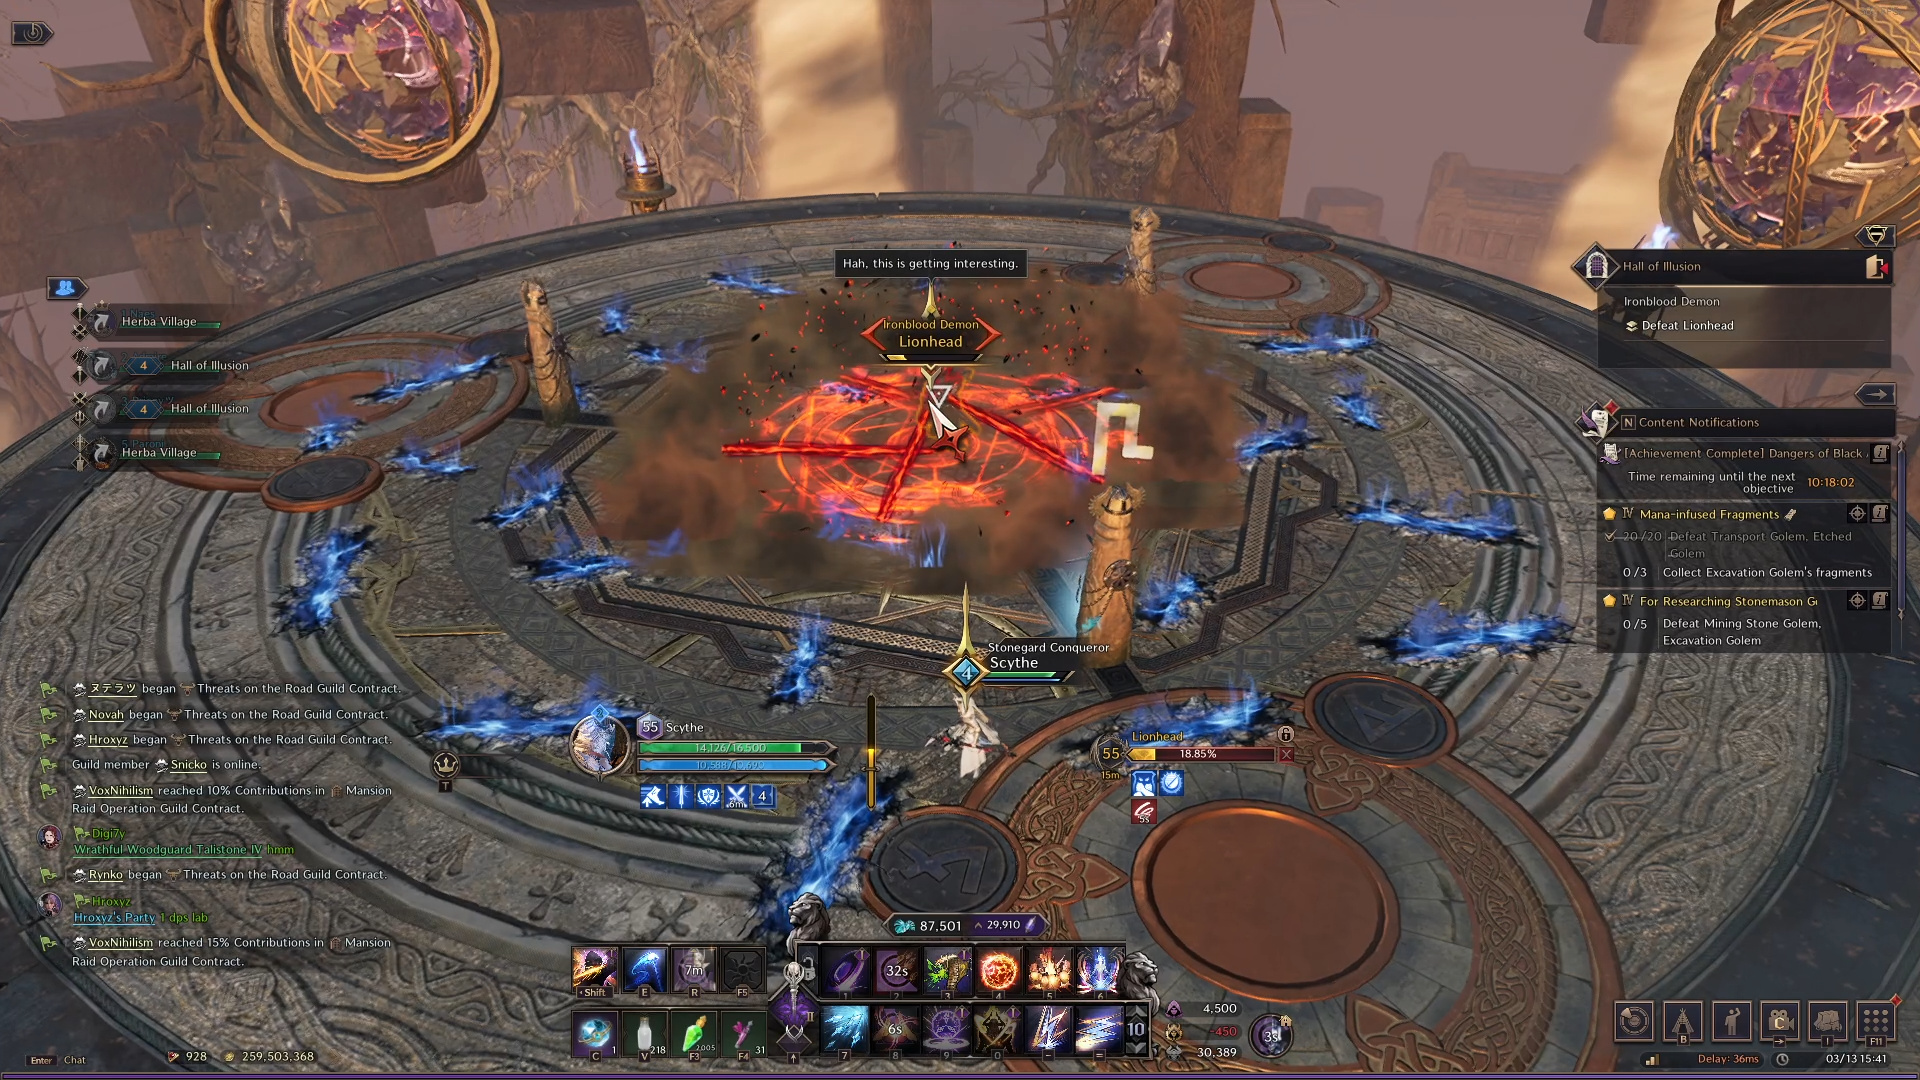
Lionhead is the first of two bosses in this solo dungeon. For this boss fight, we recommend taking the increased Movement Speed buff as it will help to complete the main mechanic of this fight.
The fight with Lionhead is simple, but easy to become confused with how the mechanic works. The boss arena is covered in blue rifts that deal damage to you if you pass over them. Lionhead uses standard attacks, Fury Attacks and everything you’d usually expect from a boss. However, the main mechanic teleports the boss to the center, spawning 3 totems and NPCs with matching icons.
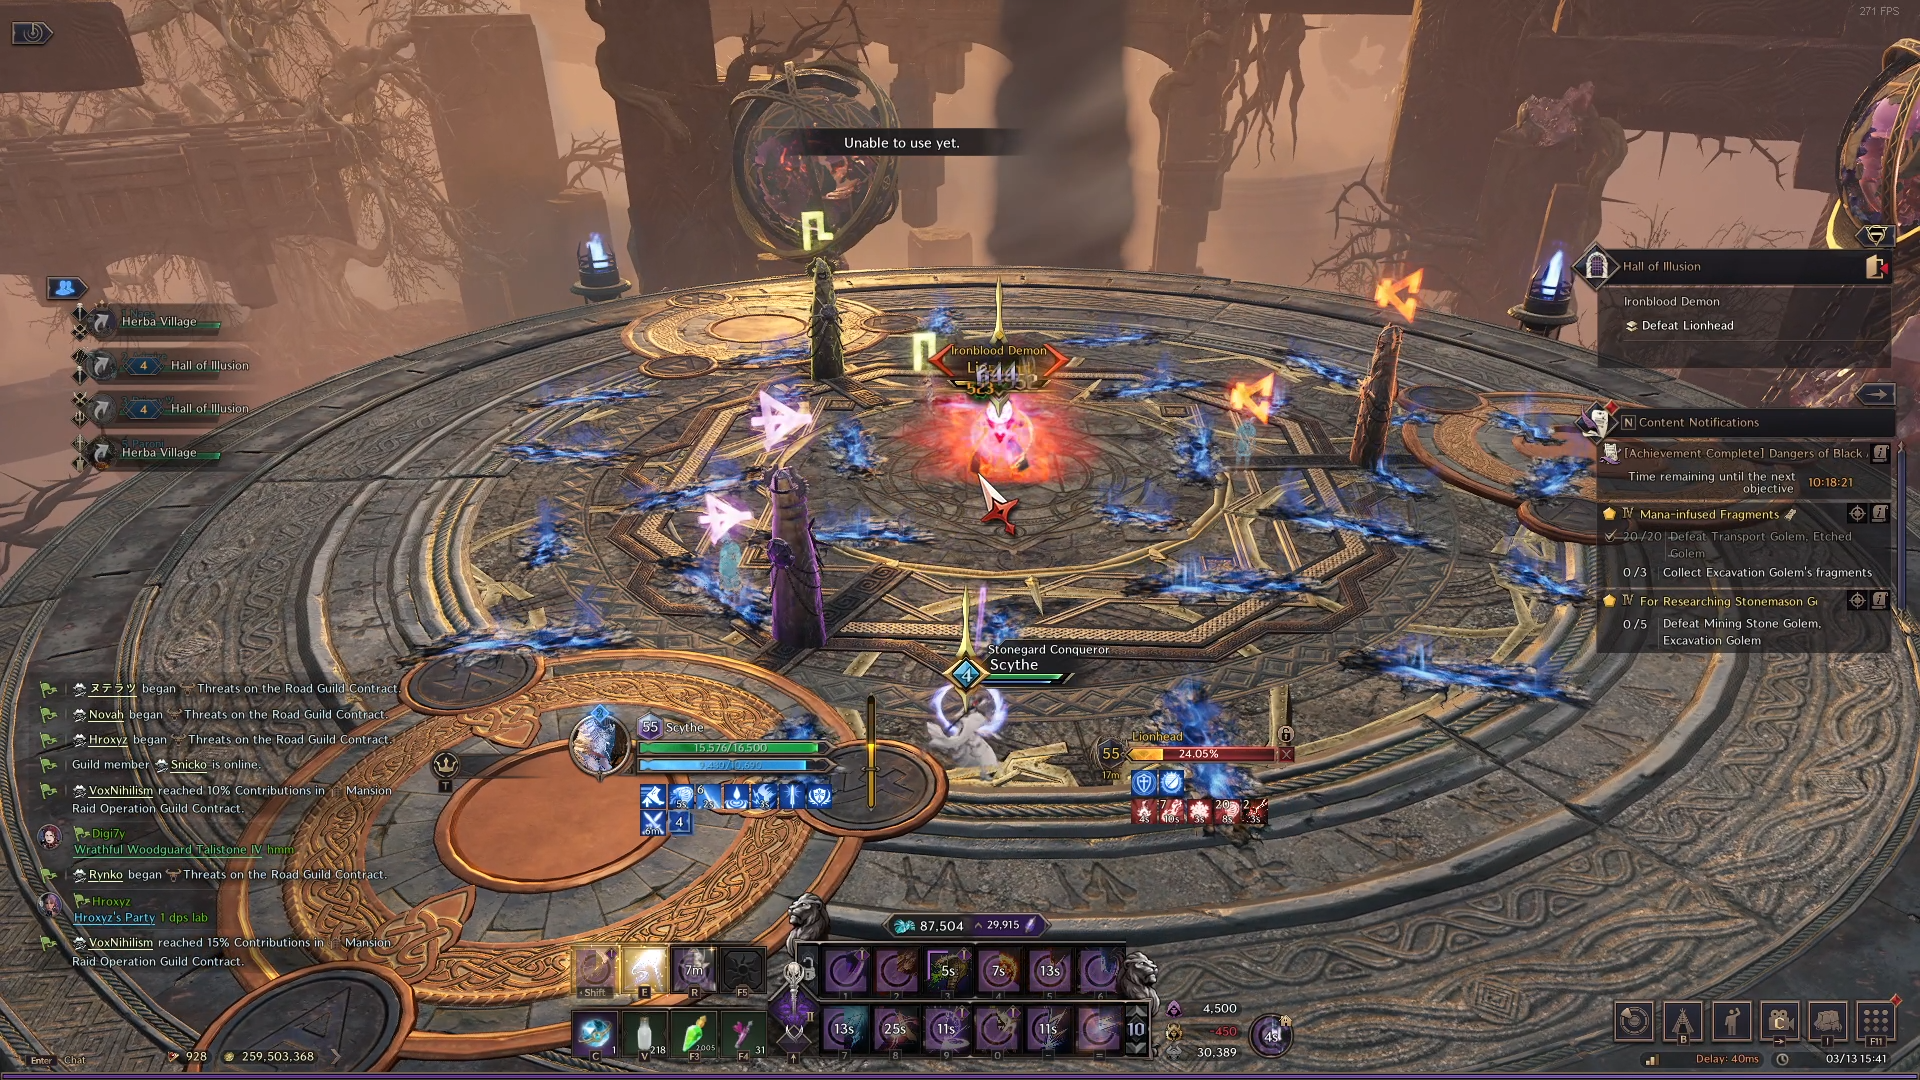
The task looks confusing, however, it’s actually pretty easy. Simply run up and touch any of the pillars – this’ll connect you to the pillar with a tether. The next part of the task is to run over to the matching icon NPC, pulling it to the totem and connecting it. Repeat this step on all 3 pillars to ensnare Lionhead, and finish the fight.
Once this boss is defeated, proceed to the next floor!
Tier 5 Lionhead Mechanic Additions
When tackling the challenge of the Tier 5 Lionhead and Umbrakan Solo dungeon – additional mechanics get thrown into the mix to increase the difficulty. See below the additions:
- Lionhead has a couple of extra attacks that teleports him behind you and initiates a Wrath Attack that you must Dodge Roll to avoid.
- An orb mechanic repeats 3 times (one for each pillar) – Lionhead fires 3 orbs towards one Pillar at a time. Two of the orbs are red while one is blue. To complete this mechanic successfully, head up to the blue orb as soon as you see it and block it with your defensive skill. Completing the mechanic each time allows you to interact with each pillar in the follow-up mechanic.
- Lionhead does a large blockable AoE in the centre of the arena. After this, You’ll find yourself doing the pillar tether phase as seen in Tier 1-4. However, if you failed any of the orb mechanics before this – you cannot interact and tether with that pillar. Failing to activate any of the pillars results in a wipe.
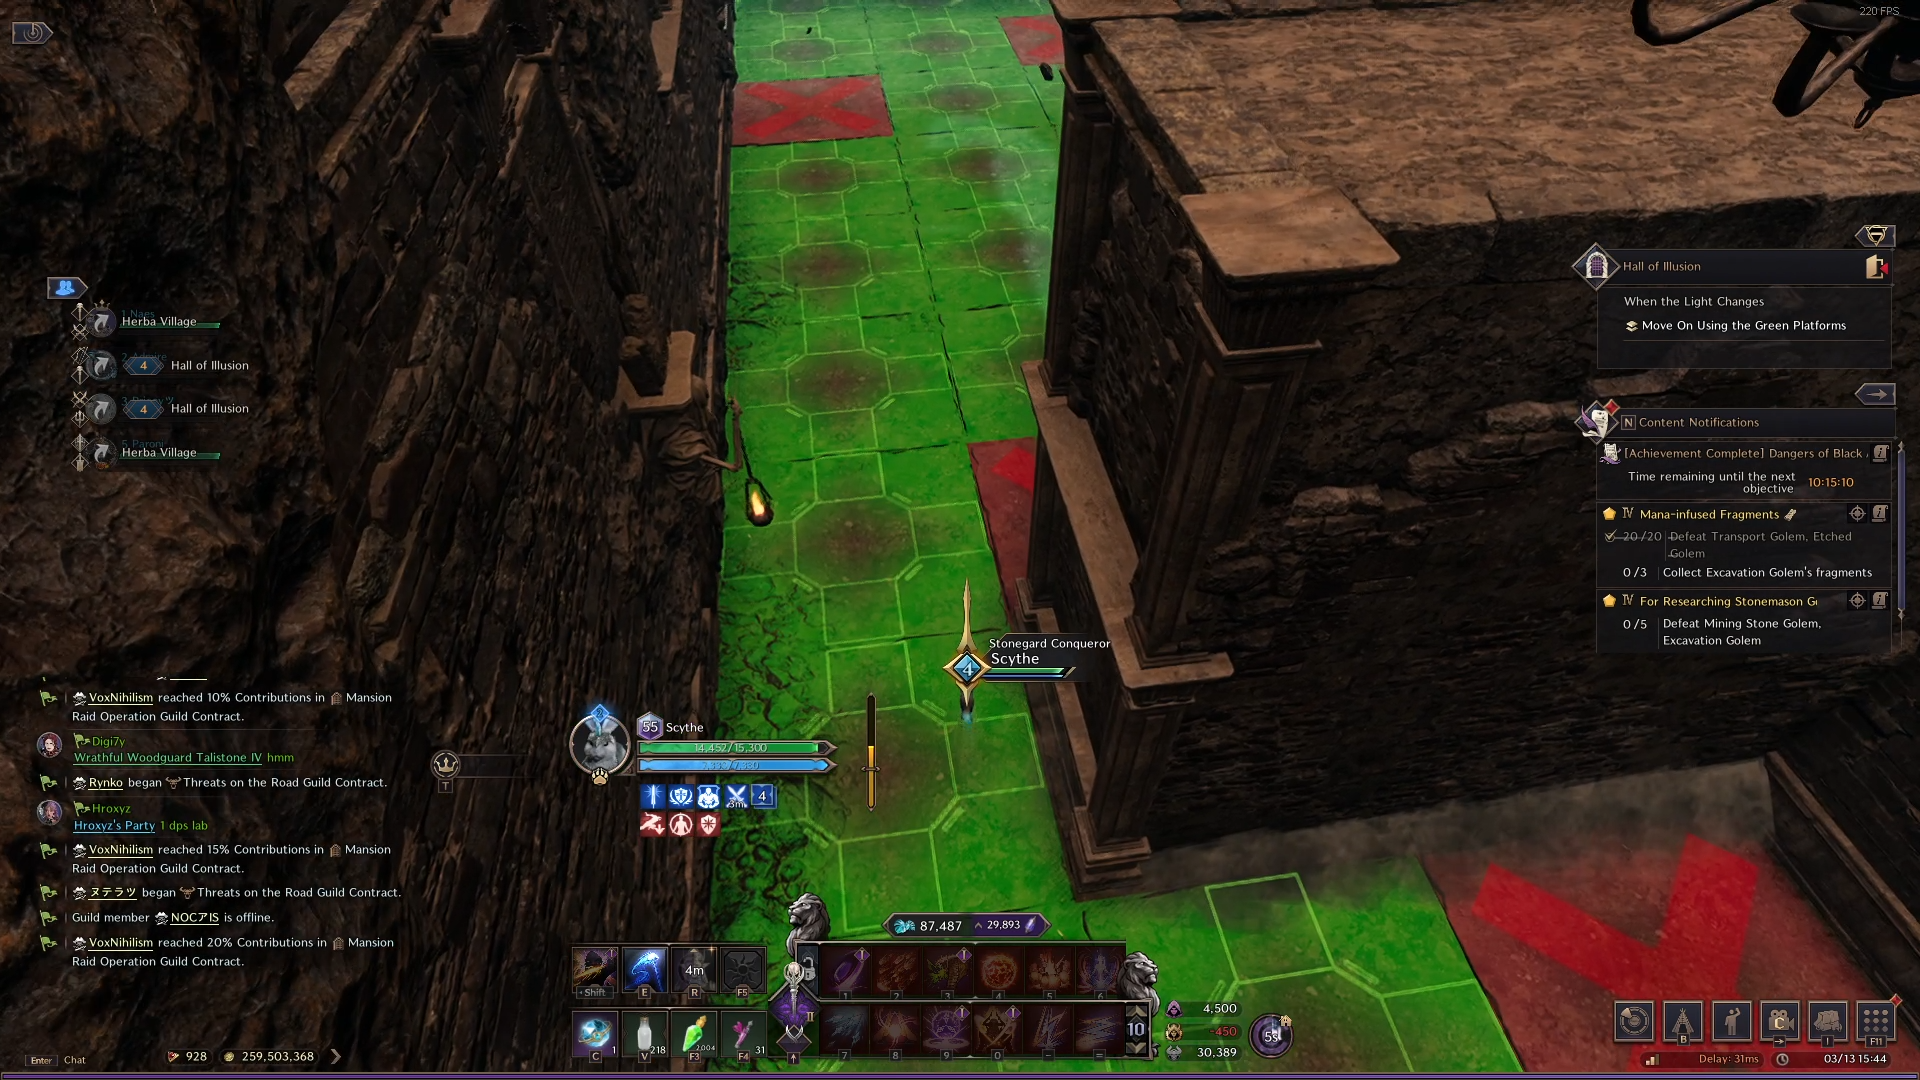
Floor 3 – Tile Puzzle
The Tile Puzzle room is exactly that – a series of corridors with varying levels of difficulty. Initially, you’re shown a basic example of how the tiles work. For example, a green tile that you can safely stand on, and red tiles that deal a lot of damage to you if you stand on them.
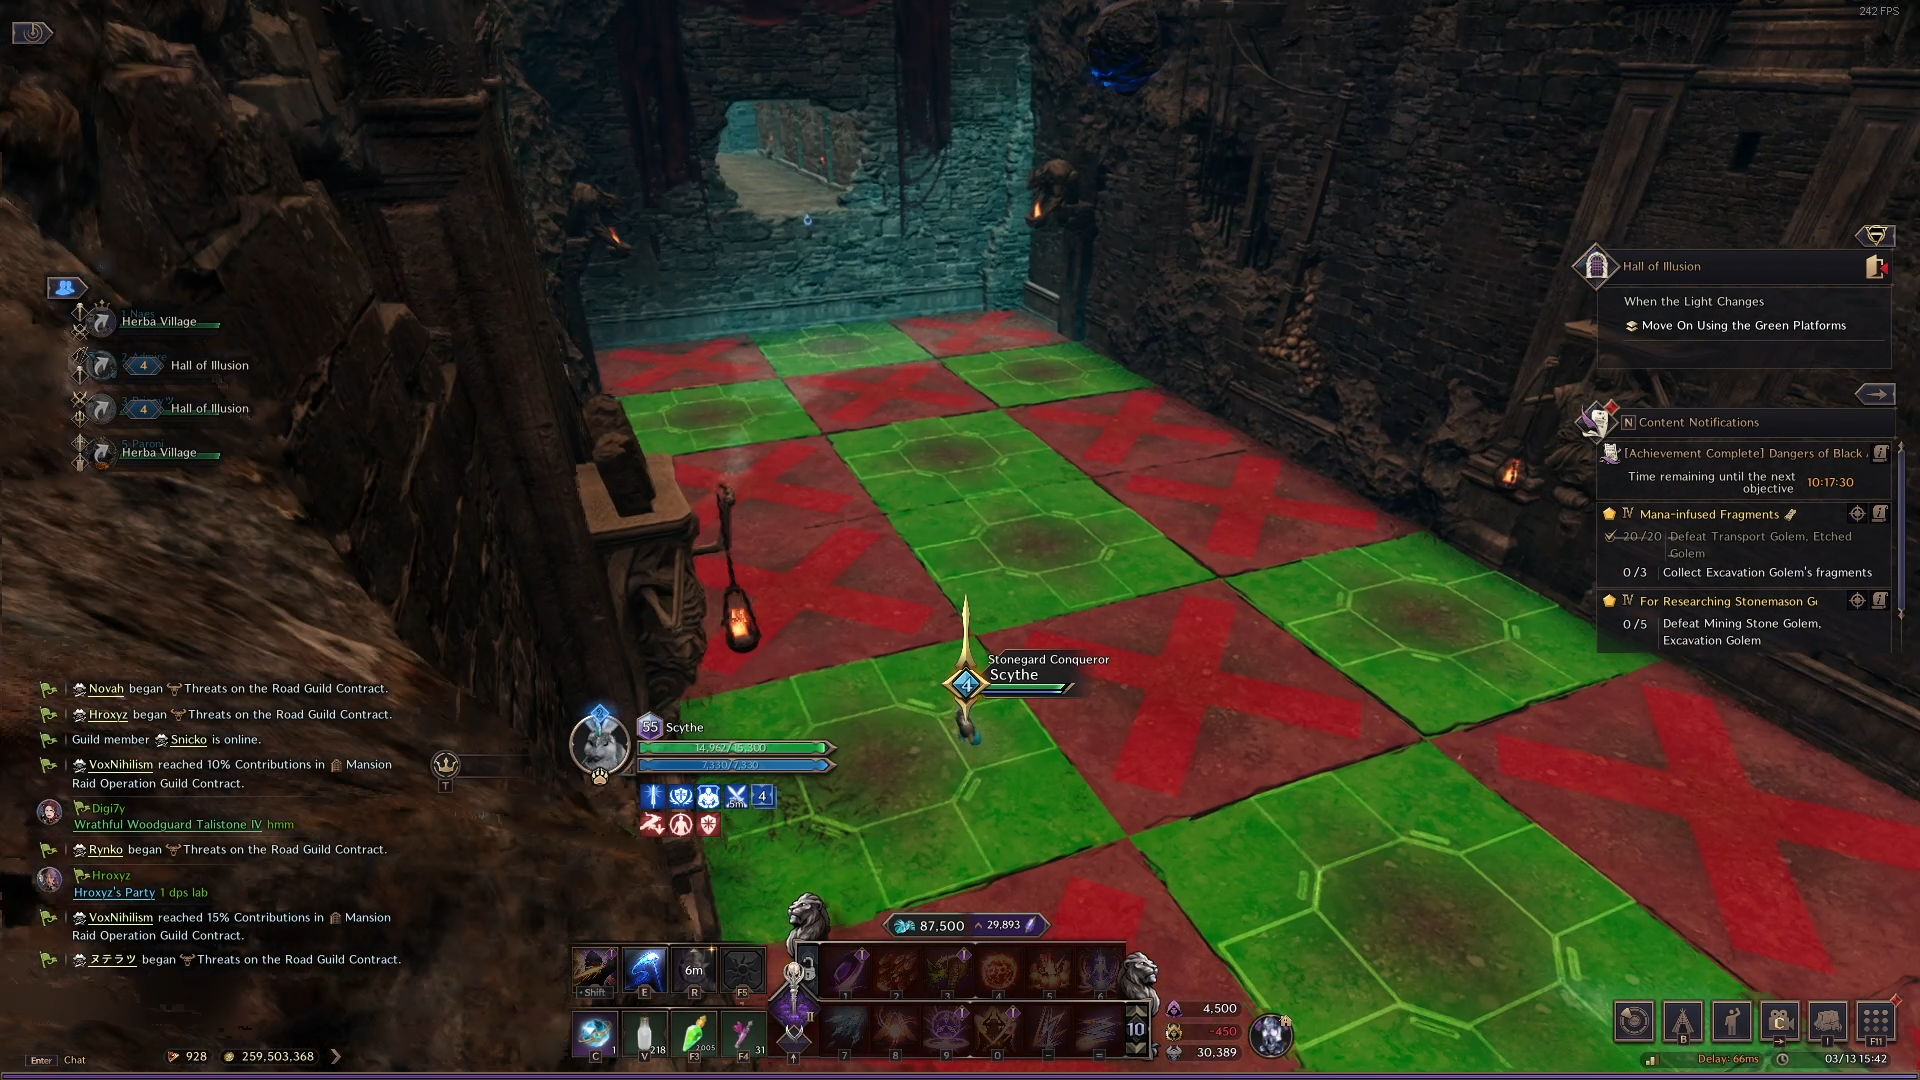
Eventually, the tiles actually change between green and red in a shifting pattern. As a result, take note of the tile changes and create a path for yourself. However, watch out for the giant moving walls that close in from the left and right of the corridors on your way through!
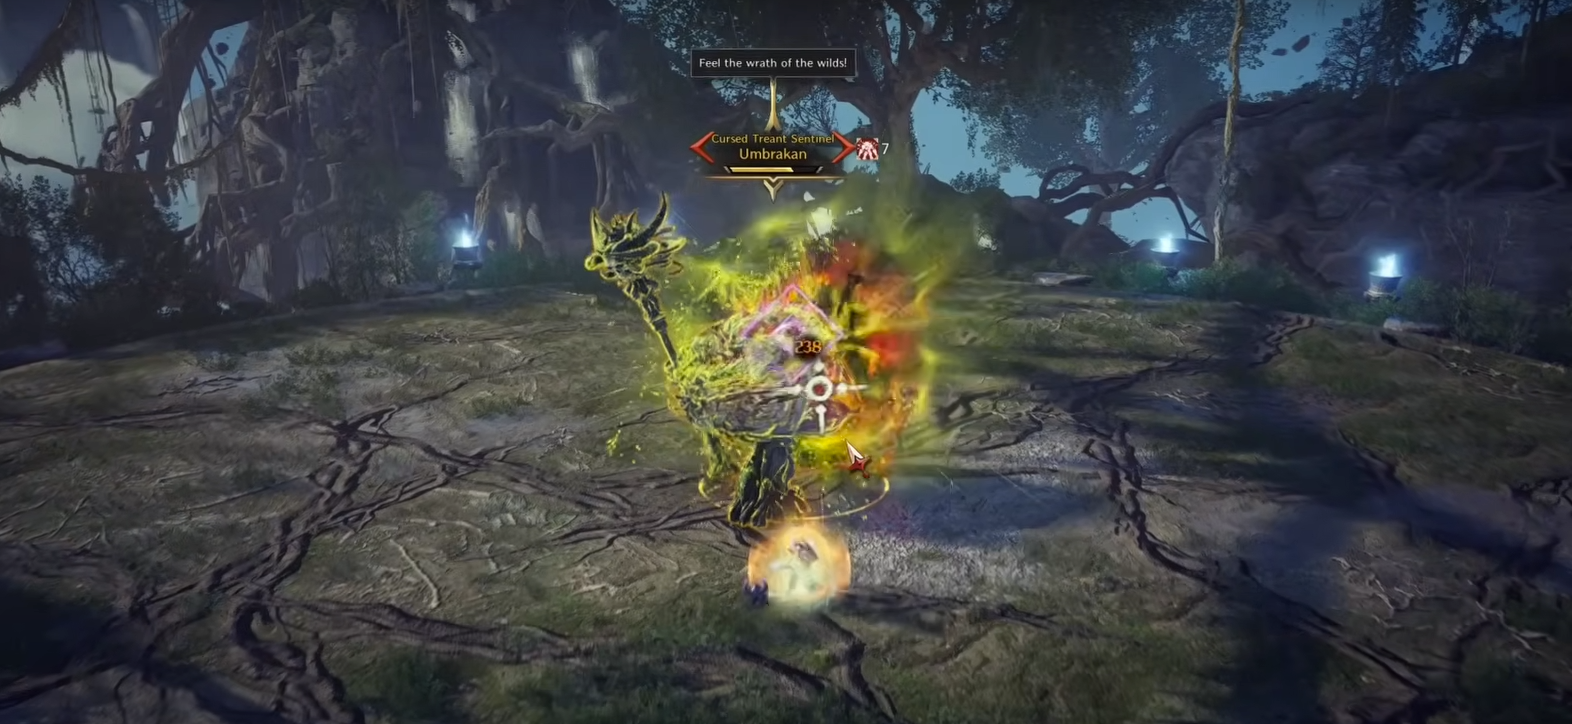
Final Floor – Umbrakan
Umbrakan is the final opponent to stand before you and completing the solo dungeon. This Treant Sentinel has a standard array of attacks you’d expect by now from bosses (such as Fury Attacks, Wrath Attacks, zone-based attacks and more). However there is a couple key things to be aware of when fighting Umbrakan. We recommend selecting the Stamina buff to assist in the amount of blocking/dodging you’ll be doing.
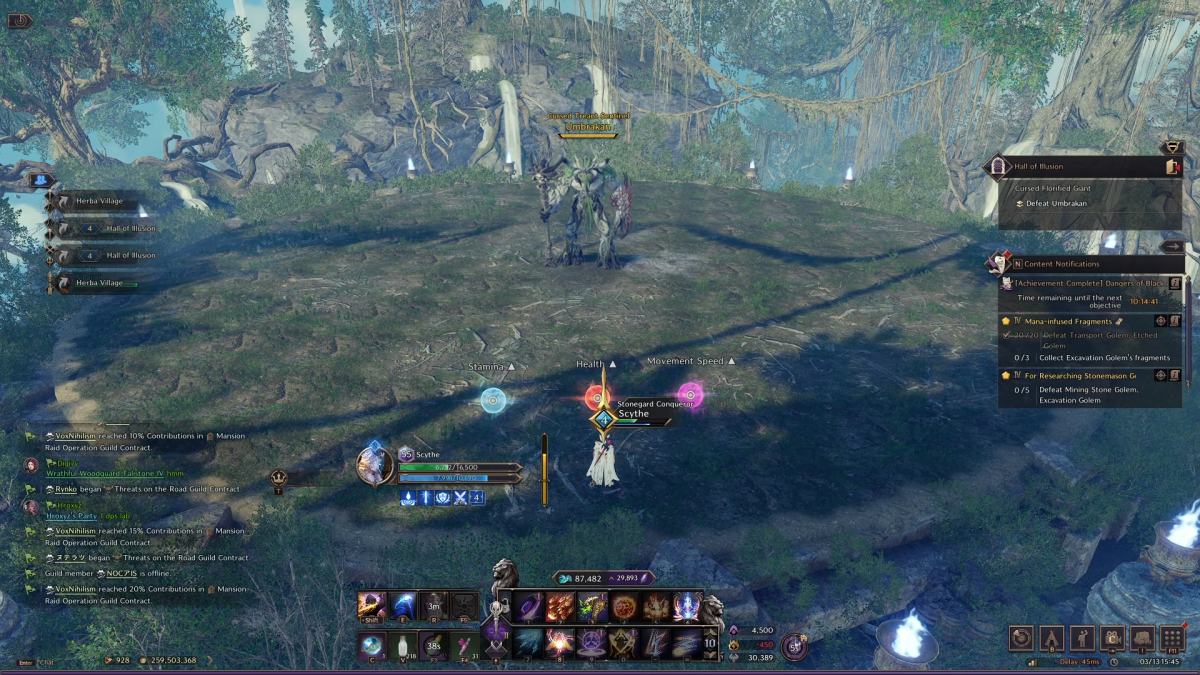
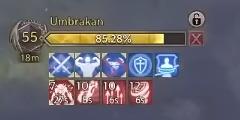
The biggest mechanic of Umbrakan revolves around blocking both Fury and Wrath attacks to prevent a wipe. In this case, the boss requires you to block 7 Fury and/or Wrath attacks total before the wipe mechanic occurs. The easiest way to bait the most Fury/Wrath attacks is to stand close to the boss. However, it is important to take care of the lingering damage zones Umbrakan can leave. You can check your total amount of blocks on the bosses Debuff bar.
Eventually, Umbrakan leaps high into the air (an attack you can jump to avoid) and begins channeling. After this short channel, Umbrakan launches to the center of the arena and begins repeatedly casting Wrath attacks. As a result, use your stamina properly here and avoid all the attacks. These attacks remove the block counter and your build up of total blocks begins again.
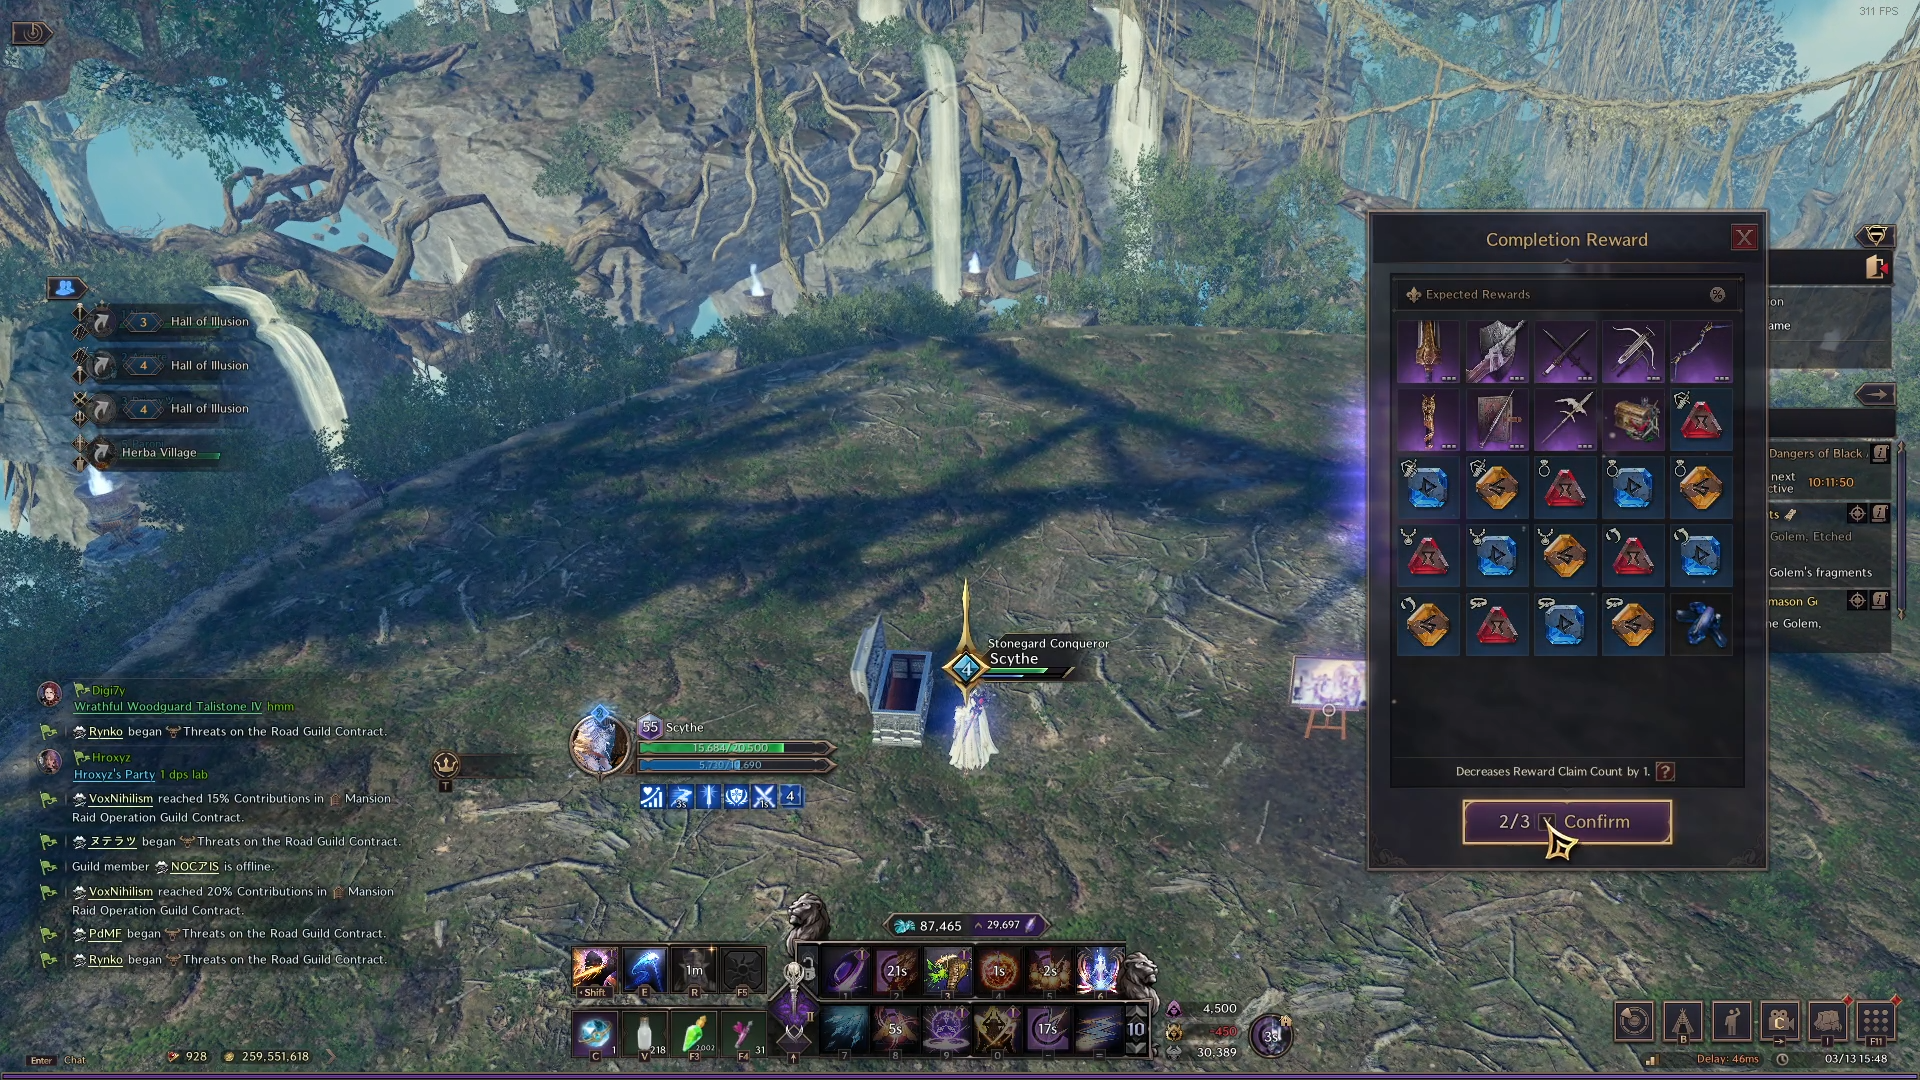
Repeat the steps above and defeat Umbrakan, claiming your rewards! Remember, you can claim rewards from the solo dungeons in Throne and Liberty up to 3 times per week (you also receive higher chances of better rewards at higher tiers).
Tier 5 Umbrakan Mechanic Additions
For Umbrakan, there isn’t much of a mechanical difference in Tier 5. However, Umbrakan follows two specific pattern sets that it can change between during the fight. It is important to recognize what pattern is starting so you know how to avoid and complete each phase.
Lionhead and Umbrakan Solo Dungeon Conclusion
This concludes our guide for the Lionhead and Umbrakan Solo dungeon in Throne and Liberty. For more information on Throne and Liberty and future solo dungeons, check out our main page.