Introduction
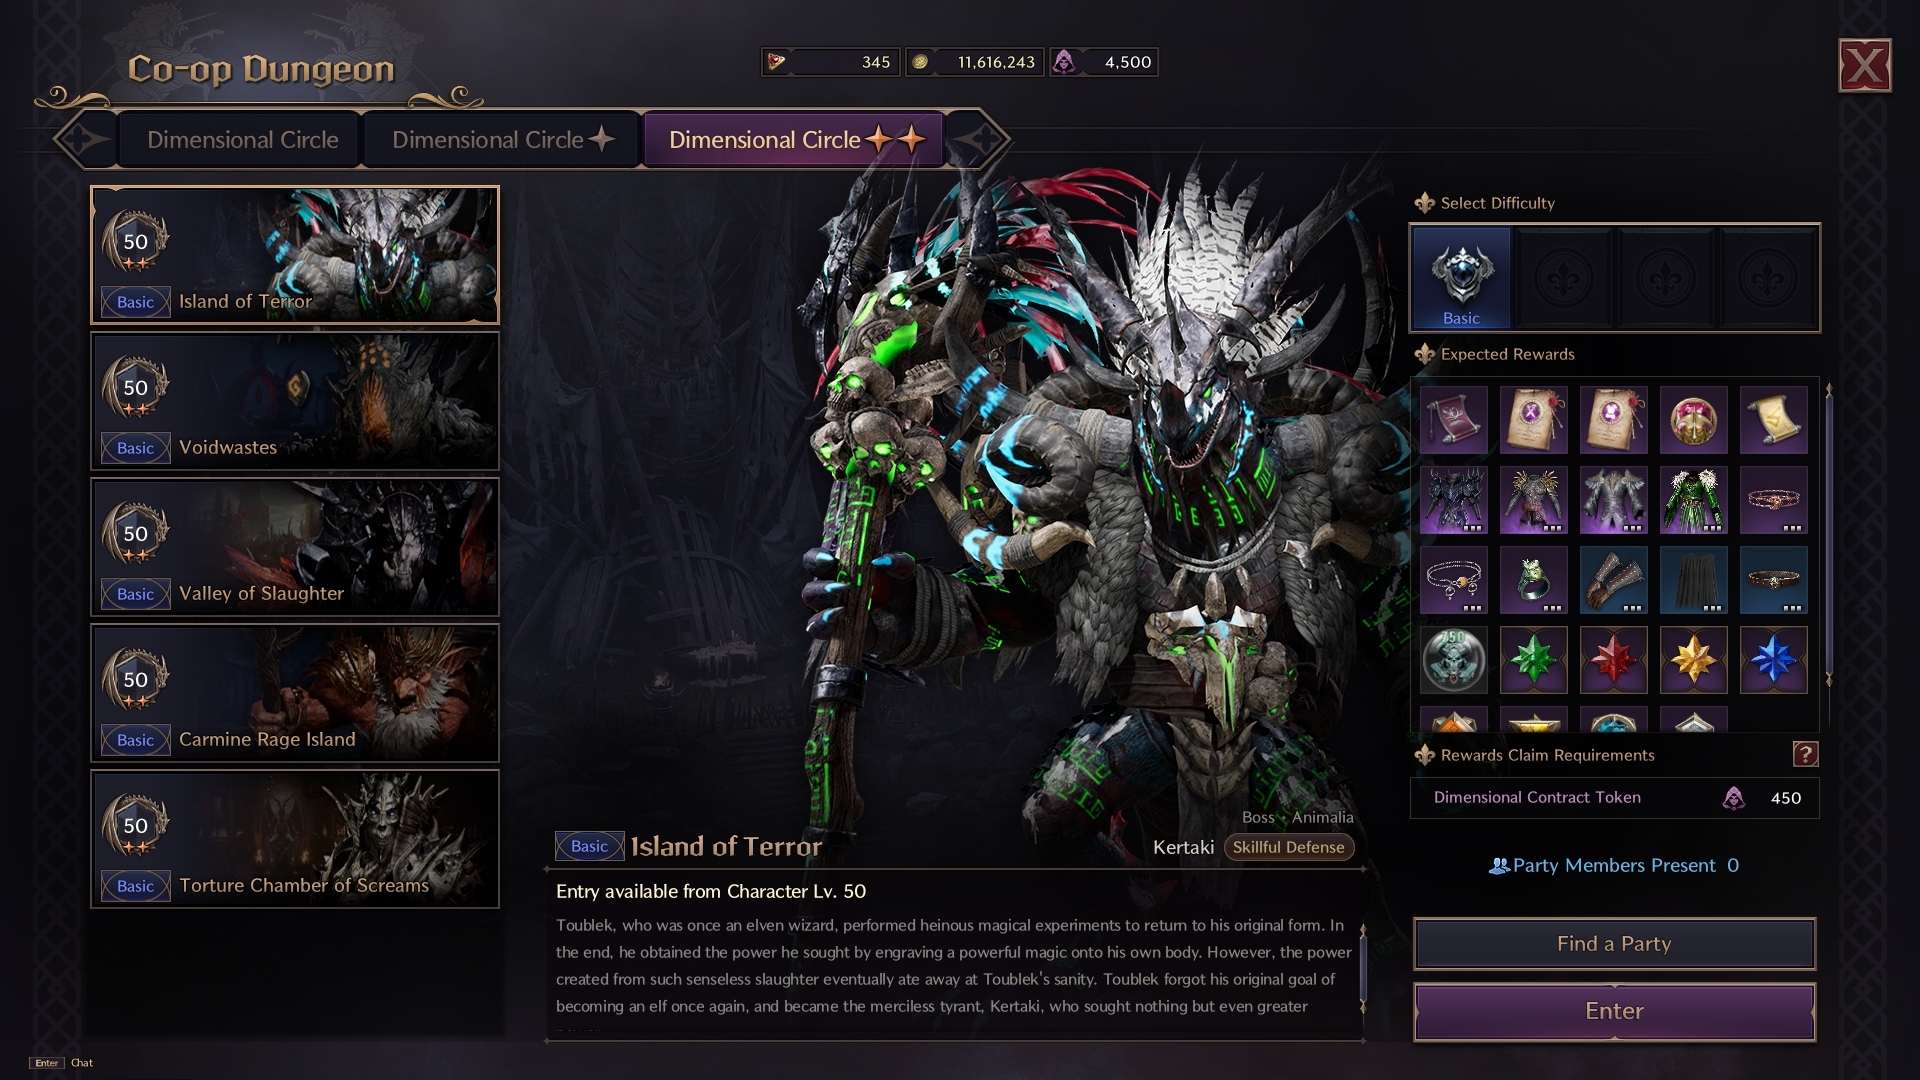
Welcome to our Island of Terror dungeon guide. This is the first guide that’ll walk you through each of the Tier 2 dungeons in Throne and Liberty. Island of Terror shares many similarities with Tyrant Isle (Tier 1). However, the Tier 2 dungeon is far more difficult and requires decent gear (for example, +9 Epic Grade gear) to smoothly complete.
PLEASE NOTE: The guide below is the COMPLETE guide of the dungeon – all mechanics included. However, some of the mechanics are stripped away in the “base” version of the dungeon. These mechanics are added back in the “Challenge” mode at certain Tiers of difficulty. As a result, the base version of the dungeon is much easier than you might expect after seeing all the mechanics below.
Defeat the Frenzied Reptilian Executioner
After the initial clearing of some general mobs at the start of the dungeon, head towards the closed gate. To progress in the dungeon, you’ll need to pass through by defeating the Frenzied Reptilian Executioner. Although this mini-boss and section of the dungeon is similar to Tyrant Isle, it does come with a slight alteration to the fight.
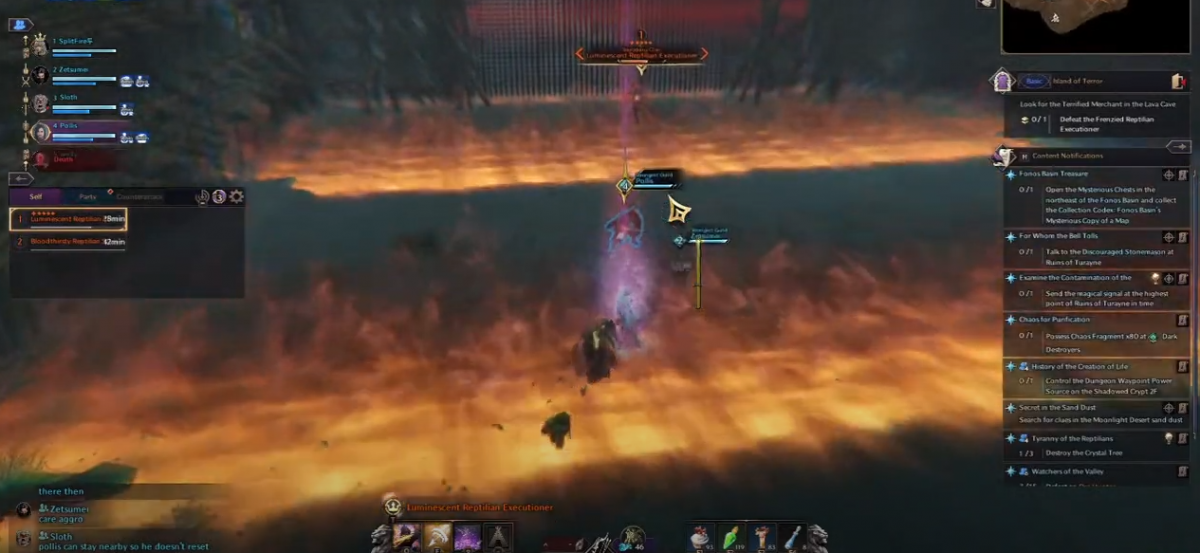
During the fight with the Reptilian Executioner, there is three main attacks to watch out for:
- A line-based attack that deals decent damage to every player in that line
- A phase in which the Executioner binds players and jumps to them, dealing large damage
- The Executioner teleports to the gate or the corners of the arena, firing not one but two waves. This is an additional wave, compared to the Tyrant Isle version. As a result, jump the waves just before they reach you to avoid damage.
The Executioner also summons a Shaman next to itself a few times during the fight, make sure to take out the Shaman as quickly as possible. Once the Executioner is dead, move onto the next area through the gate, up ahead you’ll see a geyser. Next, use the geyser to fly up on top of the cliff edge. After moving up through the edge, clearing out more generic mobs.
Defeat the Frenzied Reptilian Gladiator
The second mini-boss of the Tier 2 dungeon is yet another familiar mini-boss from Tyrant Isle. The Gladiator poses similar mechanics to the Tyrant Isle version, with added danger. In this particular instance, the Gladiator targets a player(s) and rapidly charges twice. When this mechanic occurs, running to and hiding behind the totems in the arena helps block the charge. However, the totems break on impact and cannot be re-used. Additionally, if the mechanic fails, a large damage AoE hits all players in the arena. The boss is fairly easy to down!
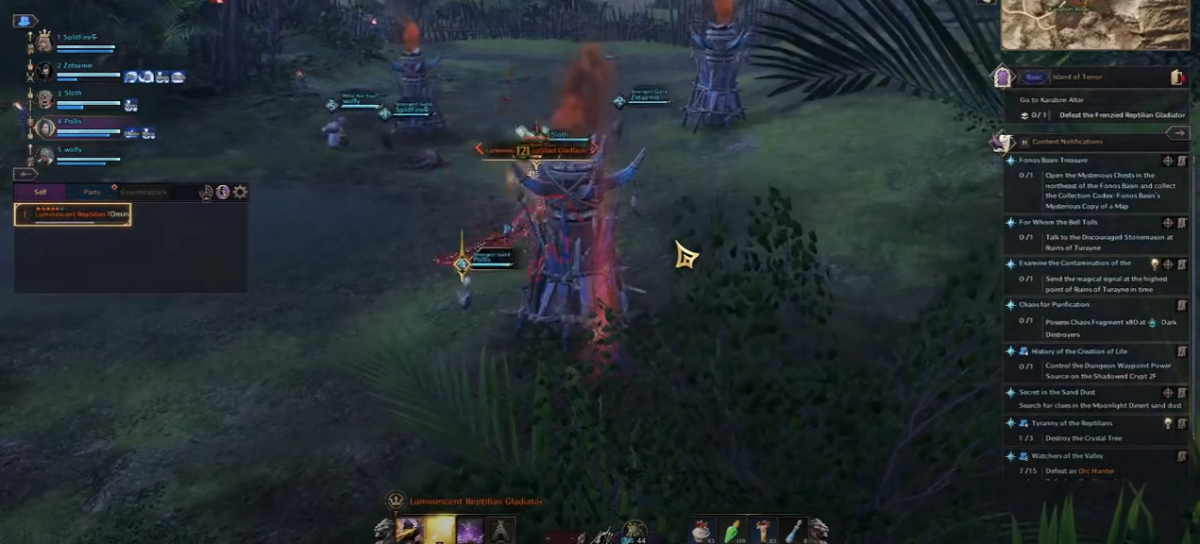
Once the boss is dead, head up and pick-up the resurrection gate. The final boss of the Island of Terror is up ahead – Kertaki.
Defeat Kertaki
Kertaki is the main and final boss of the first Tier 2 dungeon of Throne and Liberty. While similar to Toublek from the Tyrant Isle dungeon, Kertaki boasts additional layers of dangerous mechanics and differences.
Block Attacks
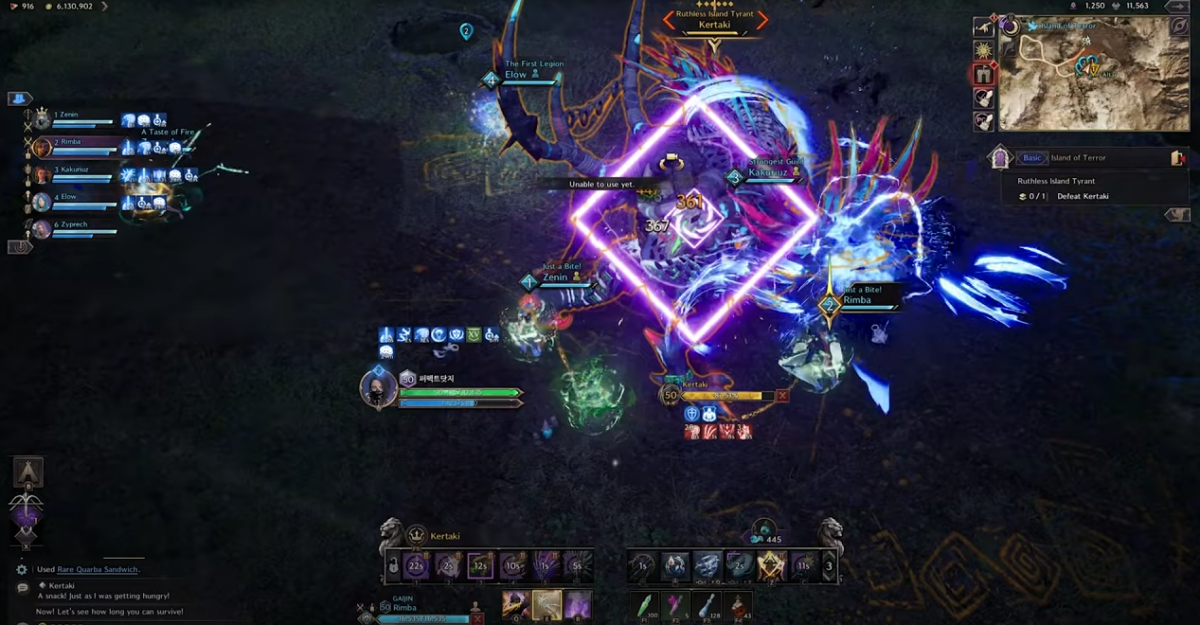
There is two forms of attacks that every player in the dungeon should be aware of and ready to block. The first is a generic attack indicated by a purple circle that hits in AoE. The second is actually indicated by a diamond-shaped purple indicator. As a result of the indicator being different, you’ll need to use your rolling block (hold a movement key + press block).
Meteor Phase
The first mechanic shift in the boss fight sees Kertaki launch several blue meteors around the arena. These meteors initially target players above where they’re standing, as a result, move out nearer to the mini-geysers to spread the meteors out safely. Once the meteors land, a blue flame spreads across the floor and a smoke fills the arena.
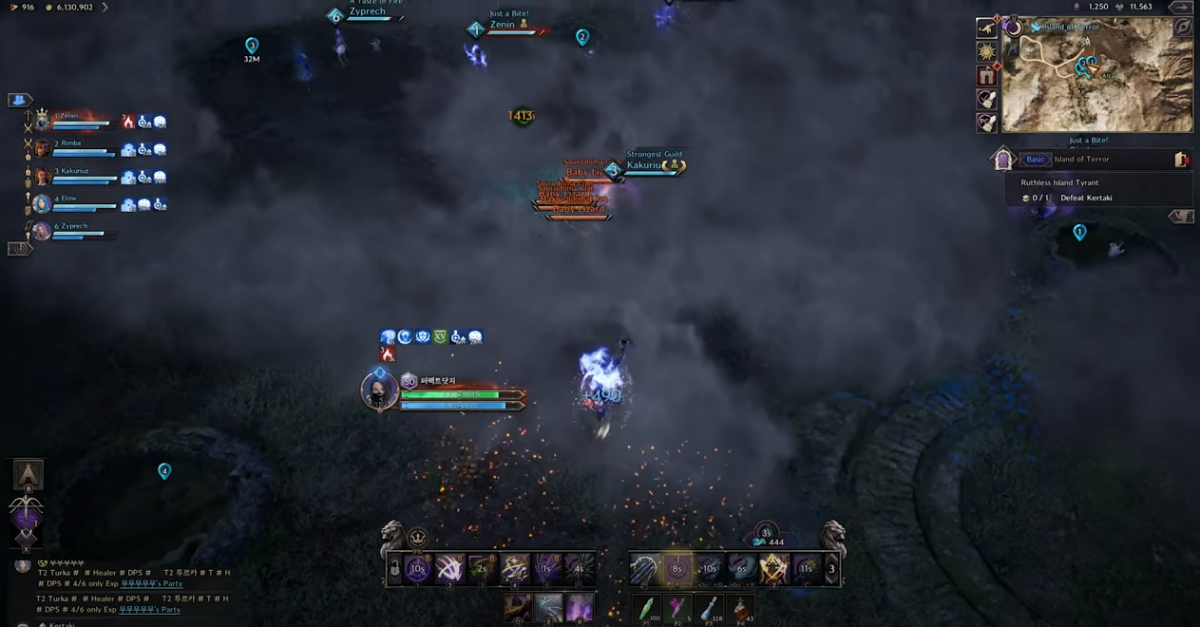
Baby lizards also spawn in the center of the arena – make sure the tanks hold aggro of these as they can deal quite significant damage. Once the fire has spread on the ground, players on the outskirts of the arena should prepare to step inside the fire to pick-up a debuff mechanic. If you’re a player that is set ablaze by the meteor flames, running through the smoke clears it. As a result, clear out the smoke around each mini-geyser and clear out all the Baby Lizards right after.
Right after the Lizards have been dealt with, the party is going to run towards a mini-geyser to shoot themselves up into the sky and avoid a party-wipe. Above 50% HP, the mechanic only uses 1 mini-geyser before moving onto the next section of the fight. However, below 50% HP adds an additional mini-geyser use immediately after the first.
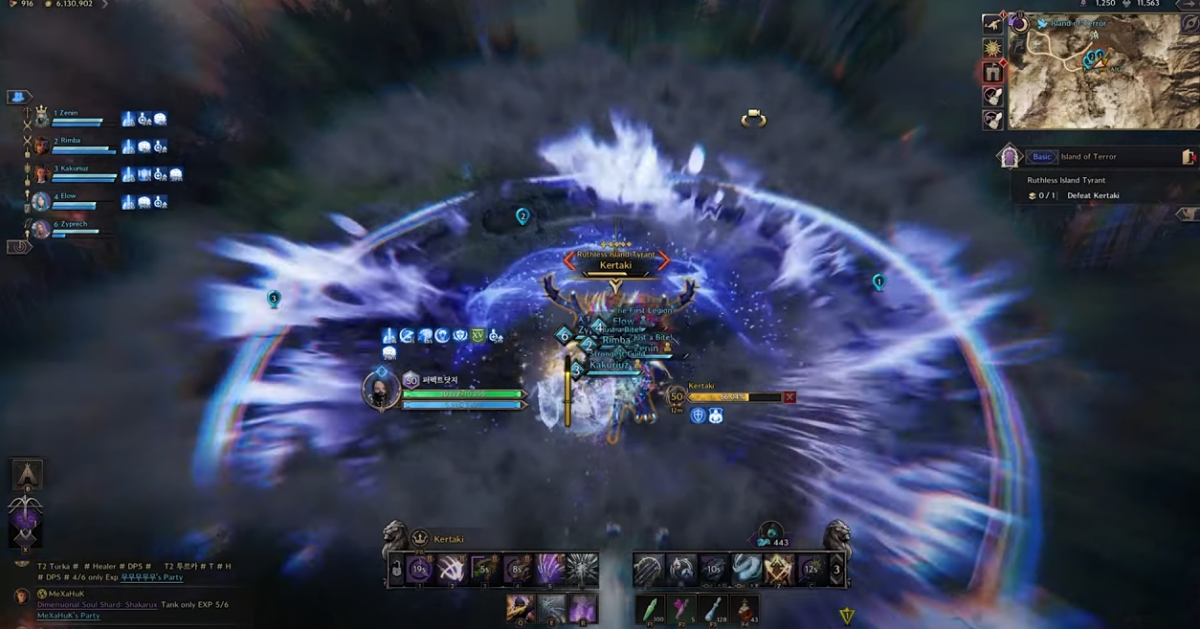
Rat Phase
During the Rat Phase, Kertaki turns each player into a rat – similarly to Toublek. However, in this fight, each player stands around Kertaki waiting for him to choose them as a target. If Kertaki chooses you as his prey, that is your moment to press “1” to dig. Straight after your turn is over, dig straight back up and grab the closest flower to you.
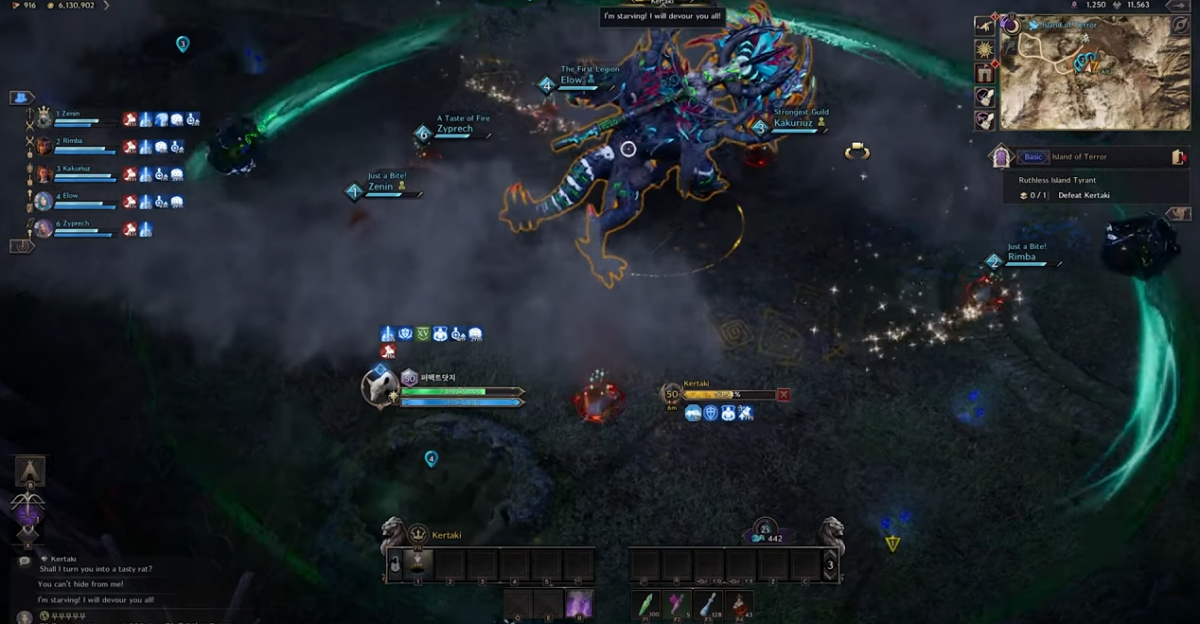
There is a circle surrounding Kertaki during this phase, do your best to stay within this circle.
After this mechanic, the fight “resets” and becomes a case of rinsing and repeating until the boss is defeated! However, one final mechanic weaved into the rest that should be watched out for is a short fireball mechanic that is fired at your tank. Typically, a bow player is required to use their cleansing Skill to remove the debuff from your tank. As a result of the boss being defeated, loot the chest and enjoy your rewards!
Tier 2 Dungeon Rewards
Tier 2 Dungeons provide the next step of progression rewards for players. As a result, each chest looted costs 450 Dimension Tokens compared to the 300 a Tier 1 dungeon chest costs. The power of Tier 2 materials, weapons and armor, however, is a huge step up from Tier 1.
Challenge Difficulty
Challenge mode is a Mythic+ styled system in Throne and Liberty. Each week, two dungeons are selected to become Challenge mode dungeons. Tied into these two dungeons is a set of “affixes” that change some of the rules in the dungeon. For example, an affix can make it so totems spawn and stun players periodically.
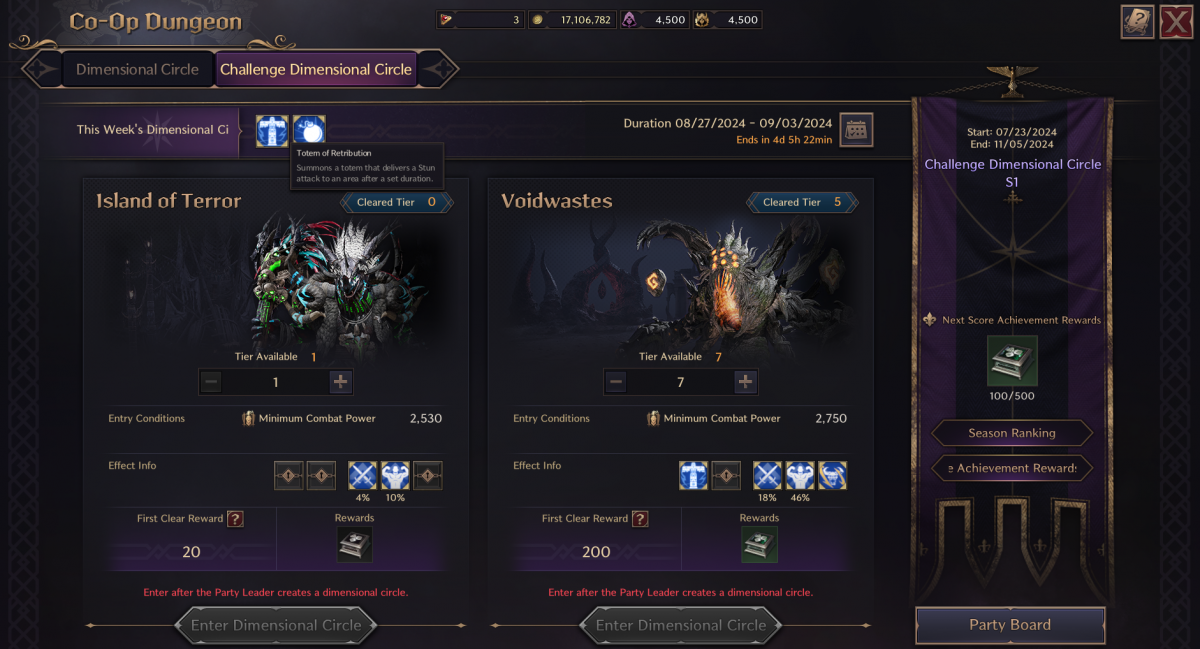
As soon above, depending on the difficulty tier you select, additional mechanics for the dungeon are added (seen in the “Effect Info” section). The Tier breakpoints for each new mechanic is Tier 5, 9 and 13. Below is the list of mechanics that are added to Island of Terror:
- Additional attacks such as the arena-wide wave seen earlier in the guide.
- An AoE damage radius that increases in size starts forming around the boss during the Rat Phase. This AoE field also paralyzes players for a short amount of time.
- The spawning of Baby Lizards.
Island of Terror Dungeon Guide Conclusion
This sections concludes our Island of Terror Dungeon guide for Throne and Liberty. For more guides and news for Throne and Liberty, please check out our official Home page!

