
Introduction
In this Hall of Tragedy guide, we’ll explain and take you through a step-by-step of how to progress and beat the final boss to clear this particular 3-star dungeon. 3-star dungeons in Throne and Liberty provide incredible rewards to aid the next level of progression in Tier 2. These dungeons are particularly difficult until you’re fully geared. As a result, a mix of maxed out T1 gear and some T2 gear is advised.
Trash Clearing, Mini-bosses and Pre-Final Boss Objectives
Just like in every other Dungeon in Throne and Liberty, there is a slew of objectives, basic mobs and a couple of mini-bosses to kill if you want to reach the main boss. This applies to 1-star, 2-star and 3-star dungeons also. However, in this guide, we’ll be focusing on how to defeat the final boss of the dungeon – the hardest part by far. As a result, make sure to check back for the full breakdown of the Hall of Tragedy guide here in the near future. Finally, keep in mind these objectives while pushing through the Hall:
- Clear out any unavoidable trash mobs to ensure you don’t over-pull mobs.
- Check your current objective(s) on the right-hand side of the screen and complete them accordingly.
- Most mini-bosses have minimal if any mechanics, just be sure to stay healthy, dodge attacks and deal damage.
- Pick up any Resurrection Gate where possible.
PLEASE NOTE: The guide below is the COMPLETE guide of the dungeon – all mechanics included. However, some of the mechanics are stripped away in the “base” version of the dungeon. These mechanics are added back in the “Dimensional Trials” mode at certain Tiers of difficulty. As a result, the base version of the dungeon is much easier than you might expect after seeing all the mechanics below.
Final Boss – Limuny Bercant
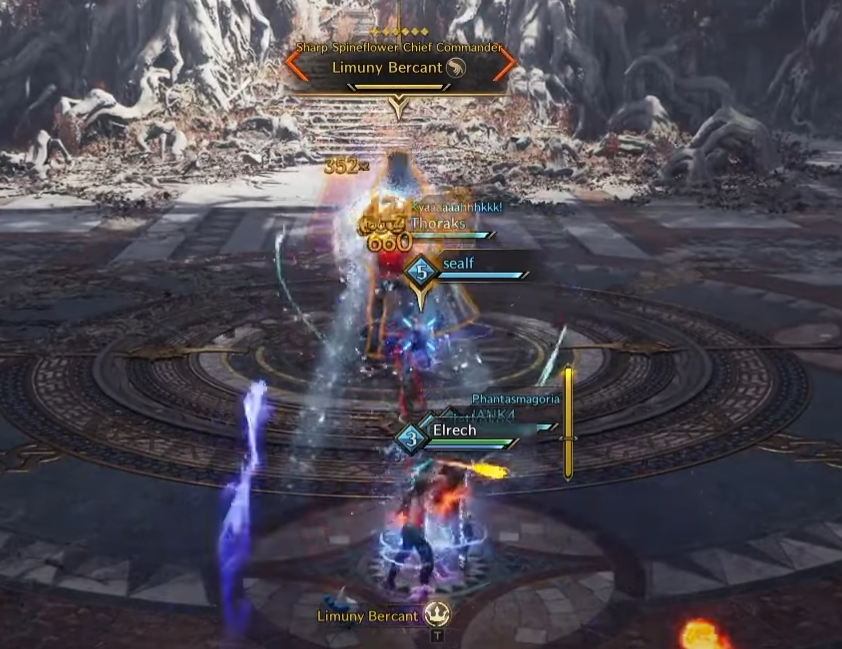
Starting out on the Boss, we recommend all ranged players in the party to play stacked from the get-go. The boss itself only has two pretty simple mechanics, but this’ll save you a ton of effort.
Credit: FRESHY
Blood Soak
Other than some standard attacks on the tank and some Fury Attacks, the furthest away player is given a red circle de-buff around them. This circle drains health over time for 30 seconds. As a result, the pre-mentioned stacked players can stand in the circle and soak the damage until the mechanic is over. However, be aware that the boss throws out multiple Fury Attacks during this window, knocking you out the circle.
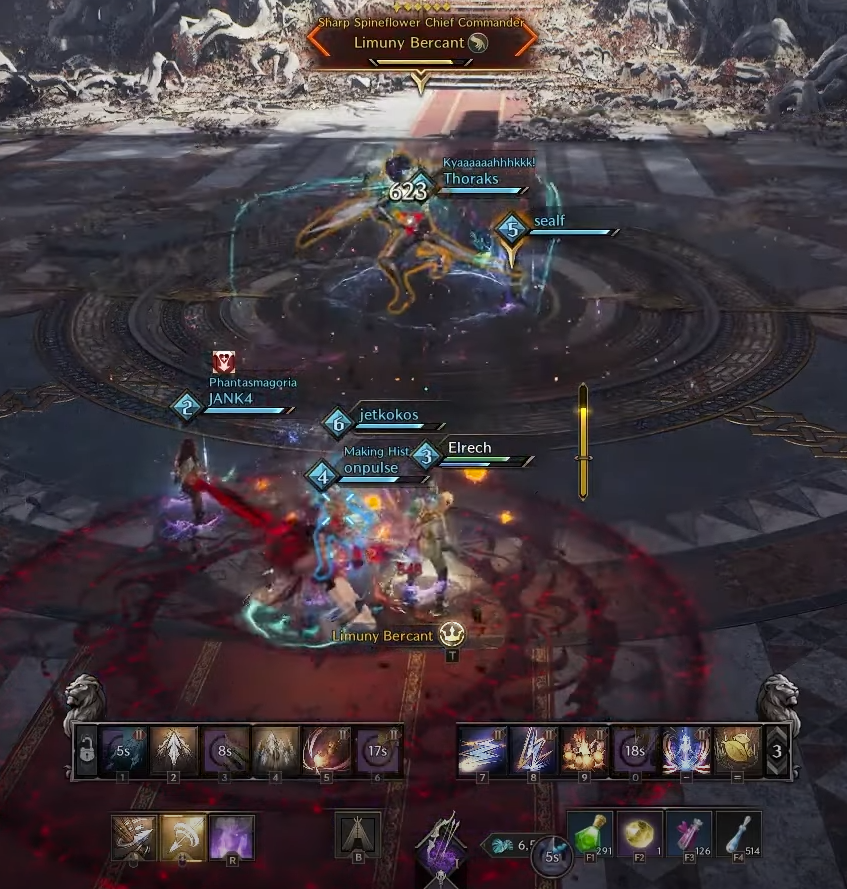
Towards the end of the timer for the soak mechanic, the boss puts another circle (green this time) on another ranged player. This mechanic has to be taken AWAY from your party and the fight. The green circle explodes after a short duration, binding all players in place dealing large AoE damage. As a result, it is best to get the circle as far away as possible.
One Shot Mechanic
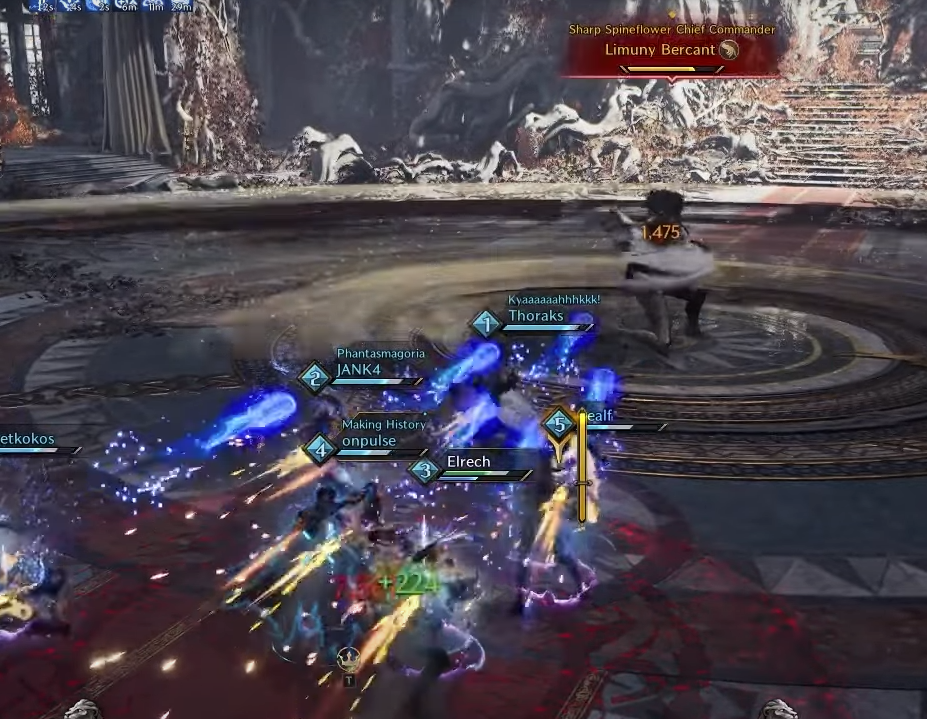
After both of these mechanics finish up, the boss binds all players in place and does a sweeping AoE, similar to Karnix’s mechanic from Death’s Abyss. This attack deals considerable damage, even fatal damage, but far less if done correctly. To correctly survive this mechanic, have the tank bring the sweeping AoE towards you and get inside the circle too.
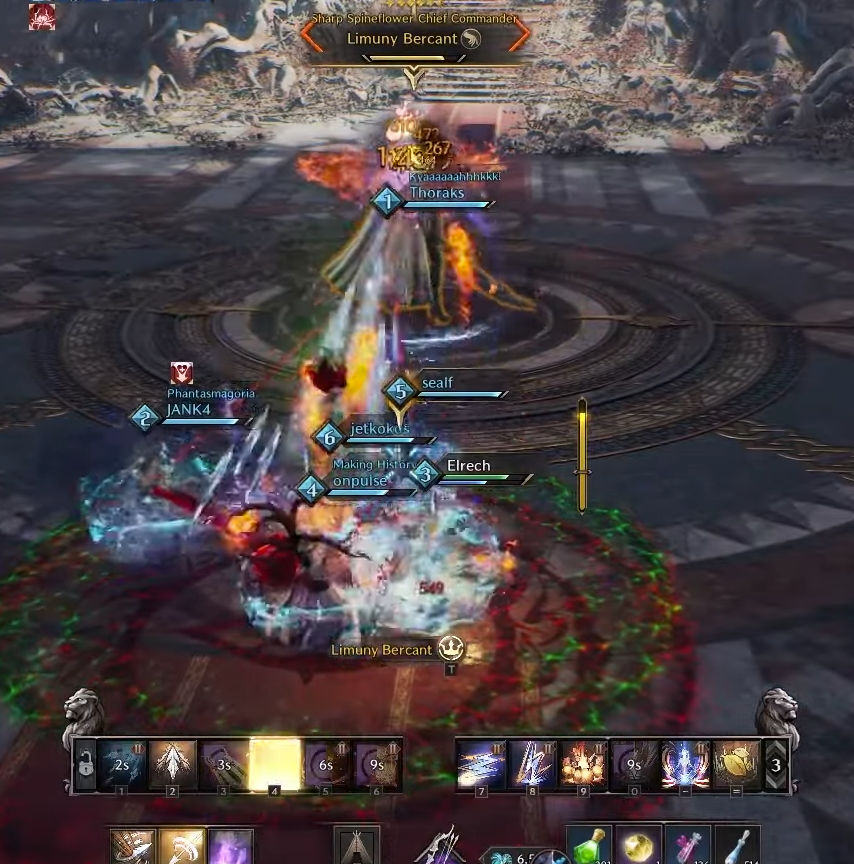
Mechanic changes after 50% HP
The boss at this point is basically repeated until beaten as the main mechanics have been covered. The only real differences are:
- The red circle becomes purple instead, doing essentially the same thing but with two required players inside (as seen by the Purple Orbs above players)
- Two Green binding circles instead of one
And that’s it! You’ve officially beaten the Hall of Tragedy dungeon – enjoy the loot and good luck.
Hall of Tragedy Guide Conclusion
This concludes the Hall of Tragedy guide for Throne and Liberty. For more guides for Throne and Liberty, please check out our official Home page!