
Introduction
In this Doomrot Grove dungeon guide, we’ll explain and take you through a step-by-step of how to progress and beat the final boss to clear this particular 3-star dungeon. 3-star dungeons in Throne and Liberty provide incredible rewards to aid the next level of progression in Tier 2. These dungeons are particularly difficult until you’re fully geared. As a result, a mix of maxed out T1 gear and some T2 gear is advised.
Trash Clearing, Mini-bosses and Pre-Final Boss Objectives
Just like in every other Dungeon in Throne and Liberty, there is a slew of objectives, basic mobs and a couple of mini-bosses to kill if you want to reach the main boss. This applies to 1-star, 2-star and 3-star dungeons also. However, in this guide, we’ll be focusing on how to defeat the final boss of the dungeon – the hardest part by far. As a result, make sure to check back for the full breakdown of the Doomrot Grove dungeon guide here in the near future. Finally, keep in mind these objectives while pushing through the Grove:
- Clear out any unavoidable trash mobs to ensure you don’t over-pull mobs.
- Check your current objective(s) on the right-hand side of the screen and complete them accordingly.
- Most mini-bosses have minimal if any mechanics, just be sure to stay healthy, dodge attacks and deal damage.
- Pick up any Resurrection Gate where possible.
PLEASE NOTE: The guide below is the COMPLETE guide of the dungeon – all mechanics included. However, some of the mechanics are stripped away in the “base” version of the dungeon. These mechanics are added back in the “Dimensional Trials” mode at certain Tiers of difficulty. As a result, the base version of the dungeon is much easier than you might expect after seeing all the mechanics below.
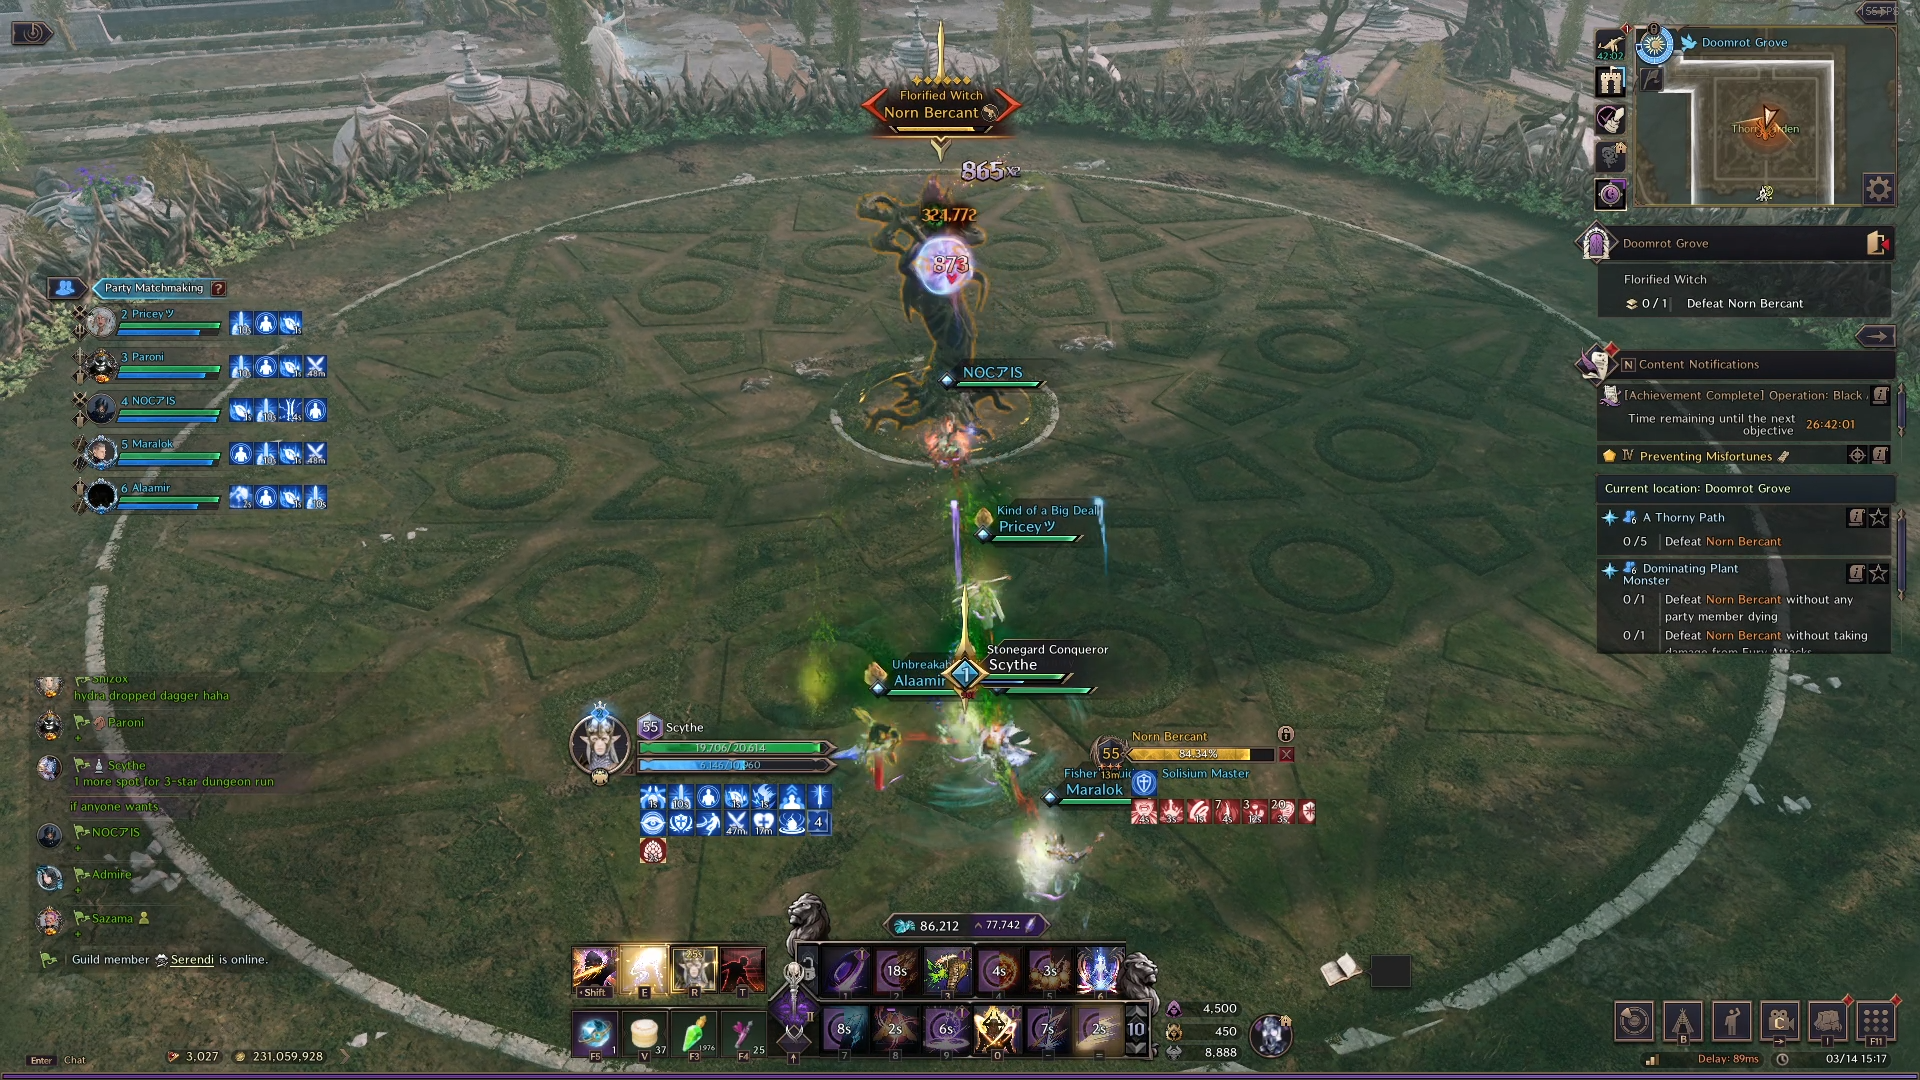
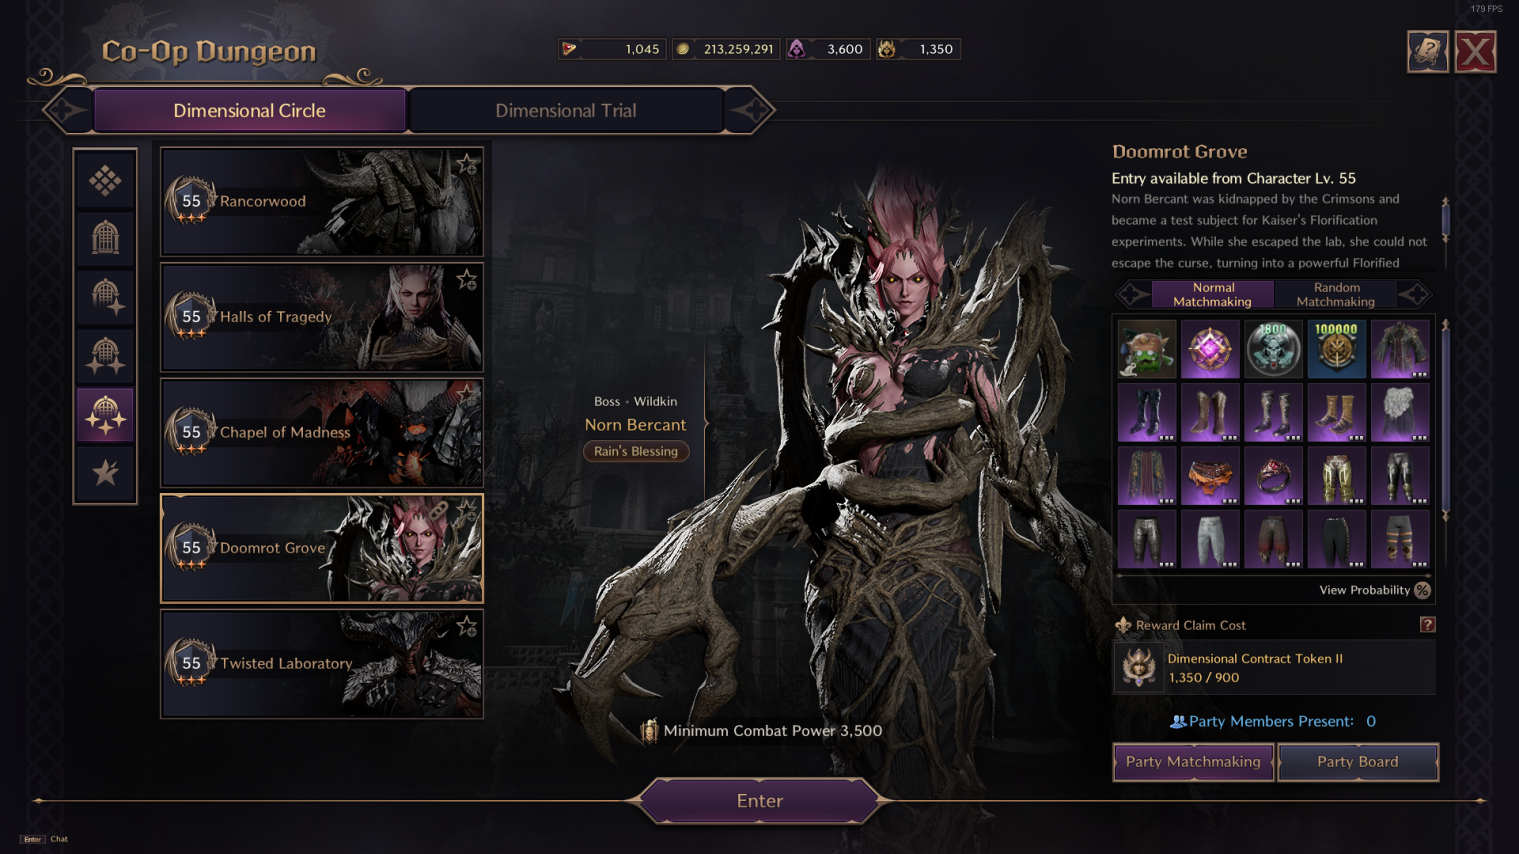
Final Boss – Norn Bercant
Before approaching Norn, the rest of the dungeon is pretty simple. However, you’ll find yourself running a gauntlet-like maze for quite some time. It is pretty easy to follow, although we recommend being aware of the damage traps placed around the corridors.
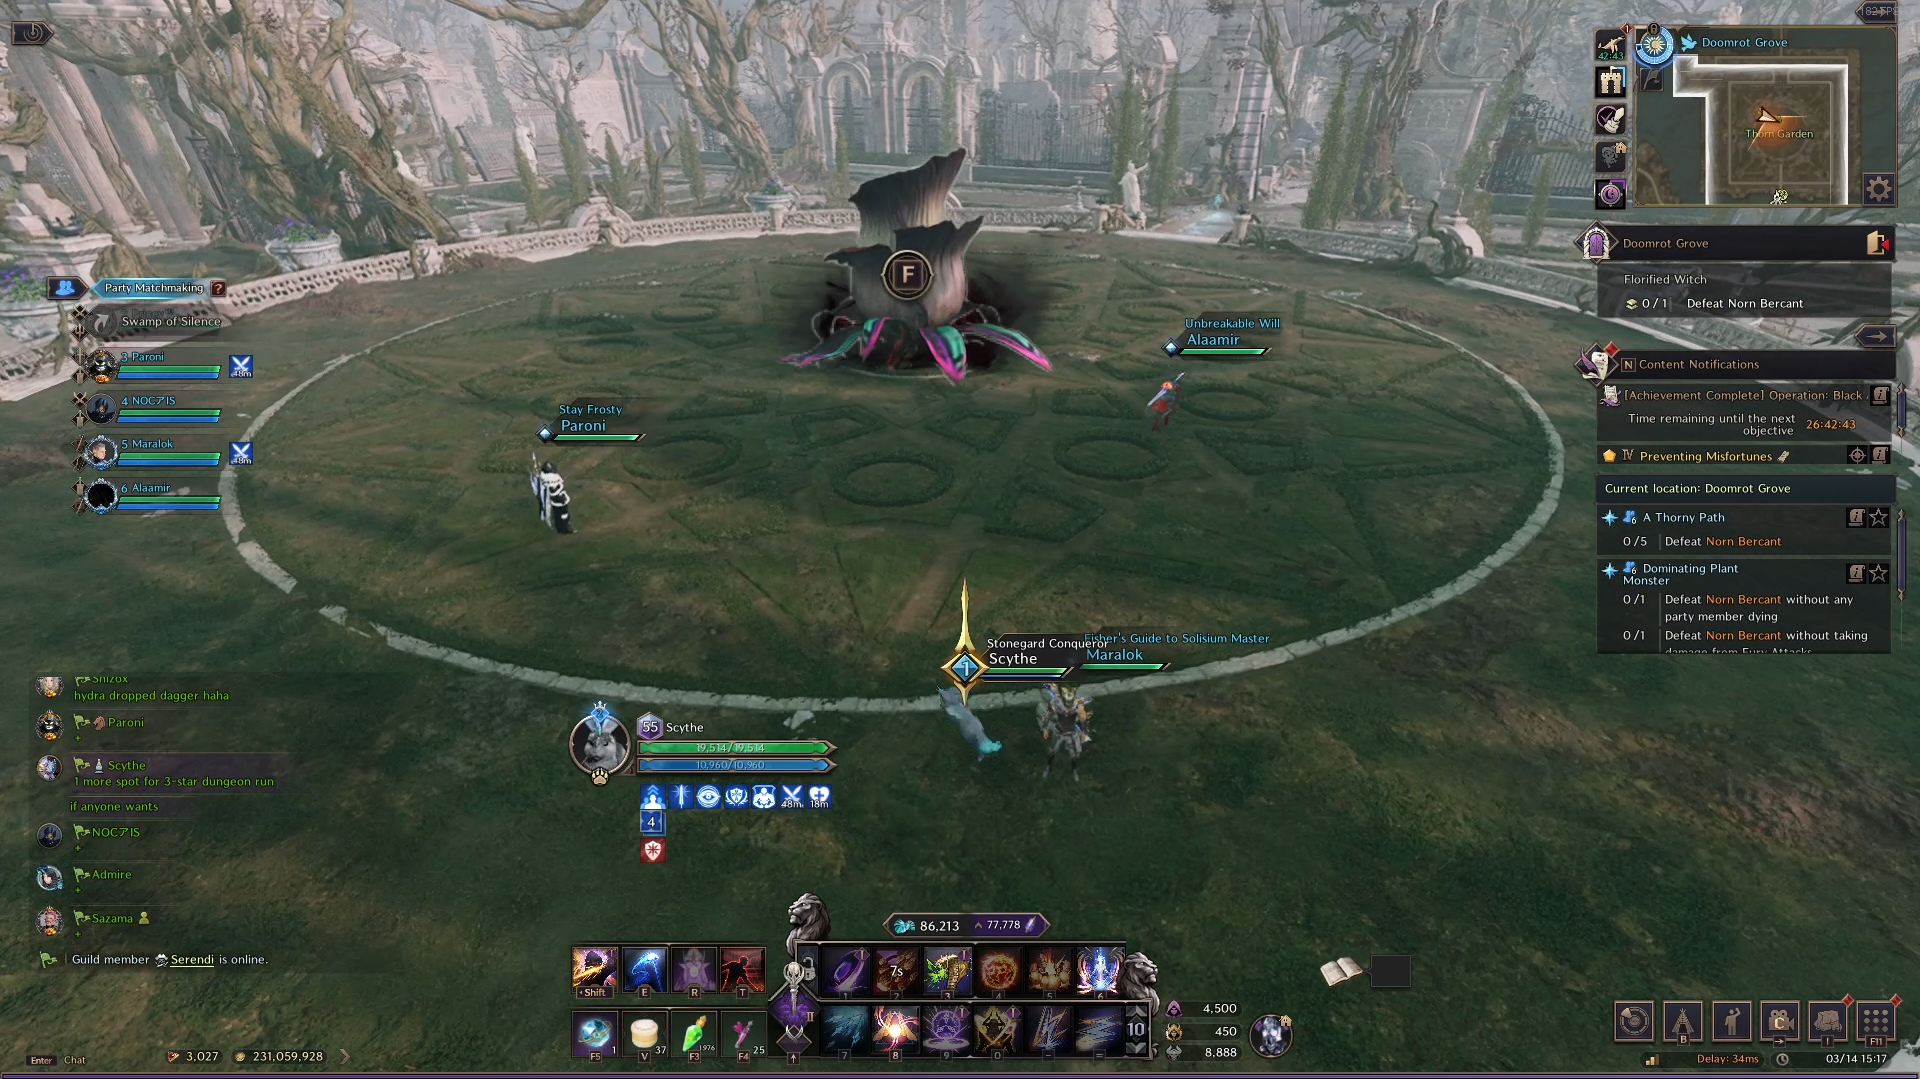
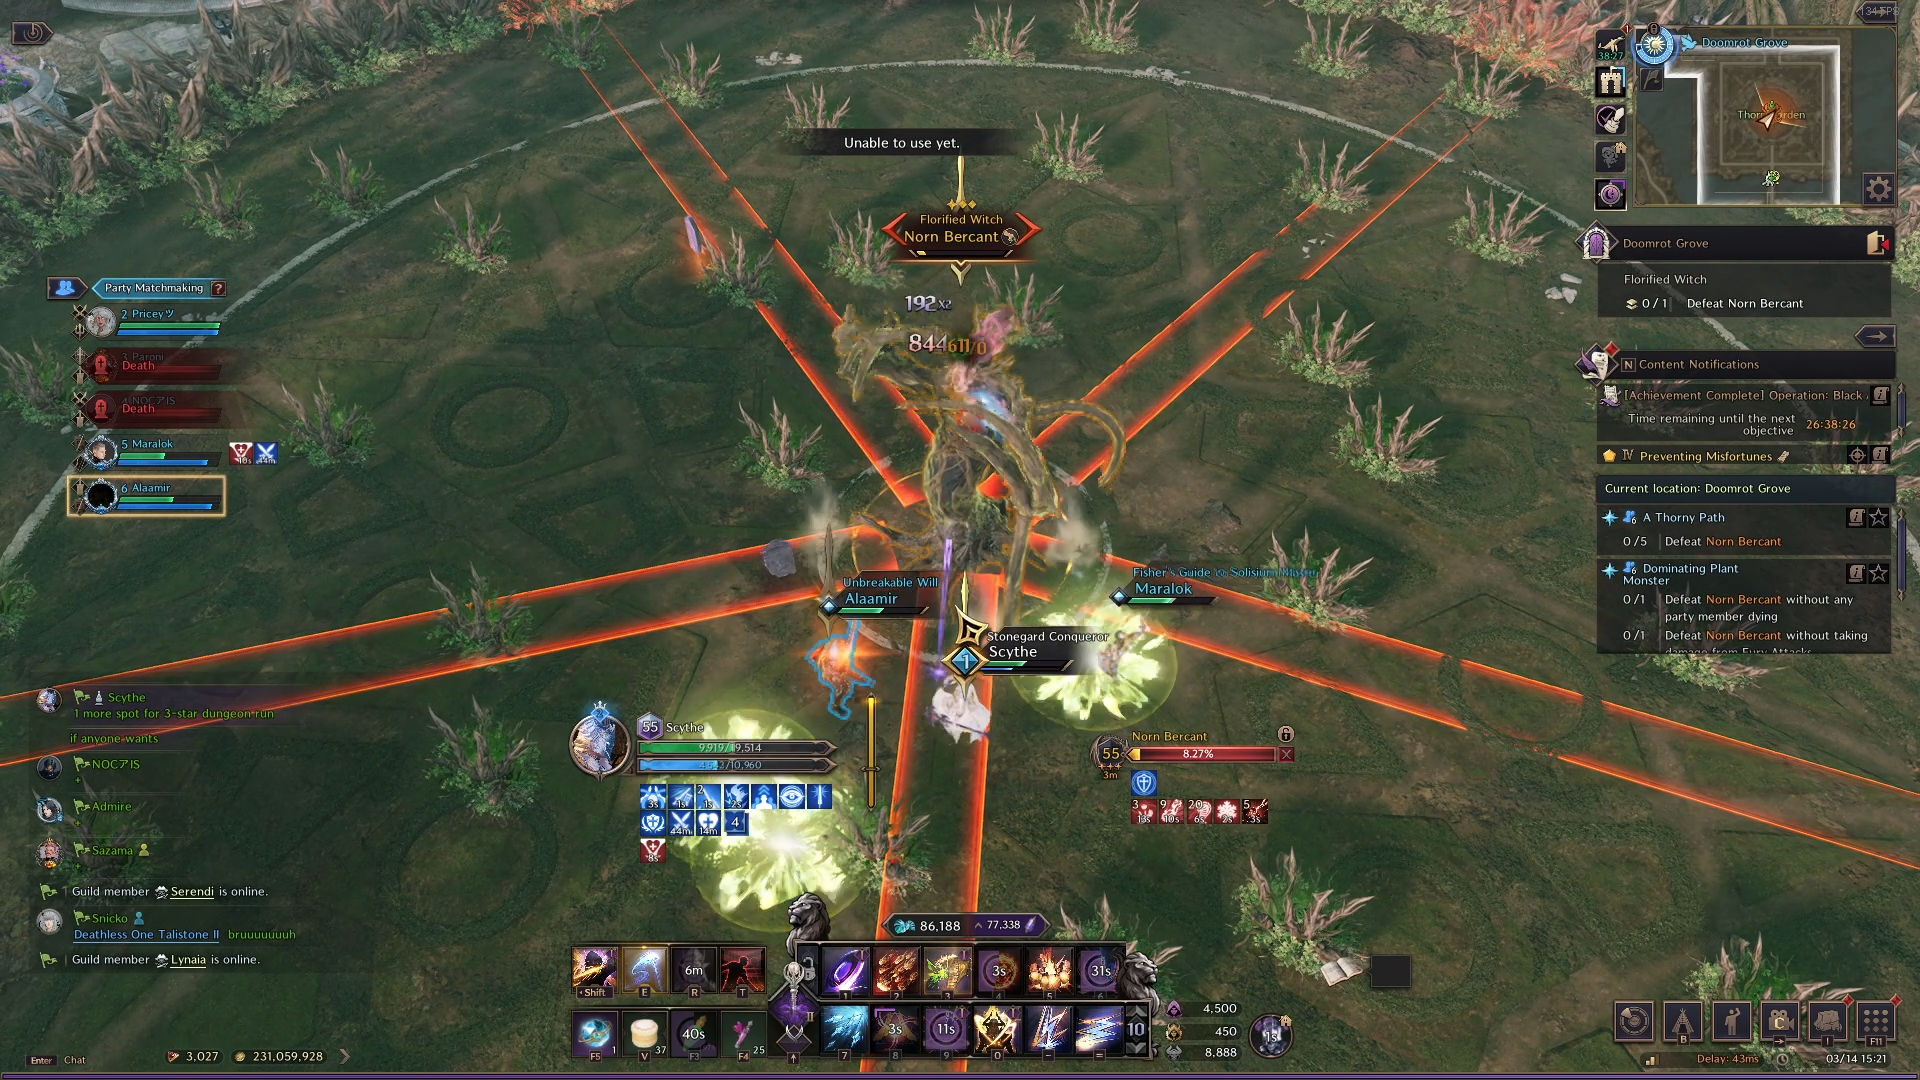
Interact with the giant flower in the middle of the boss arena to begin the fight with Norn Bercant. The fight on the base version of the Doomrot Grove dungeon is pretty straight forward, however, it is easy to miss the purpose of mechanics and wipe.
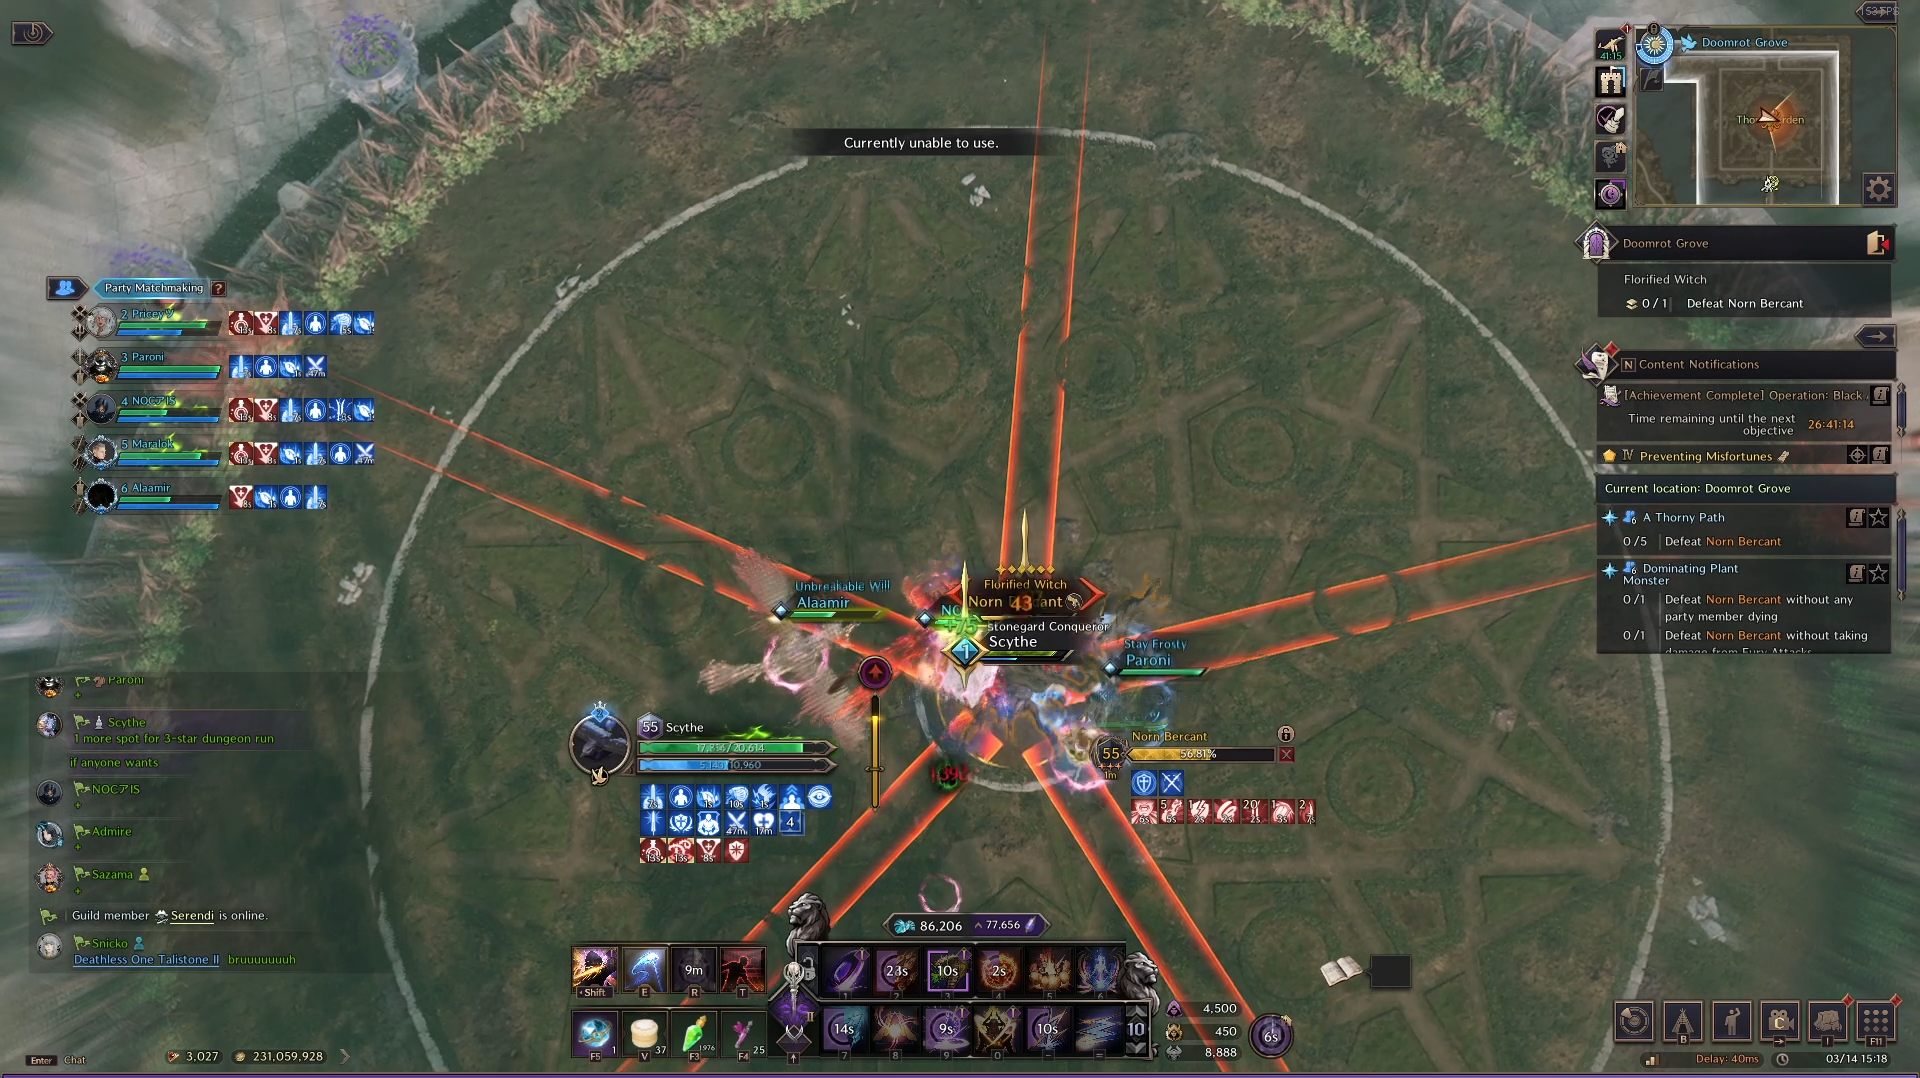
Seed Wall
Periodically, Norn places seed indicators above several party members heads. After a short period of time, the seeds create thorn barriers in a line based on the angle your character is facing. For example, if you’re facing the boss, you’ll create a horizontal line from your left to right. The players with the seed mechanic is looking to create a barrier at the back of the arena where your party is stacked, and a couple of barriers in front, closer to the boss.
Doing so creates two perfect walls that prevent your party from taking raid-wiping damage from seeds, fired in from outside the arena.
The next mechanic from Norn sends the entire party up into the air. This also places a debuff that the party can cleanse. You can cleanse the debuff by taking a single hit from the seeds fired from outside the arena.
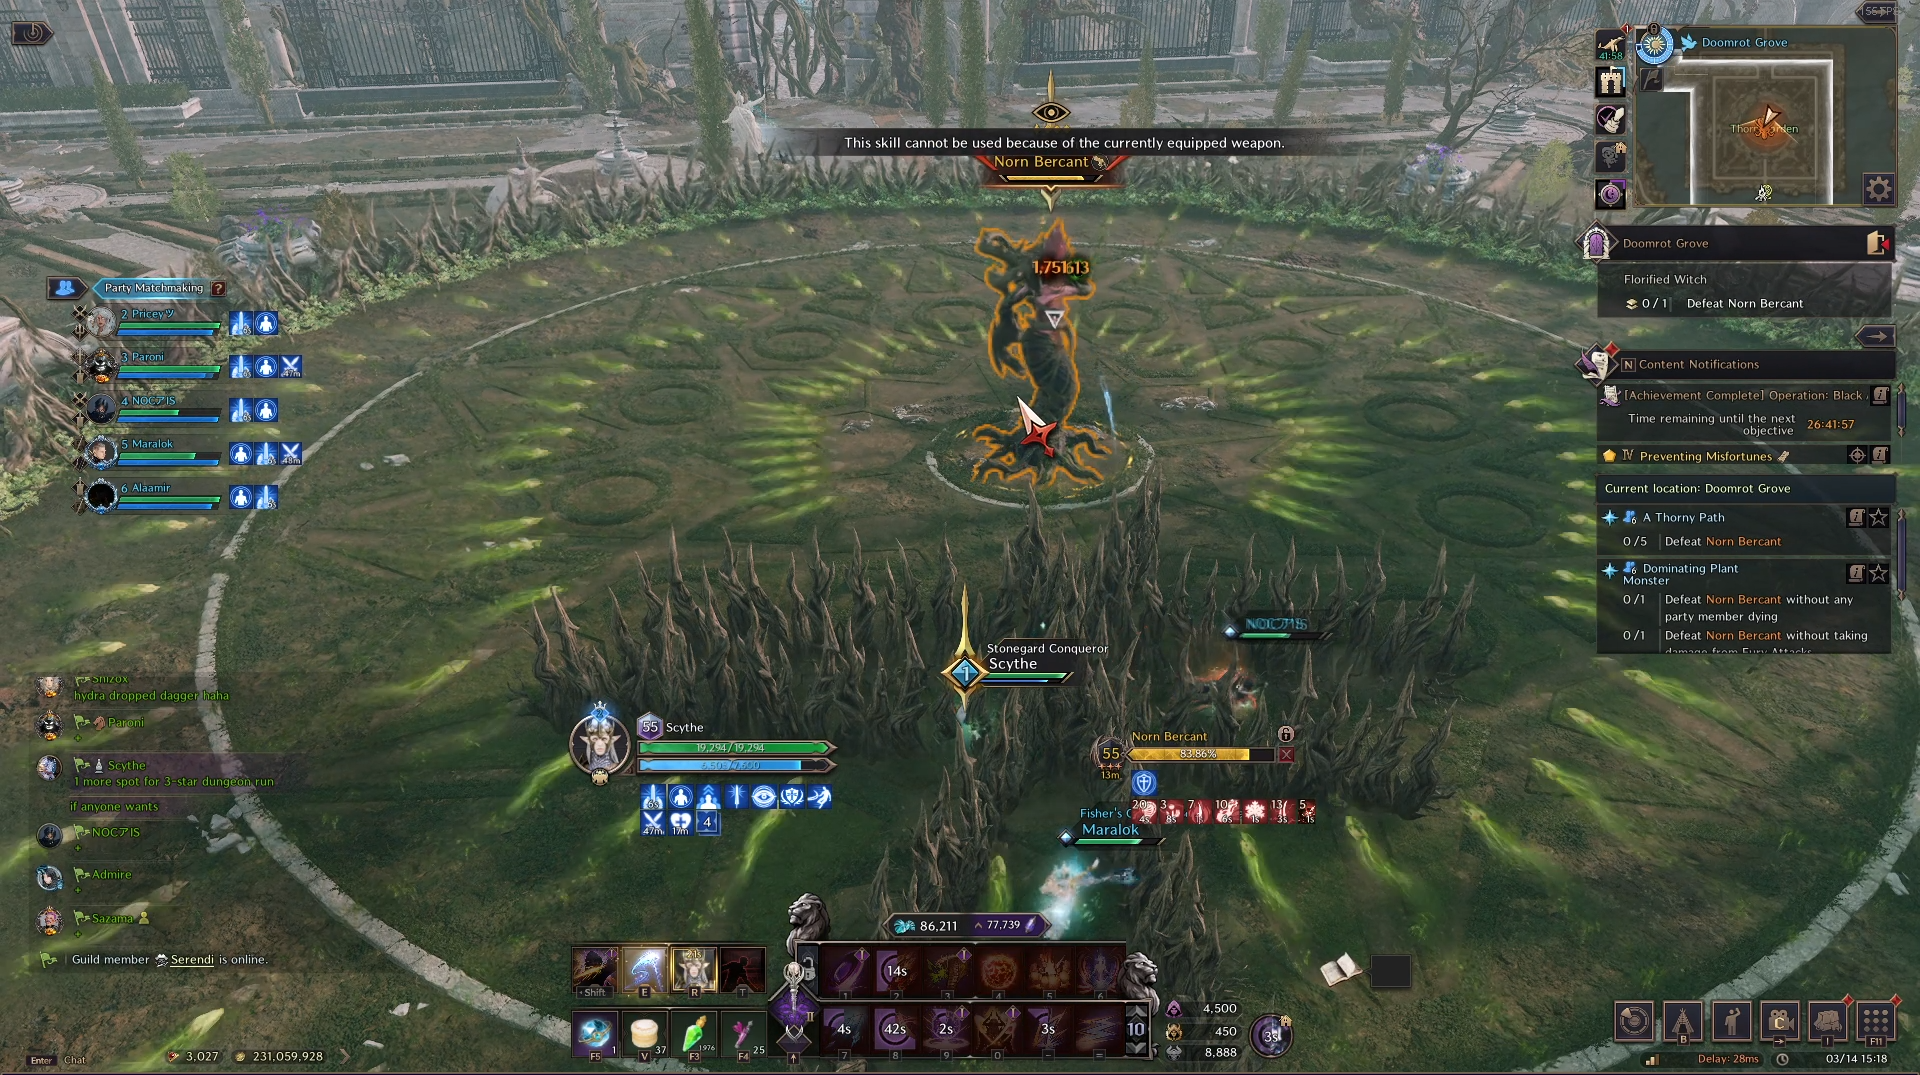
Below 40% HP
In the basic version of Doomrot Grove, the only addition is the placement of multiple thorn stacks throughout the arena. These thorns appear in the air debuff mechanic seen above.
Finally, repeat the above steps until Norn is defeated and you can claim your rewards!
Doomrot Grove Dungeon Guide Conclusion
This concludes the Doomrot Grove dungeon guide for Throne and Liberty. For more guides for Throne and Liberty, please check out our official Home page!