
Introduction
In this Chapel of Madness guide, we’ll explain and take you through a step-by-step of how to progress and beat the final boss to clear this particular 3-star dungeon. 3-star dungeons in Throne and Liberty provide incredible rewards to aid the next level of progression in Tier 2. These dungeons are particularly difficult until you’re fully geared. As a result, a mix of maxed out T1 gear and some T2 gear is advised.
Trash Clearing, Mini-bosses and Pre-Final Boss Objectives
Just like in every other Dungeon in Throne and Liberty, there is a slew of objectives, basic mobs and a couple of mini-bosses to kill if you want to reach the main boss. This applies to 1-star, 2-star and 3-star dungeons also. However, in this guide, we’ll be focusing on how to defeat the final boss of the dungeon – the hardest part by far. As a result, make sure to check back for the full breakdown of the Chapel of Madness guide here in the near future. Finally, keep in mind these objectives while pushing through the Chapel:
- Clear out any unavoidable trash mobs to ensure you don’t over-pull mobs.
- Check your current objective(s) on the right-hand side of the screen and complete them accordingly.
- Most mini-bosses have minimal if any mechanics, just be sure to stay healthy, dodge attacks and deal damage.
- Pick up any Resurrection Gate where possible.
PLEASE NOTE: The guide below is the COMPLETE guide of the dungeon – all mechanics included. However, some of the mechanics are stripped away in the “base” version of the dungeon. These mechanics are added back in the “Dimensional Trials” mode at certain Tiers of difficulty. As a result, the base version of the dungeon is much easier than you might expect after seeing all the mechanics below.
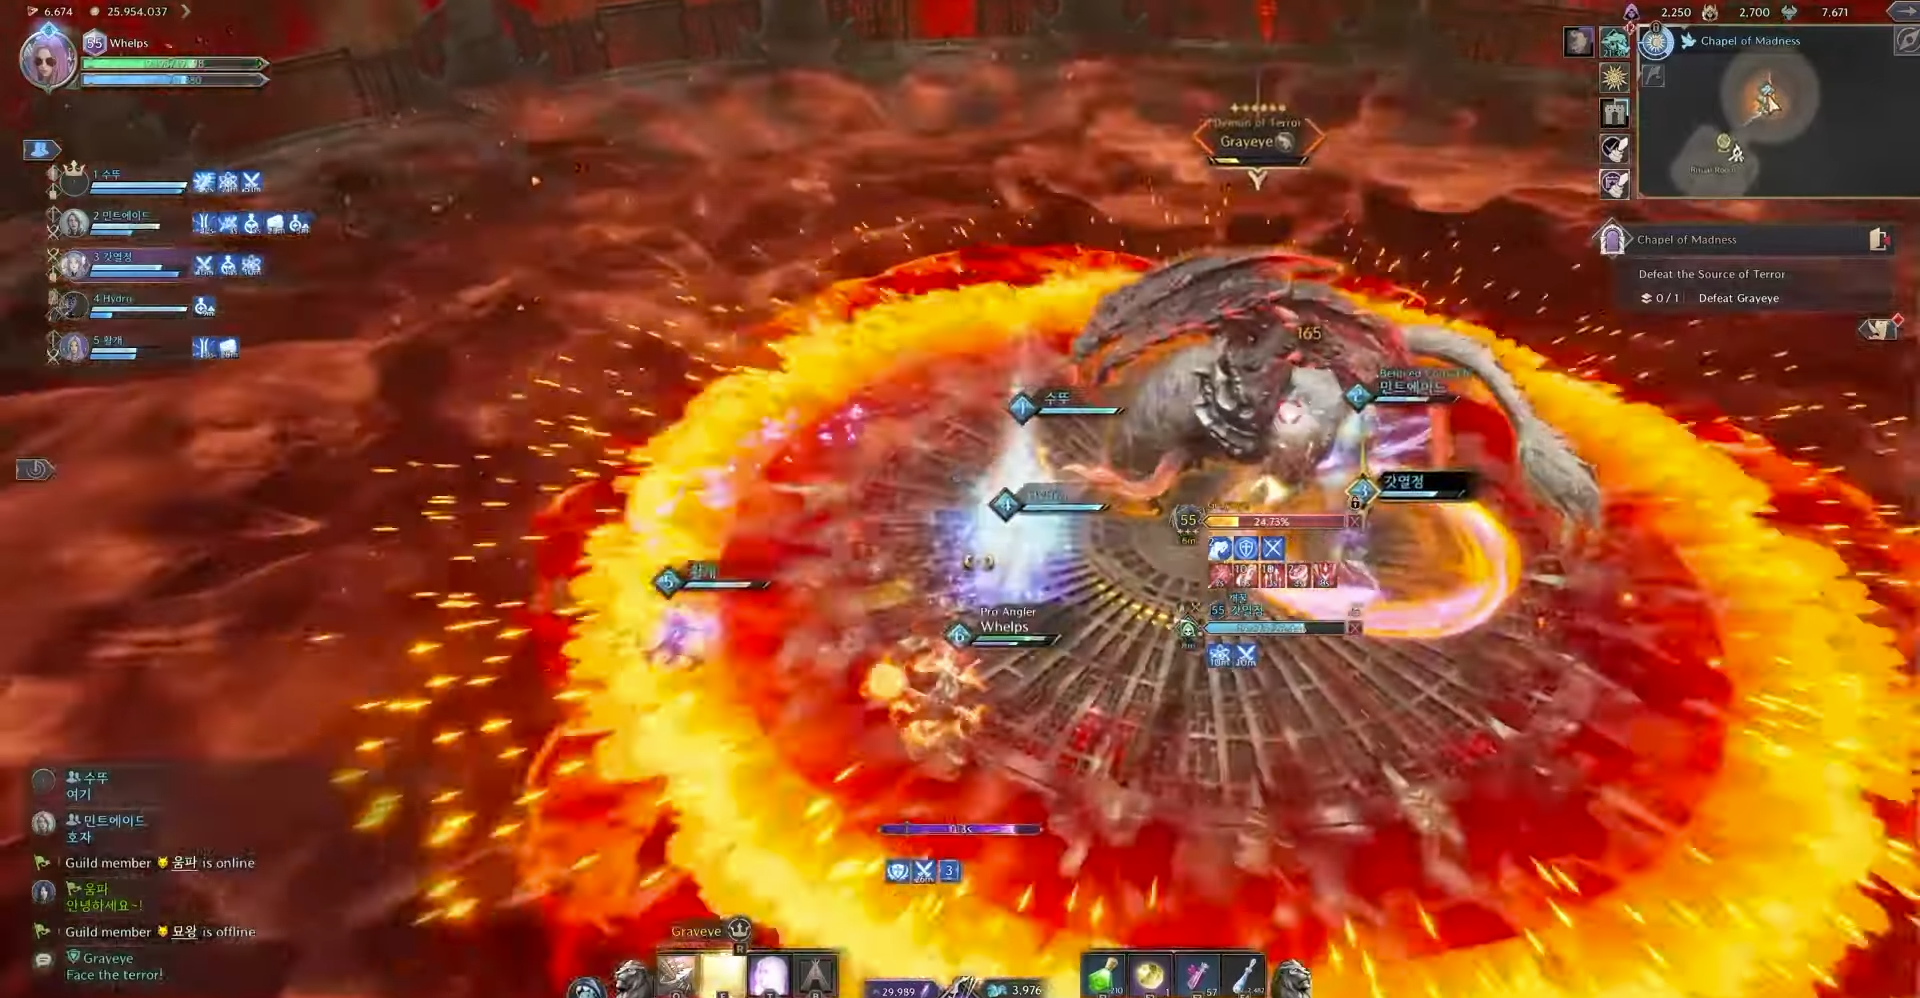
Final Boss – Grayeye
Starting out on the Boss, we recommend marking these 4 circle locations with party pins, this’ll be especially important during a major mechanic.
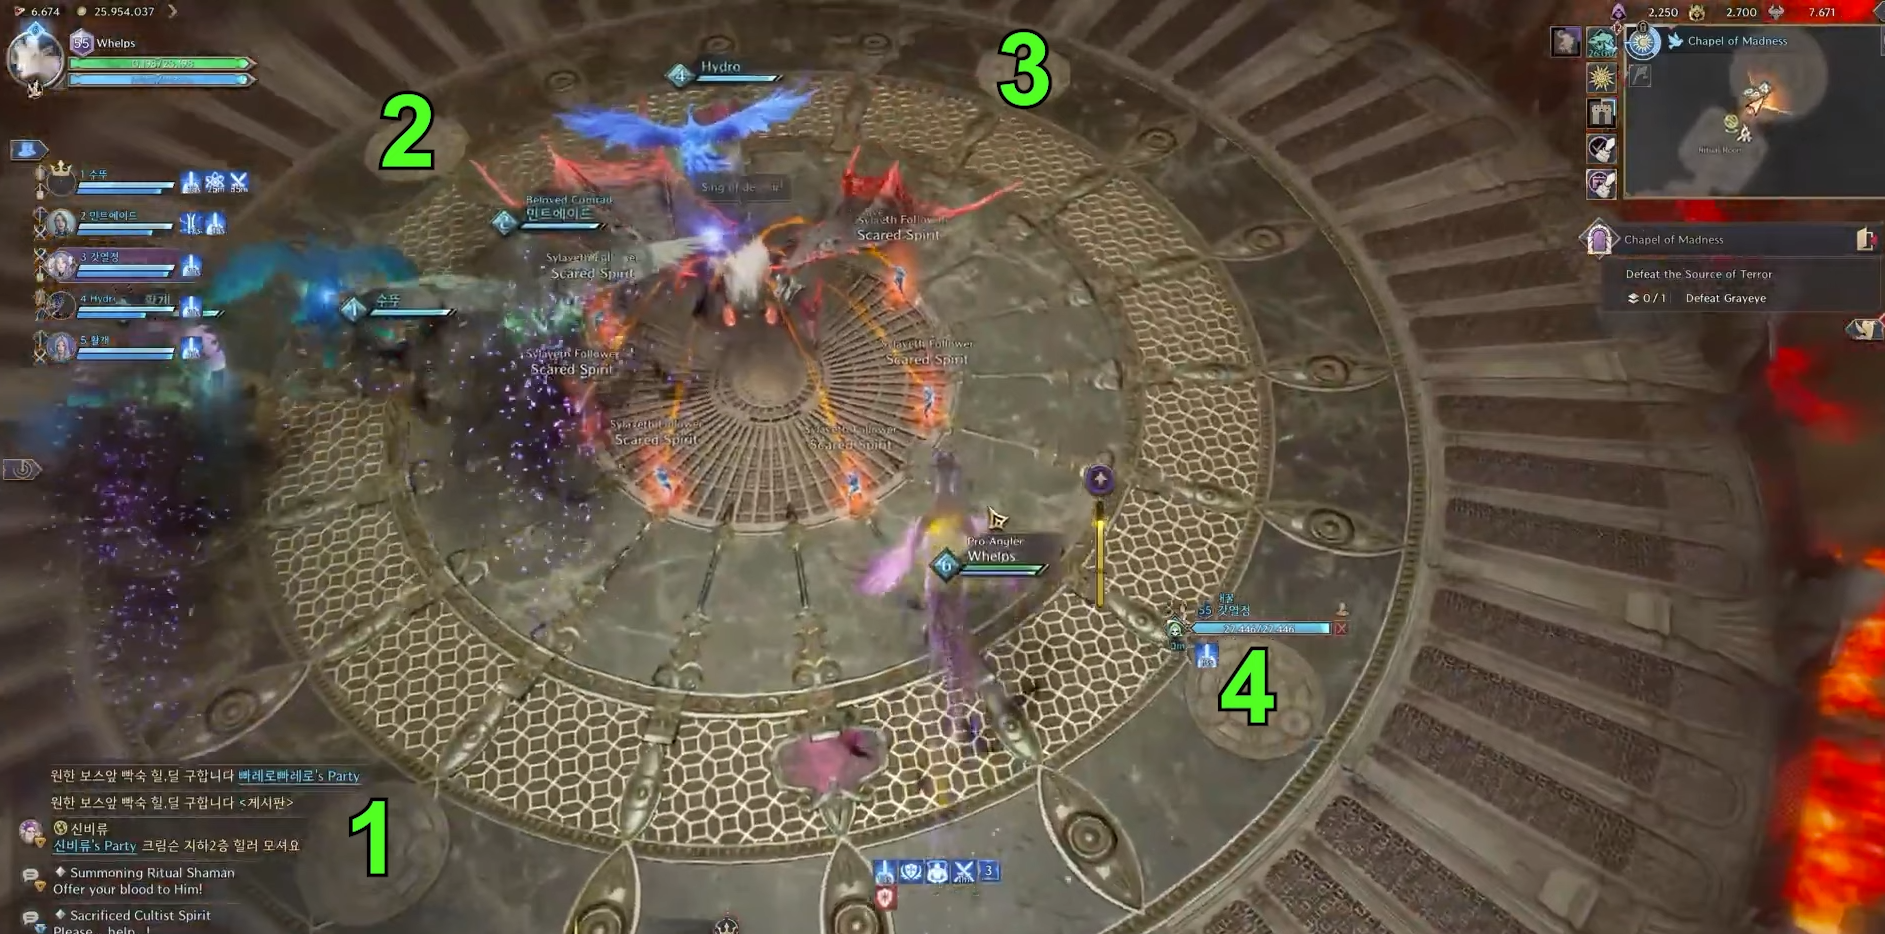
Zombie Search Mechanic
Other than some standard attacks on the tank and some Fury Attacks, players are marked (signaled by the boss shouting) with a green eye above their head. These players are tasked with breaking their target with the boss, and searching the previously mentioned circle locations we pinned.
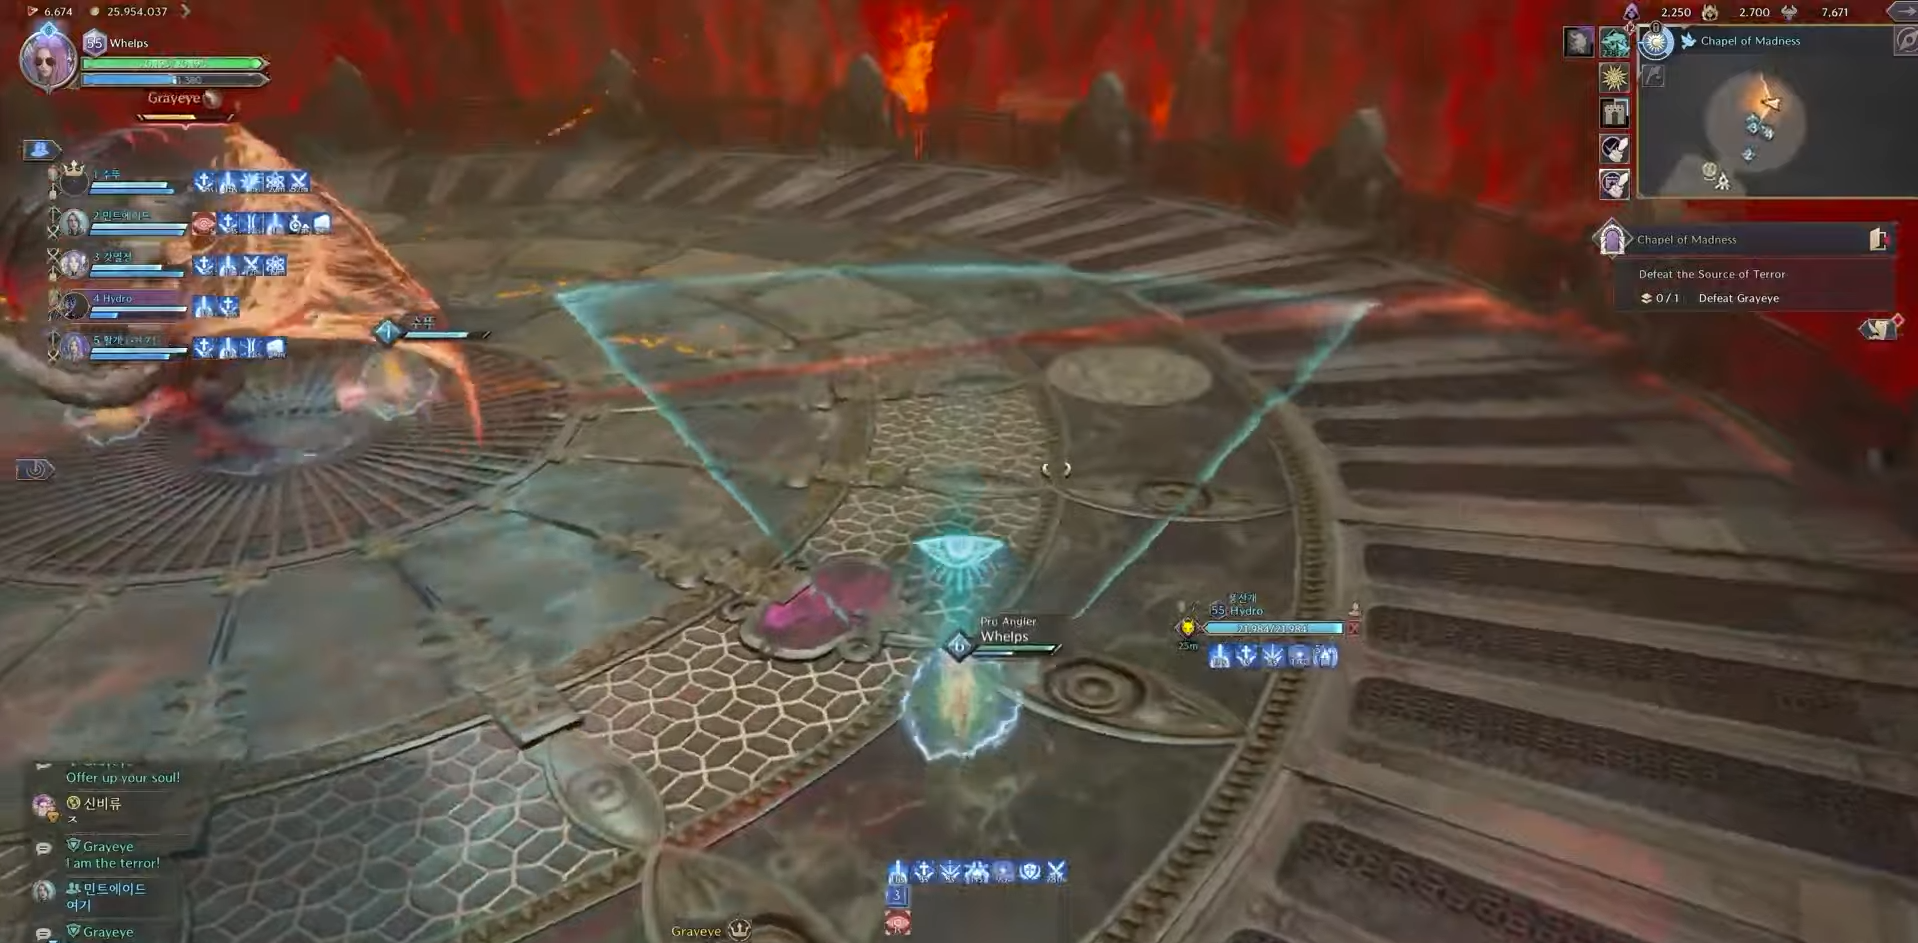
Aiming the green cone over the pinned areas can reveal if there’s zombies there or not. Once the zombies are found, quickly clear them out with your party. It is VERY important to not aim the green cone at your party members. If a party member is inside the green cone, it’ll fear them for several seconds – avoid this as much as possible!
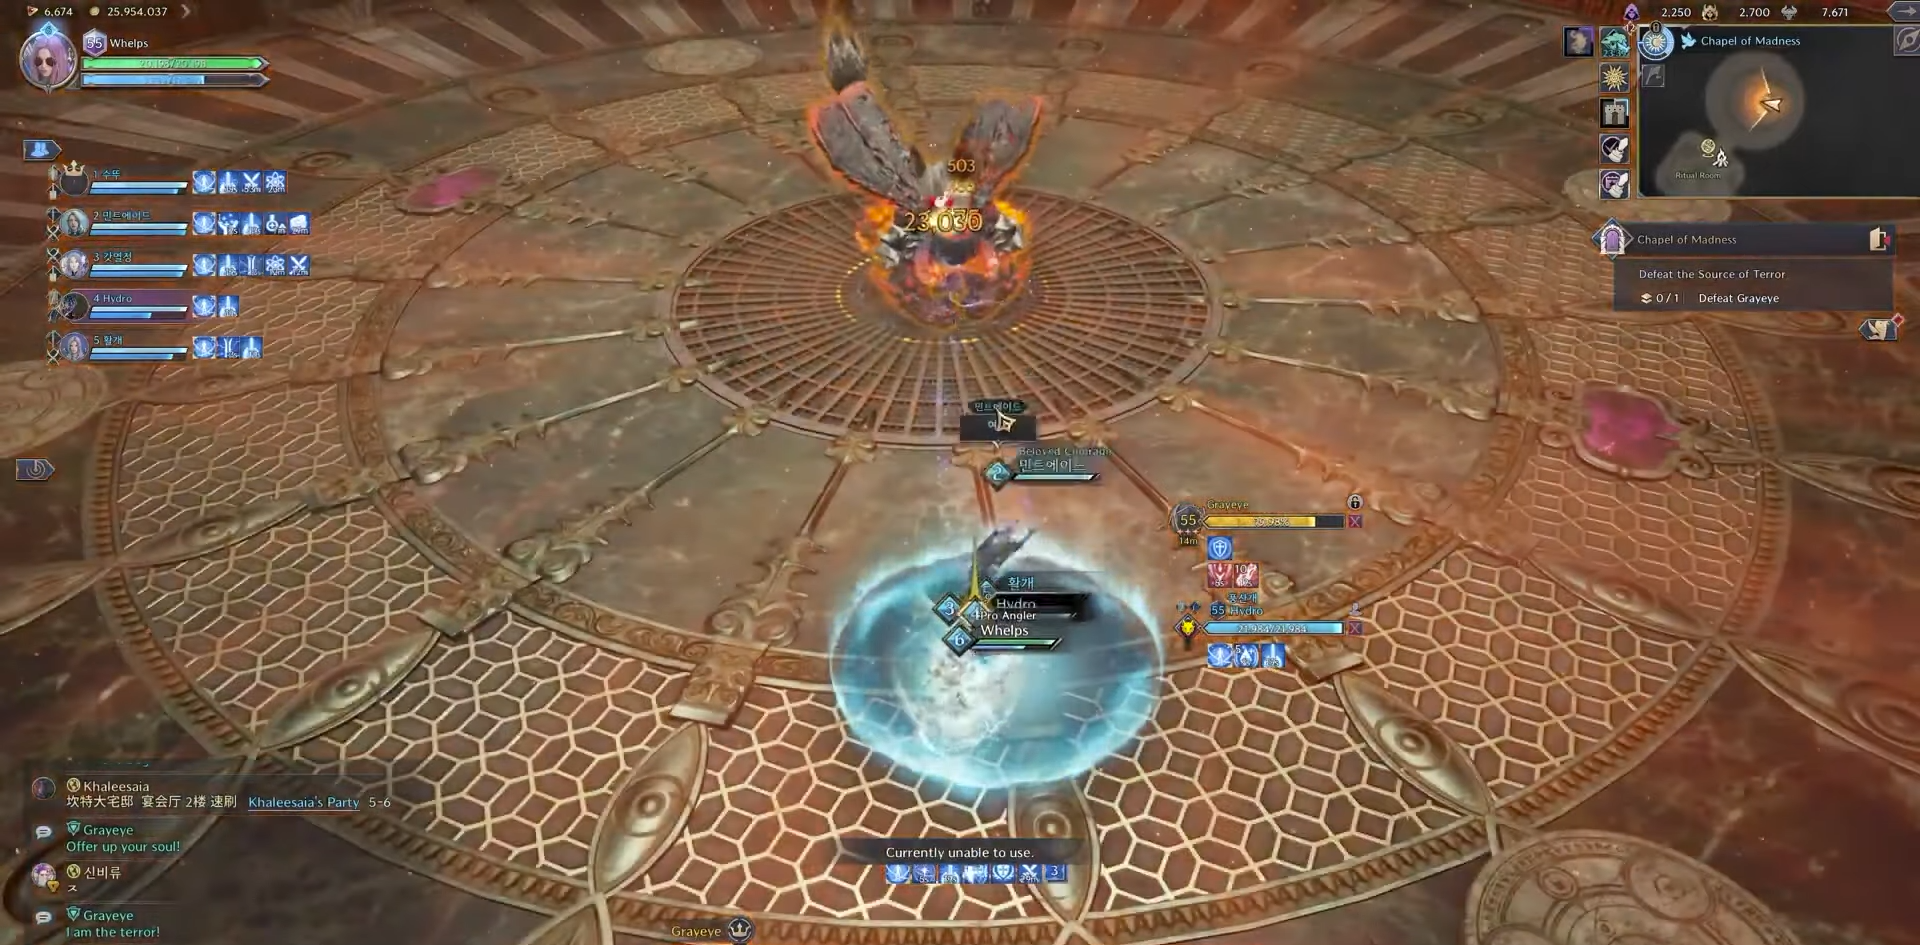
One Shot Mechanic
Killing the zombies fast is incredibly important, as they’ll drop a blue puddle on the ground that your whole party uses to protect themselves from heavy damage. Failing to kill the Zombies before this mechanic increases the bosses offensive and defensive capabilities every time a failure occurs.
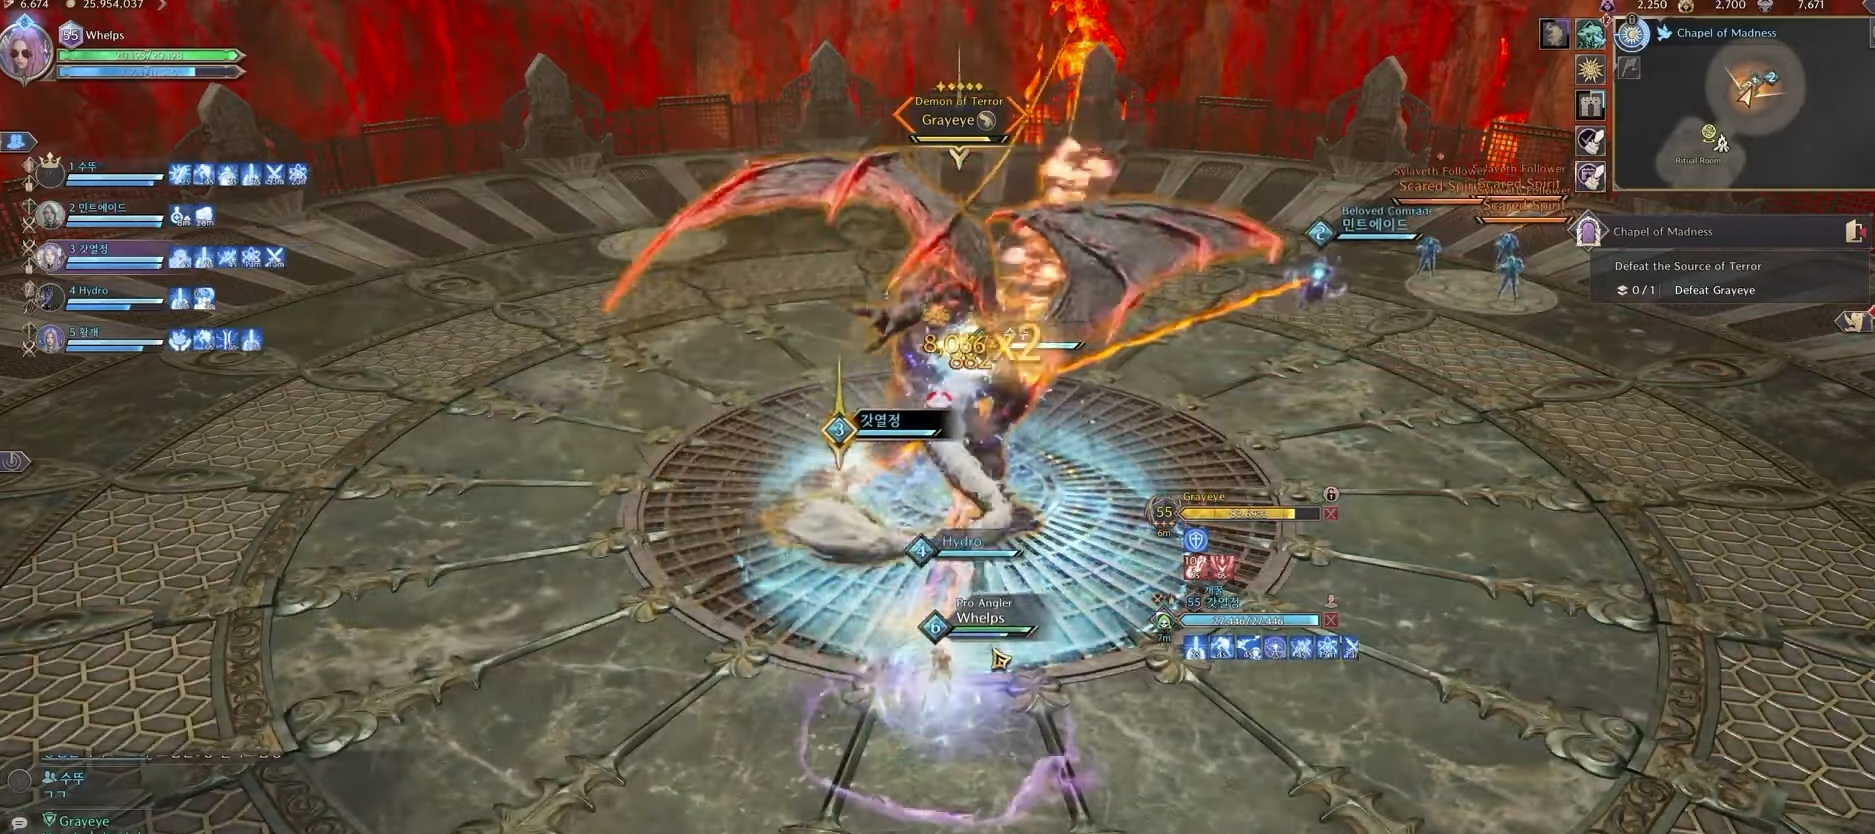
After the mechanic, Grayeye moves into your typical in-out-in or out-in-out ring-style mechanic. As a result, simply check the red areas and avoid them before he attacks.
Mechanic changes after 50% HP
The boss at this point is basically repeated until beaten as the main mechanics have been covered. The only real differences are:
- Up to 3 people can get the green cones
- Sometimes there is not even Zombies, co-ordinate this with your team and DPS the boss
Dimensional Trials Mechanical Additions
Below is a list of all Mechanical Additions to the Chapel of Madness dungeon:
- The Spirits have a “Sacred” and “Terrified” Spirit within the 3 you find using the reveal cone. The ranged players must deal with the Terrified Spirit while the rest of the party pulls the Sacred spirits in the centre towards the boss. If you stand too close on Tier 5 to the Terrified Spirits, you’ll take a lot of damage when killing them and die.
- The boss lashes out with fire trails far more often throughout the entire fight.
- In Tier 5, the party has to deal with two sets of Spirits from the very beginning of the fight.
- Due to the large amount of damage the bosses half-arena sized AoE can deal and the way you can split the map up to search for Spirits – set up some pins and order your party in a straight line across the boss and arena. Doing so helps you all to move quickly to each mechanical task and to quickly move from one half of the arena to another to avoid damage.
And that’s it! You’ve officially beaten the Chapel of Madness dungeon – enjoy the loot and good luck.
Chapel of Madness Guide Conclusion
This concludes the Chapel of Madness guide for Throne and Liberty. For more guides for Throne and Liberty, please check out our official Home page!