Introduction
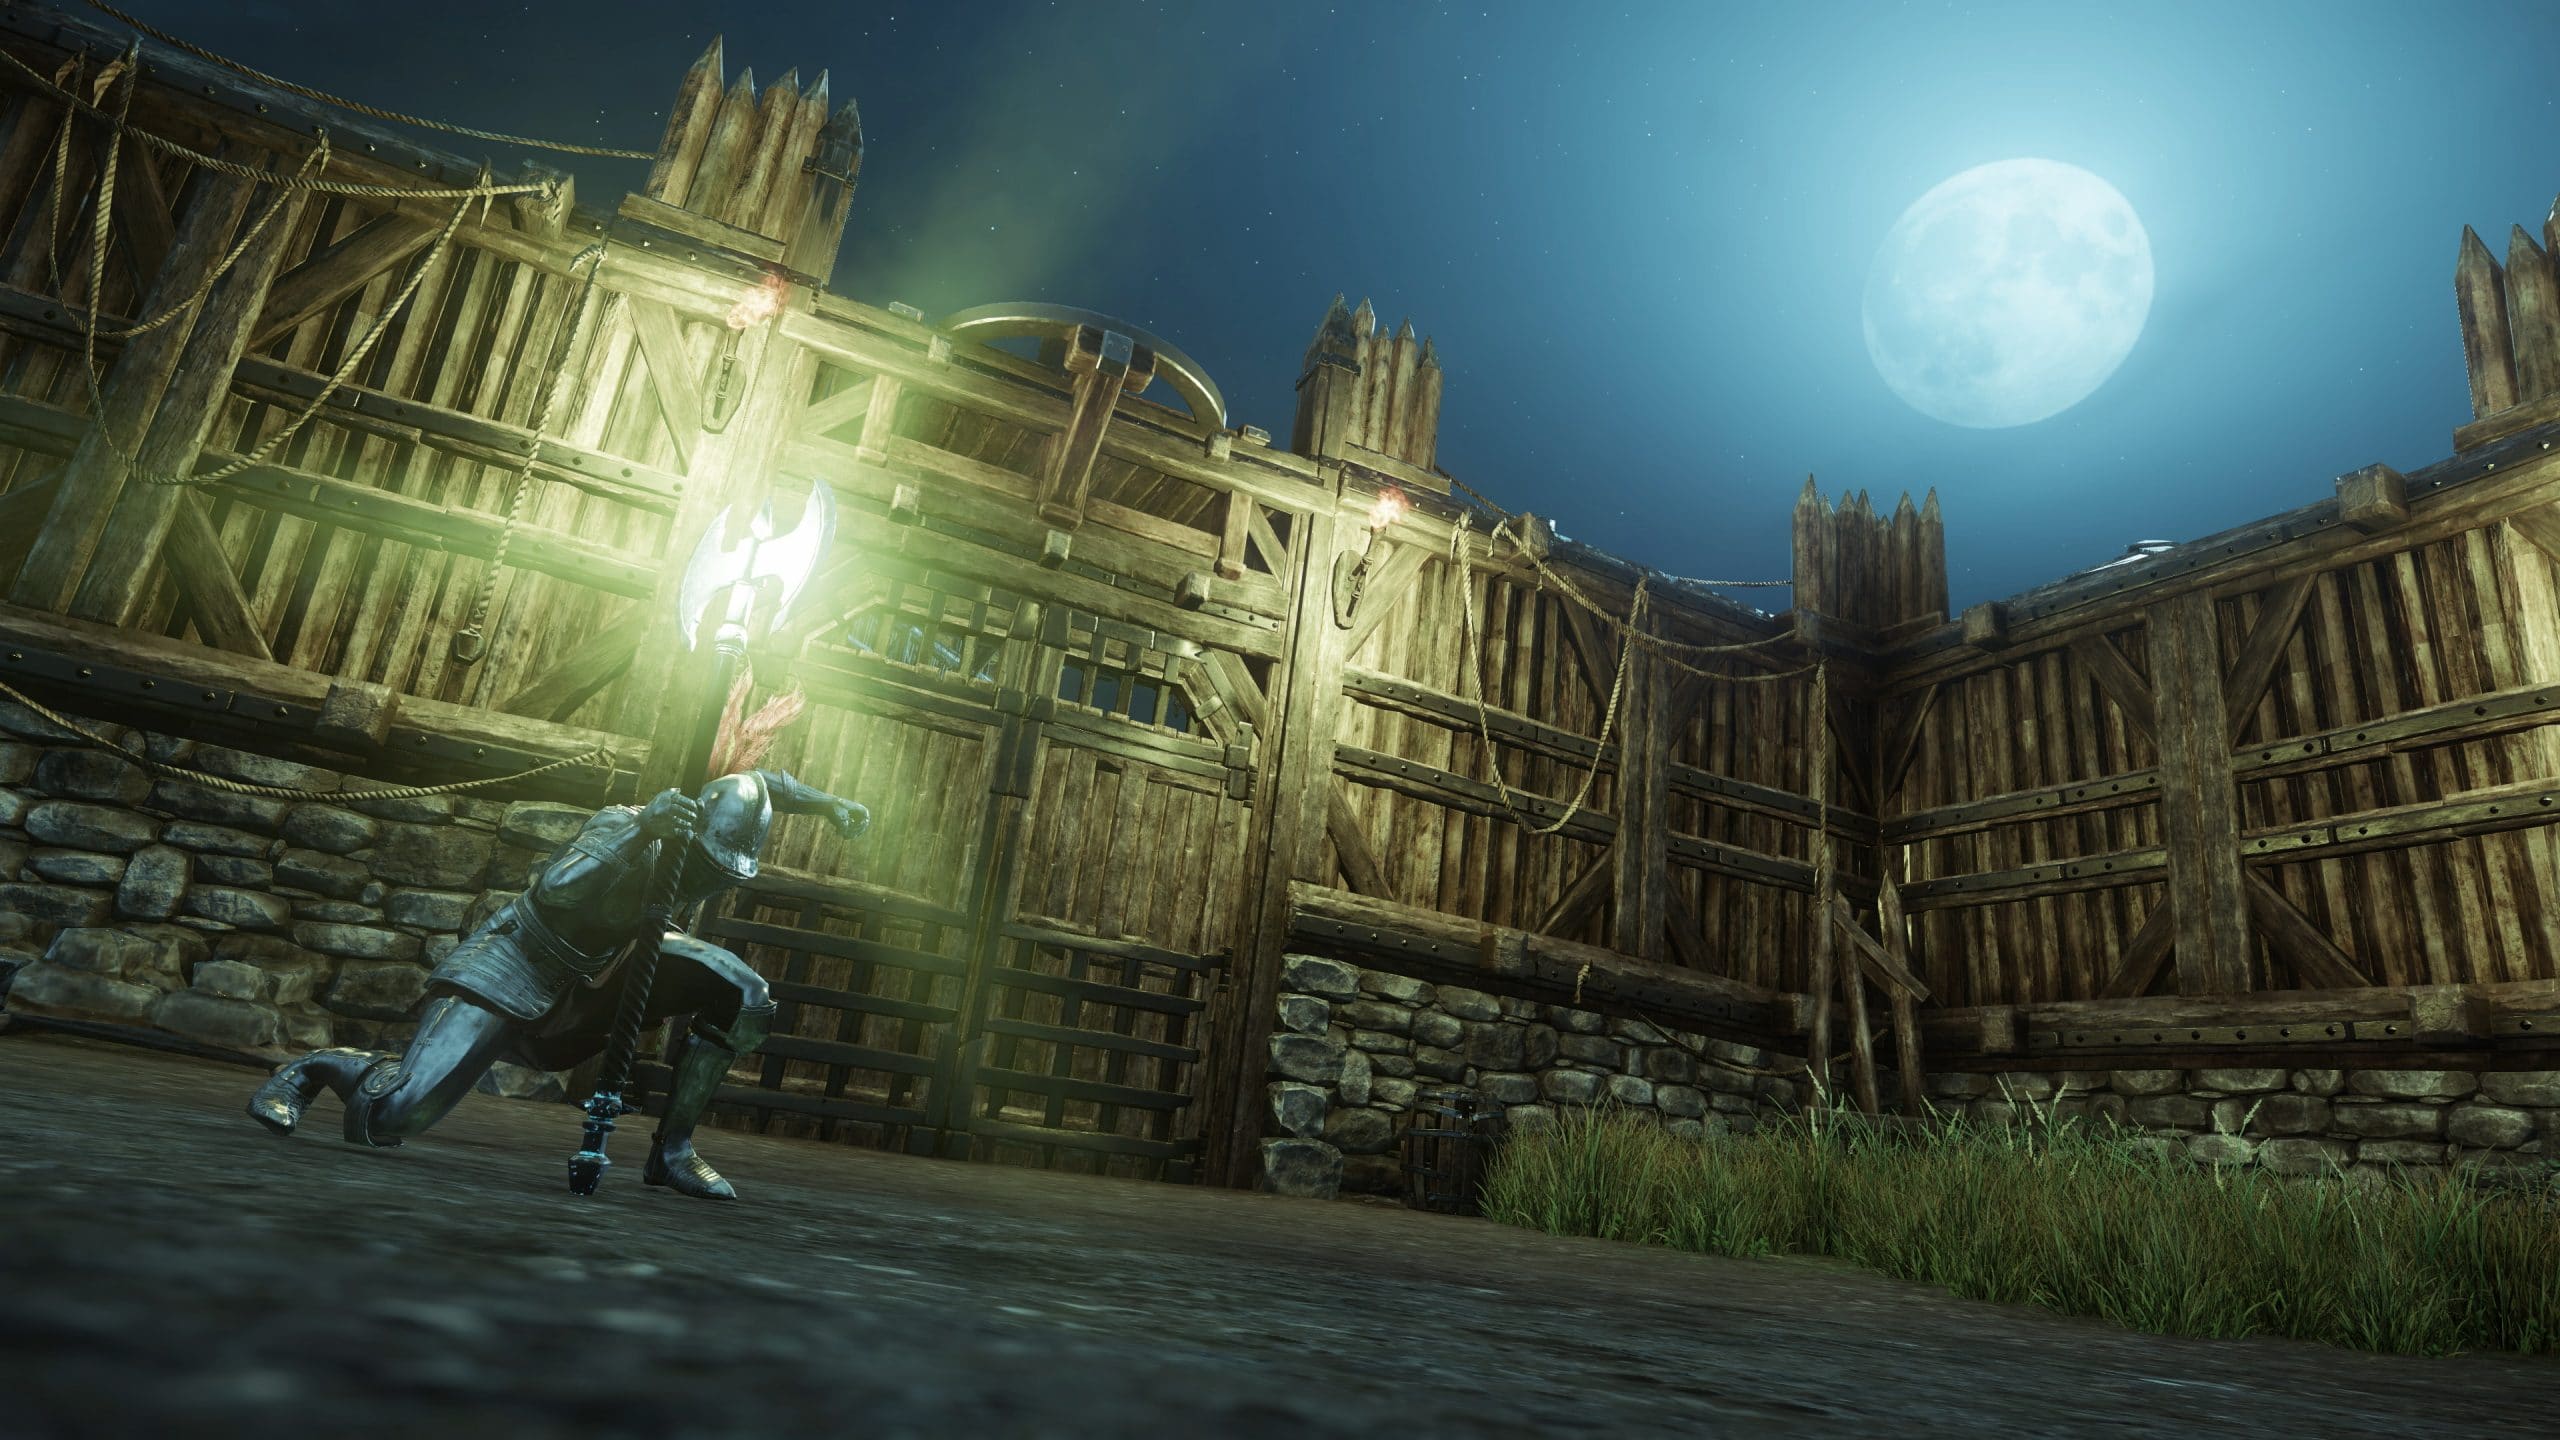
New World War is a 50v50 PVP mode that allows you to fight for control of territories in Aeternum. In this guide, we will cover how to gain influence, Declare War, and prepare for the Siege. Unlike Outpost Rush, you can participate in a siege at any level after you have joined a faction. Be aware that you may be joining a siege at level 15 and fighting against max level players.
Territory Influence
Before you can wage war on another Faction’s Territory, you must first gain influence. In order to undermine a territory, you must first win the territory Influence Race.
New World War Declaration
Once a territory is undermined, it’s time to declare for war. Each Faction will compete for Influence in specific zones during scheduled times. If an attacking Faction earns enough Influence through PvP Missions, Influence Towers, and Forts before the race ends, they’ll receive bonus rewards, plus the opportunity to declare War. The company that receives the war declaration will be considered the Vanguard.
Vanguard
Once a Vanguard has been selected, the Governor of that company can select the roster for a 50 v 50 War. This Roster can include anyone from the company’s faction or the faction that does not own the territory. For example, if the Syndicate has declared War on a Marauder Territory, they can enlist help from members of the Covenant.
Siege Window
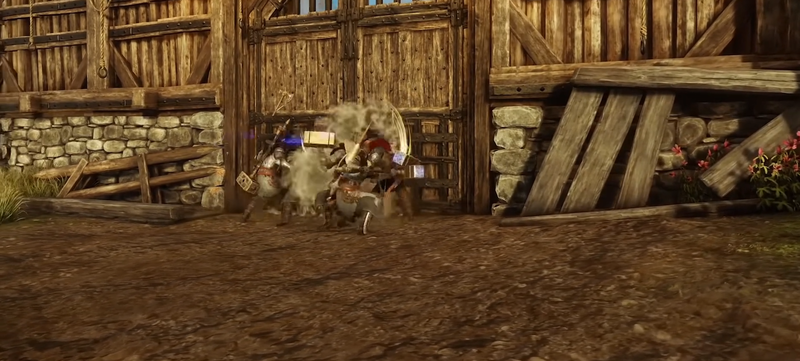
Wars will take place in specific windows of time that are set by the defending Company. Being able to set the time the War takes place helps for better coordination of the participants. This improves the chance that a majority of the members involved in the company can participate in the war.
If you have been selected to fight, you will get an invite to the war 15 minutes before the War. When the time comes for battle, you’ll be teleported from where you are on Aeternum, straight to the battlefield.
Once the Siege starts, the overall objective is for the attack to breach the walls of the Fort and capture it’s claim. The defending army defends the fort from being captured by the attackers which would take over ownership of the whole Territory for their Faction if they were successful.
Before any Fort Gates can be damaged and breached, the attackers must first capture three Rally Points in front of the Fort. Once captured, they cannot be retaken by the defenders and the front line is pushed ever closer. Rally Points can be used by the team as respawn points or to access the Armory. After the army is pushed into fort, the defenders can choose a spawn point inside the fort.
There is a scoreboard available during the Siege that will give players an overview of their performance. The Scoreboard can be accessed by pressing the default key of “N”
Siege Weapons
As an attacker, you can spend your Battle Tokens at the War Camp’s Armory to acquire Siege Platforms. You gain Battle Tokens by contributing to the battle.
The defending Fort will be able to build Siege Weapons along its walls to help fend off the attack. Defensive Siege Weapons will be dictated by how they have been upgraded through the Territory Progression system prior to the War.
There are multiple entries to the Fort which defenders will need to divide their attention and Siege Weapons between. Defenders also have Siege Supplies that are auto-generated during War by Siege Supply Generators. These resources can be used to repair structures, including Gates, Armories, Siege Supply Generators, and Siege Weapons.
New World War Attack Seige Weapons
- The Cannon Platform has a medium rate of fire and the highest damage per hit, the Cannon is most effective against structures and large, slow-moving targets. Several Cannons focusing their fire can quickly demolish any defensive structure.
- The Fire Launcher Platform launches a flaming projectile that bursts on impact and covers the area in fire. It is most effective against infantry and is a good way to counter ranged opponents shooting from the Fort ramparts. It’s also very effective at area denial and keeping opponents out of capture points.
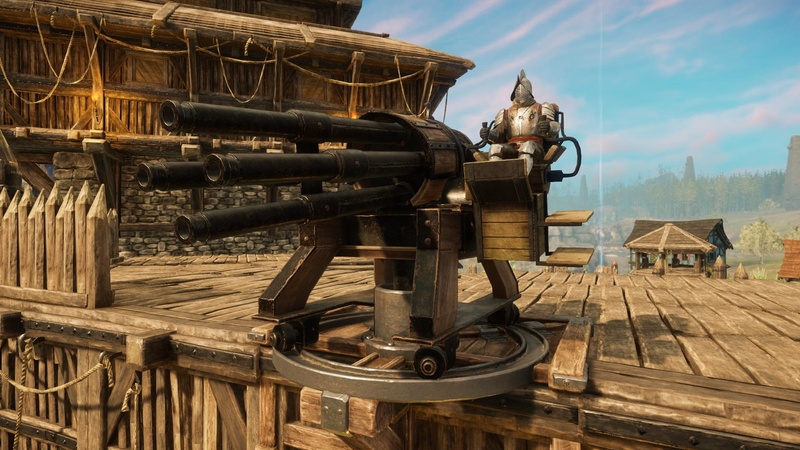
- The Repeater Platform is a rapid-fire turret that launches bolts at very high speeds. Individually, the bolts don’t do a lot of damage but sustained fire can quickly whittle infantry down. It’s most effective against smaller and quicker targets that the other turrets have a hard time hitting.
New World War Defense Siege Weapons
- The Ballista is the defender’s version of the Cannon and serves the same role as an anti-structure Siege Weapon. It has a medium rate of fire and very high damage per shot. The Ballista is most effective against structures and large, slower-moving targets.
- The Explosive Cannon fires an explosive shot that that disrupts and knocks enemies back. It’s most effective against groups of infantry. However, its low rate of fire makes it largely ineffective against fast-moving targets.
- The Repeater Turret is the defender’s version of the Repeater and is functionally the same as the attacker’s. High rate of fire, low damage per shot, and most effective against smaller, quicker targets.
- The Fire Dropper pours burning, molten liquid down on anyone below. It does high damage over time, making it most effective against groups of enemies attacking the gate.
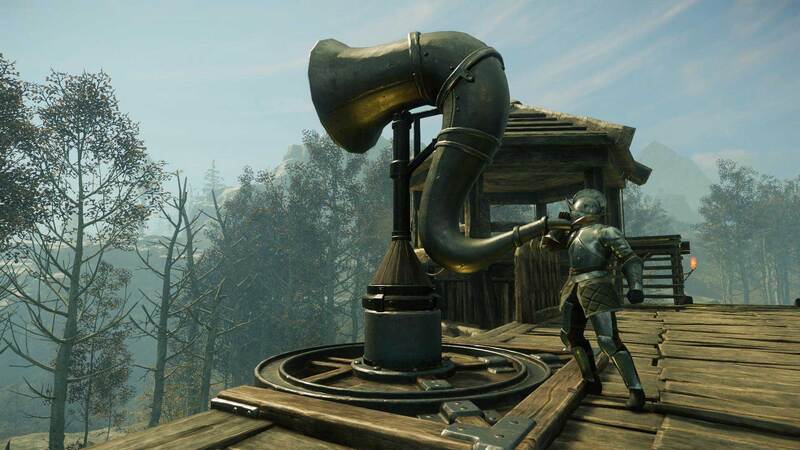
- The Horn of Resilience provides a temporary healing and defensive buff to all allies in the area. It has a lengthy cool-down but can turn the tide of battle when used at the right moment.
Armory
There will be armory available to both the Attackers and Defenders during the Siege. Players will earn battle tokens for their performance during the siege. These tokens can be used to obtain siege weapon ammo, potions, and the following traps from the armory
- Inferno Mine bursts and covers the area in fire when an enemy gets close enough. It is highly effective at area denial and most effective when placed in choke points.
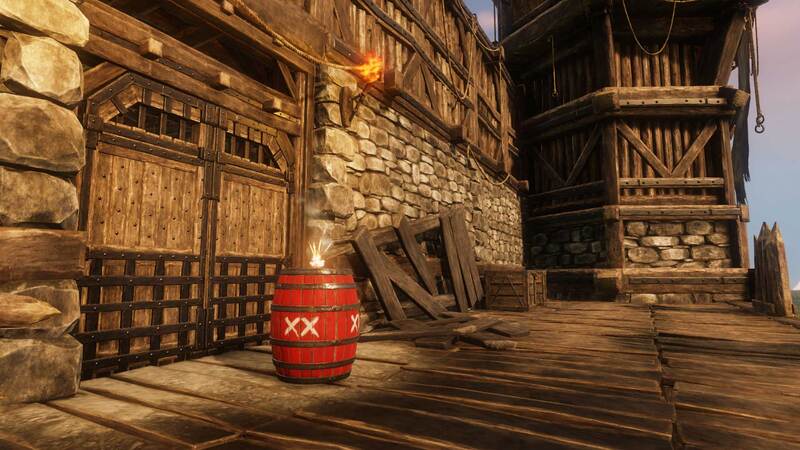
- The Powder Keg does the highest damage of any siege weapon, making it extremely effective against gates. It’s fuse must be lit manually and has a longer duration. The Powder Keg won’t detonate if it’s destroyed early, requiring players to actively defend it.
Once the siege has ended, you will be able to view the post-match screen. This includes a more in-depth stats page about the siege. Players on both sides of the conflict are then teleported back to a Settlement. If the defenders successfully defend then they will maintain control over the territory. If the attackers are victorious, then a New Settlement government is formed. The Company that was selected as the Vanguard would then be the governing company of the territory.
Territory Control Incentives
Along with the siege comes some nice territory control incentives.
- A resource cart in each town will become available. This cart could have a small amount of ore, hide, wood, fibers, food, oil, or refining reagents such as tannin or sandpaper.
- When territory taxes are delinquent, all company and faction bonuses are disabled.
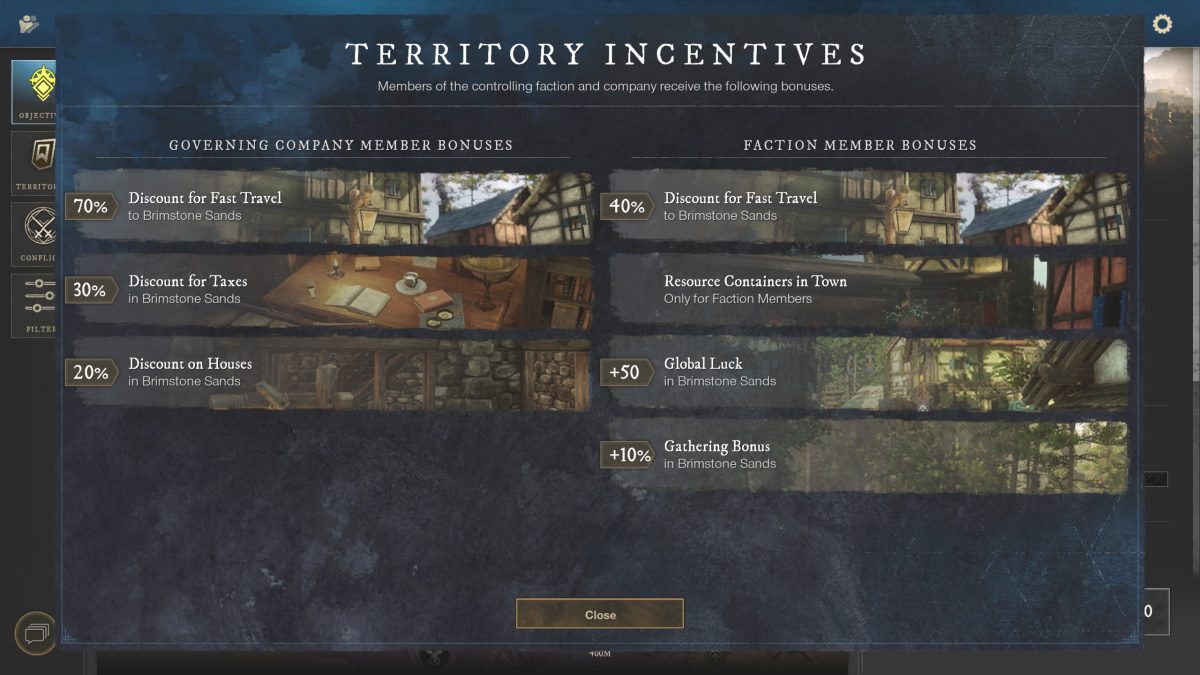
- Faction Bonuses: 40% fast travel discount,10% increased gathering volume in the controlled territory, +50 Luck in controlled territory
- Company Bonuses: 70% fast travel discount to controlled territory, 30% reduced taxes, and 20% reduced house purchase cost in controlled territory
Coin From Taxes
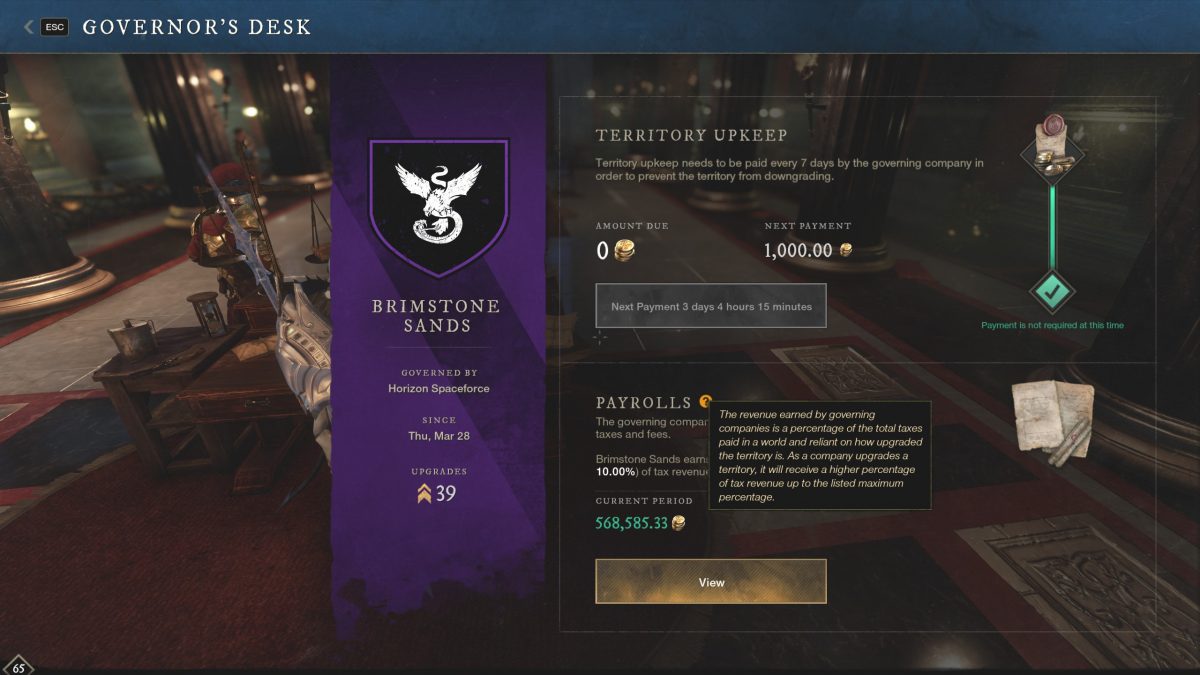
The governing company also gets to collect taxes and fees for owning the territory. The revenue earned by the governing company is a percentage of the total taxes paid in a world. it is reliant on how upgraded the territory is. As a company upgrades a territory it will receive a higher percentage of tax revenue. However, there is a maximum percentage limit.
New World War Guide Conclusion
That does it for our New World War guide. For more on strategy and War builds, check out our New World Builds! For more New World Aeternum guides be sure to check our comprehensive guide library!

