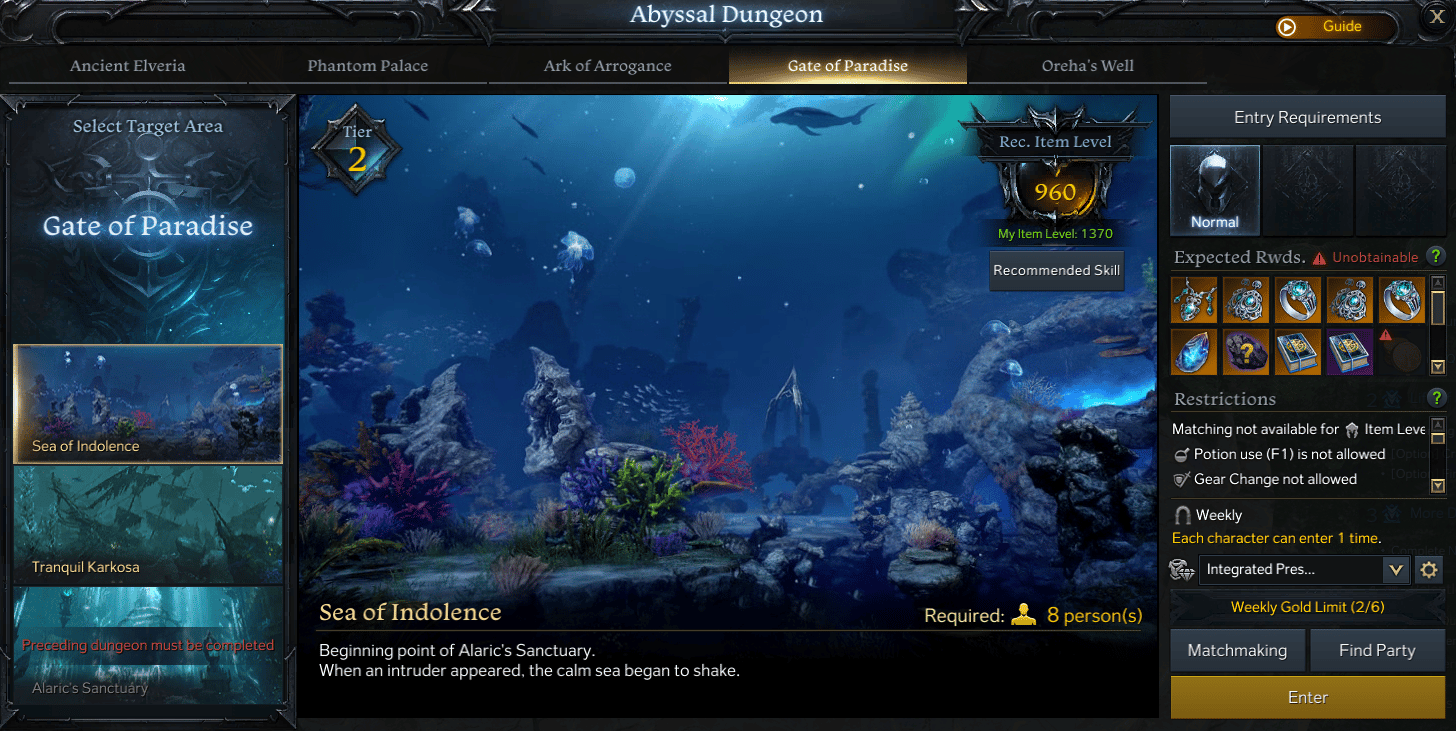
The Lost Ark Sea of Indolence Abyssal Dungeon is the third Tier 2 Abyssal Dungeon. You will need to reach item level 960 and have finished Forge of Fallen Pride in order to enter.
You will find two bosses in the Sea of Indolence Abyssal Dungeon. Deep Sea Orboros and Indolence Sentinel Akam are these two bosses you will encounter. Additionally, the non-boss mechanics of this dungeon are straight forward; kill everything in your underwater pimp suit. Let’s take a deeper look at these two bosses.
Useful Items – HP Potion, Panacea
Gate of Paradise Main Mechanics
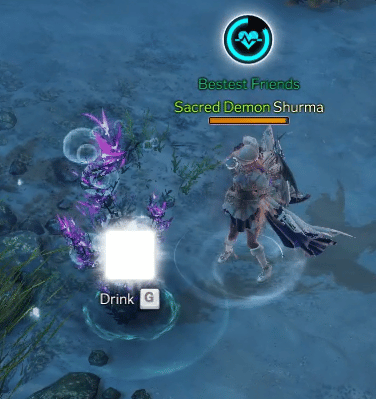
Unlike other Abyssal Dungeons, Gates of Paradise is setup for 8 players and has underwater breathing mechanics. When first starting out, players are provided with an underwater suit and your oxygen levels are not a concern, however after defeating Orboros, all players must watch their oxygen levels to make sure they don’t drown to death. Oxygen levels for every player will appear over their character.
Restoring Oxygen – There are two ways to restore Oxygen while in Gate of Paradise. Plants and Oxygen Fissures. Both appear on your mini-map, so if you are having a hard time noticing them look there. The Plants will quickly restore your oxygen to full while the Oxygen Fissures you have to stand on and wait a few ticks.
Yellow AoE Attacks – It is common for attacks to show a Red AoE on the ground for when attacks are coming. However, while underwater there are some Yellow AoE attacks you may have noticed. What is special about these attacks is that they deal oxygen damage on top of the normal damage. So if you don’t want to go searching out Oxygen as often, make sure to dodge these attacks as much as possible.
Orboros Main Mechanics
Orboros has 10 health bars that players will need to knock off to complete the fight. They have 1 main mechanics that will occur throughout the fight. Overall a simple fight and shouldn’t be a hassle for most groups of 8.
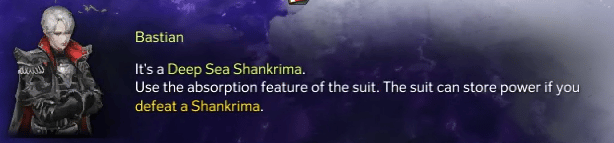
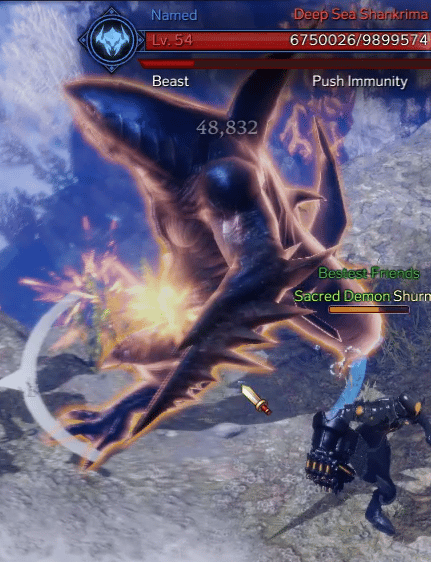
- Summon Shankrima – Oroboros will summon a Deep Sea Shankrima to fight along side them early in the fight. This creature has 10 health bars, but low defense and quick to stagger. Additionally, when defeating the Shankrima, all players gain a damage buff that will make Orboros quicker to kill. If the Shankrima doesn’t die, players will slowly die to the bleeding DoT it applies to players, so make sure to quickly switch to it.
Orboros Notable Attacks
- Poison Drops – Orboros will drop red orbs onto the ground leaving behind poison spots. Make sure to avoid any purple on the ground or you will be poison from the attack.
- Poison Eruptions – Orboros will summon many red circles on the ground and have Poison Eruptions from them. Unlike Poison Drops, however they do not stick around and will disappear after erupting.
- [Counterable] Charge – Orboros shines blue and leans backward in preparation to attack. Shortly after they charge forward knocking anyone backwards multiple times until the attack ends.
- Tri-Water Burst – Orboros pulls back all 3 heads to ‘breath in air’ and creates 3 red AoE cones in front of them. Shortly afterwards Oroboros produces a 3 second water burst in those locations that will constantly knockback players who are caught in the attack.
Akam Main Mechanics
Akam has 20 health bars and has many mechanics to be aware of. For players at item level, this fight can prove to be a challenge. Once Akam reaches 10 health bars, they will step into the ground and you will only have to fight the upper body. Additionally, Akam can not be staggered and is immune to all effects, so pure DPS will be your objective.
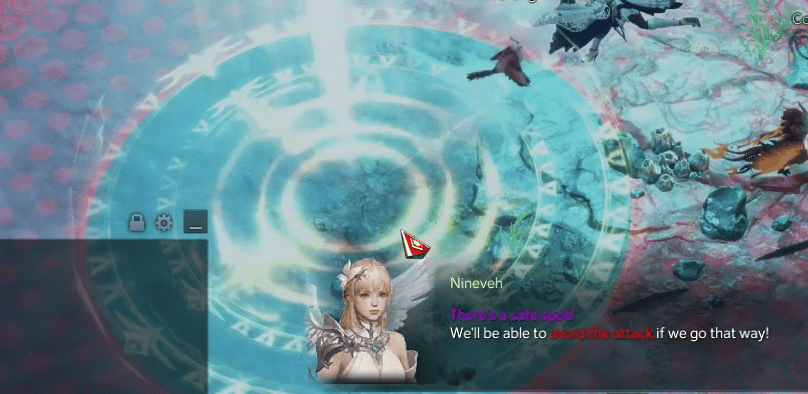
- Decimation – Nineveh will create a safe spot on a random player and everyone will want to get inside. Low item level players will die if they don’t reach the safe spot while high item level players will be imprisoned and badly hurt. This attack will happen as the 4th attack after the Yellow AoE Attack ends, OR every ~43 seconds (Whichever is easier for you to remember). Ideally, you will want players to stay grouped up after you see the yellow attacks finish.
- Akam’s Curse – All of Akam’s attacks will inflict varying levels of the curse. The debuff lasts 10 seconds and can be cured with a Panacea. At 4 stacks of the curse you will become imprisoned and will require another player to break you out or wait 10 seconds. While imprisoned, a purple HP bar will appear under the player. Additionally, any attacks will deal 1 damage to the jail, so it is ideal to use quick hitting attacks to break players free.
Akam High HP Notable Attacks
High HP attacks will occur while Akam is standing on both feet and above 10 health bars. If Akam is at 10 health bars and you can no longer see their feet, check the Akam Low HP Notable Attacks section.
- Stomp – Akam stomps a large area with a single foot.
- Penta-Stomp – Akam quickly stomps near them and rotate clockwise for a total of 5 stomps. The final stomp will happen at the same location as the first one. After the 5th stop goes out, a water large water burst will generate and players will want to be where the final stop occurred. Failure to make it to the safe spot will knock players upward.
- [Variant] Double-Stomp – Akam will sometimes only double stomp in the same location and still create the donut shape attack there after.
- Back Draft – Akam will lift up their right foot, pull it back down, and backwards to drag their foot to create a back draft of sand and water. A few seconds after the attack animation occurs, a large water burst in the area will occur, so make sure to stay out of the area.
- Cursed Beam – Akam will quickly highlight a blue AoE attack that happens close to them. They will then shoot a beam down into the area and rotate clockwise or counterclockwise around their body. Anyone hit will instantly be affected by Akam’s Curse and imprisoned.
- Sweep – Akam will mark a large 135° cone next to their body. Akam will then sweep the area with their arm hitting anyone in the area. Slow cast, easy to dodge.
- [Yellow Attack] Oxygen Bursts – Akam will summon red orbs mid-far away from themselves that will generate the Yellow AoE Circle attacks. Easy to dodge, however Akam will still use other attacks while this one is happening.
Akam Low HP Notable Attacks
Low HP attacks will occur while Akam is partly underground and below 11 health bars. If Akam is at 11 or more health bars and you can see their feet, check the Akam High HP Notable Attacks section.
- [Counterable] Windup Charge – Akam will backup using their arms and then shine blue when they are ready to charge. Akam will then charge forward in the same path they backtracked. It’s strongly recommended to counter this attack as often as possible, because anyone hit from the attack will instantly be affected by a full stack of Akam’s Curse.
- Sweep – Akam will mark a large near 180° cone next to their body. Akam will then sweep the area with their arm hitting anyone in the area. Slow cast, easy to dodge.
- Hand Slam – Akam will slam their hands into the ground in circle and donut shape red AoE markers to dodge. There are many variants to this attack, where as Akam will only slam the ground 2-7 times while rotating in a clockwise manner.
- Double Back Draft – Akam will slam both hands in front of them generating 2 AoE Red Circles. Then drag their hands backwards to generate a back draft. Similar to the previous version, an explosive water burst will occur a few seconds in the back draft area.
- [Yellow Attack] Cone Bursts – Akam will summon small red orbs around the arena that will face random directions. The red orbs will generate yellow 30° cones that will cause a burst of water to hit anyone in it. Easy to dodge, however Akam will still use other attacks while this one is happening.
Sea of Indolence Rewards
Some rewards are guaranteed (Guardian’s Will) while others are a chance to obtain (Cards). There are also some limitations on some of the items if your item level at or above 1370. Here are the Sea of Indolence rewards;
- Epic and Legendary Cards
- Legendary Tier 2 Earrings, Necklace, and Amulets
- Tier 2 Ability Stones
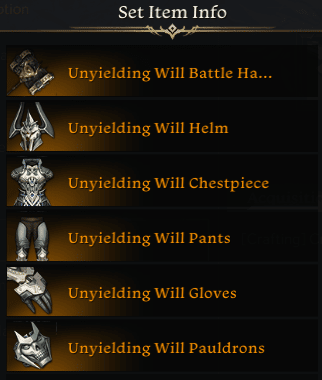
- 5x Guardian’s Will (Crafting material for the Unyielding Will & Mute Guardian set)
- *Rare or Epic (Battle/Class) Engraving Recipe
- *Gold
- *Scar of the Abyss Chest (Purchase with 40 gold after the MVP screen)
*Items can only be obtained if you are below an item level of 1370.