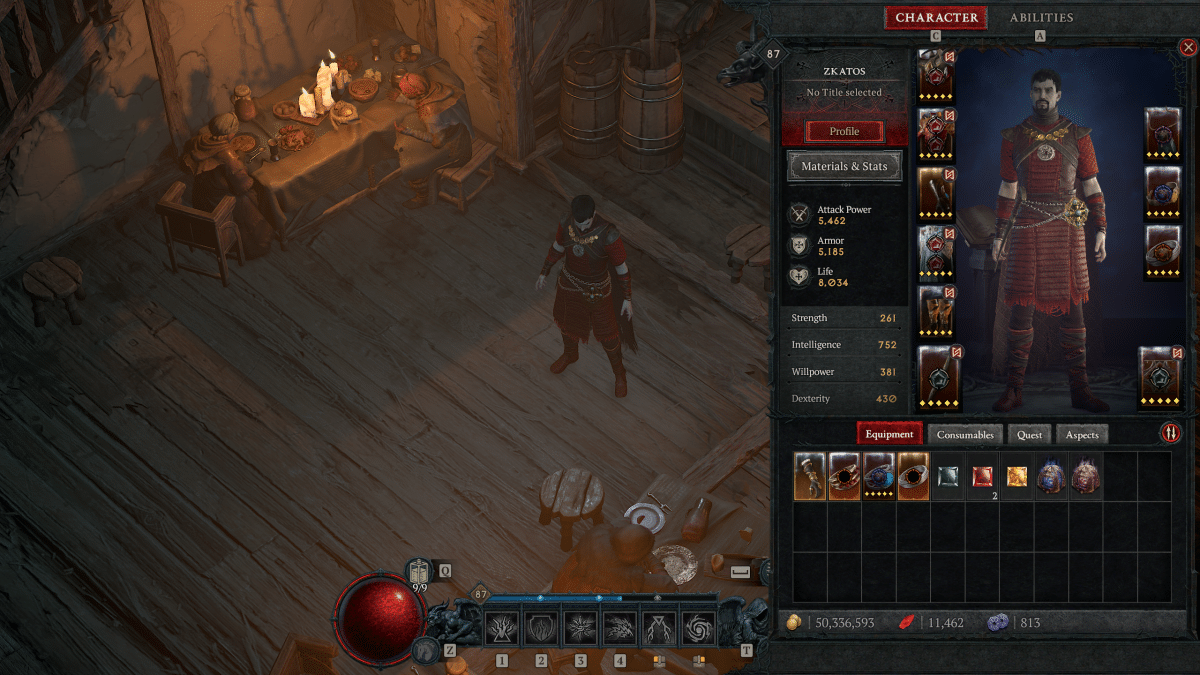
Welcome to our Sorcerer Ball Lightning Build. In this article we will give you the info needed to re-create this build! Covering the Skill Tree, Aspects, Paragon Board, Glyphs and much more! This build features fast paced flashy combat.

Pros
- Great AoE damage .
- Very good Mobility.
- Top tier farm build.
Cons
- Can be squishy at times.
- Optimal burst is during Ultimate use.
- Not the best at high tier pushing.
Skill Tree and Paragon Board
Glyph Leveling Priority
For our Sorcerer Ball Lightning Build we are using 6 Rare Glyphs to complement our damage and survivability. Getting Glyphs to level 15 can be a big deal, unlocking a bigger radius around the Glyph. Below we will put them in order of which one to level to 15 first to last.
- 1 – Charged: We will need the extra radius to reach the required stats. Granting us extra damage whenever we pick up Crackling Energy.
- 2 – Flamefeeder: Granting us extra damage against burning enemies.
- 3 – Adept: Increasing our Mastery Skill damage.
- 4 – Exploit: Increasing our damage vs. Vulnerable Enemies.
- 5 – Control: Increasing our damage vs. Crowd Controlled Enemies.
- 6 – Imbiber: Increasing our damage while Healthy.
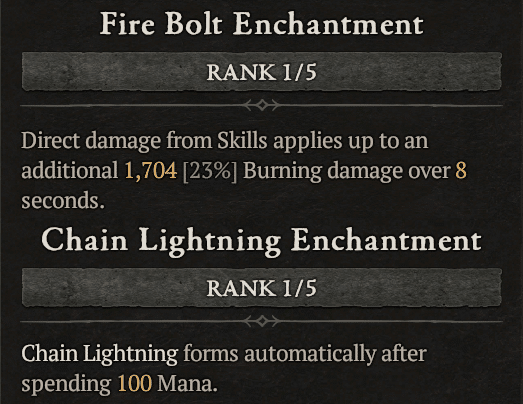
Class Mechanic (Enchantment)

- Fire Bolt: Direct damage from Skills applies additional X% burning damage over 8 seconds.
- Chain Lightning: Chain Lightning forms automatically after spending 100 Mana.
Legendary Aspects
Legendary Aspects are one of the most powerful parts of any build. Below we list the ones used for this Sorcerer Ball Lightning Build. Each build has a limited amount of Offensive, Defensive, and Utility Aspects that it can use. Here is a reminder of the slot limitations for Legendary Aspects:
- Offensive – Amulets, Gloves, Ring, Weapons
- Defensive – Amulets, Chest, Helm, Legs, Shield
- Mobility – Amulets, Boots
- Resource – Rings
- Utility – Amulets, Boots, Chest, Gloves, Helm, Shield
Aspect Priority
Here you will find a small list containing the Aspects we want in the build. We will go from most important at the top and least at the bottom. For more info on the Aspects you can reference the build planner above.
- Gravitational Aspect (Offensive)
- Prodigy’s Aspect (Resource)
- Aspect of Control (Offensive)
- Aspect of Disobedience (Defensive)
- Aspect of Binding Embers (Utility)
- Accelerating Aspect (Offensive)
- Conceited Aspect (Offensive)
- Storm Swell Aspect (Offensive)
Unique Items
For this build we use the following Unique Items, this version of the build can also be played without these Unique Items, yet they are a nice addition. We run Accelerating Aspect with the build if we are not using this Unique.
- Raiment of the Infinite: After using Teleport, close enemies are Pulled towards you and Stunned for X seconds, but Teleport’s cooldown is increased by 20%.
- Esu’s Heirloom: Your Critical Strike Chance is increased by X% of your Movement Speed bonus.
Malignant Hearts
Malignant Hearts, a new addition to Diablo 4 through the first Seasonal experience act as a huge boost to your build capabilities. As a result, we recommend using the following Malignant Hearts for this build:
Recommended
- Barber (Wrathful, Super): Critical Strikes and all subsequent damage within 2.0-4.0 seconds is absorbed by your target. Then, the absorbed damage erupts onto surrounding enemies. Stored damage is increased by 10% per second.
- Revenge (Brutal, Defensive-World Tier III): 10-20% of incoming damage is instead suppressed. When you use a Defensive, Subterfuge or a Macabre skill, all suppressed damage is amplified by 250% and explodes, dealing up to 1360-2040 Fire damage to Nearby enemies.
- Tempting Fate (Vicious, Offensive-World Tier III): You gain 40-60% Critical Strike Damage but your Non-Critical Strikes deal 20-15% less damage.
Alternative Choices
- The Calculated (Devious, Utility-World Tier III): After spending 150-200 of your Primary Resource, your next attack Stuns enemies hit for 2 seconds.
- Tal’Rasha (Vicious, Offensive): For each unique element you deal damage with, you deal 7-12% increased damage for 3-10 seconds.
Item Affix Priority
Our Affixes are a big deal in completing this Sorcerer Ball Lightning Build. Stacking the right % Affixes, taking enough Damage Reduction, and or Skill Ranks, it can all make a big difference. Below we will go over what Affixes to prioritize while creating this build.
| Item | 1 | 2 | 3 | 4 | 5 |
| Helm | % Cooldown Reduction | + Maximum Life | + Maximum Mana | % Lucky Hit chance while you have a Barrier | + All Stats |
| Gloves | % Critical Strike Chance | % Attack Speed | % Lucky Hit Chance | % Lightning Critical Strike Damage | Lucky Hit: Up to a X% chance to Restore X% Primary Resource |
| Pants | + Ranks to Ball Lightning | % Damage Reduction from Close enemies | % Damage Reduction from Distance enemies | % Damage Reduction | % Total Armor |
| Amulet | % Cooldown Reduction | % Mana Cost Reduction | + to all Mastery Skills | + to Devouring Blaze Passive | + to All Defensive Skills |
| Ring x 2 | % Vulnerable Damage | % Critical Strike Chance | % Resource Generation | % Lucky Hit Chance | % Lightning Critical Strike Damage |
| Weapon 1H | % Vulnerable Damage | % Critical Strike Damage | % Lightning Critical Strike Damage | + All Stats | % Critical Damage |
| Offhand | % Cooldown Reduction | % Critical Strike Chance | % Resource Generation | % Mana Cost Reduction | + All Stats |
How To Play Ball Lightning Sorcerer
- While playing Ball Lightning it is very important to keep an eye on your Mana, the build is very Mana Hungry but has a lot of ways to gain back the Mana.
- By using our Ultimate we can create huge burst, make sure to use it when it matters.
- The build is very fast and flashy, make sure to keep a barrier up as much as possible.
How to Play vs Mob Packs, Elites and Bosses
- This build excels in fighting mob packs, the Balls of Lightning will shred through anything in their way, start out by using Ball Lightning and follow up with a Teleport into the group of enemies. Keep adding Ball Lightnings and melt anything in the vicinity. Make sure to use cooldown skills to gain mana back.
- When fighting Bosses this build can struggle with Mana, in this case we could add one of our generators to the skill bar or simple lay off the Ball Lightning Spam until our Ultimate is up. Most Bosses form no problem for this build.
Conclusion
This concludes our Diablo 4 Sorcerer Ball Lightning! For more information on Diablo 4, including Class Builds and Guides, be sure to check out our Diablo 4 home page!

