Introduction
The Dark and Darker Goblin Caves are a solo dungeon experience. You can not enter this map with a party. This map also does not have any Red portals, but does have a Troll boss and a secret extraction point that you can take.
These caves are filled with goblins, spiders, mummies, zombies, and more dangerous monsters. The Goblins in this map have poison coated weapons, so when you take a hit from them you could take quite a lot of damage over time. This can be deadly so you want to make sure you avoid getting hit by the poison blades and arrows as much as possible.
The Goblin Caves are incredibly unforgiving. To survive this dungeon it’s important to get acquainted with the map and know what to expect. Knowing the map will increase you odds of survival tremendously.
3×3 Goblin Cave Map
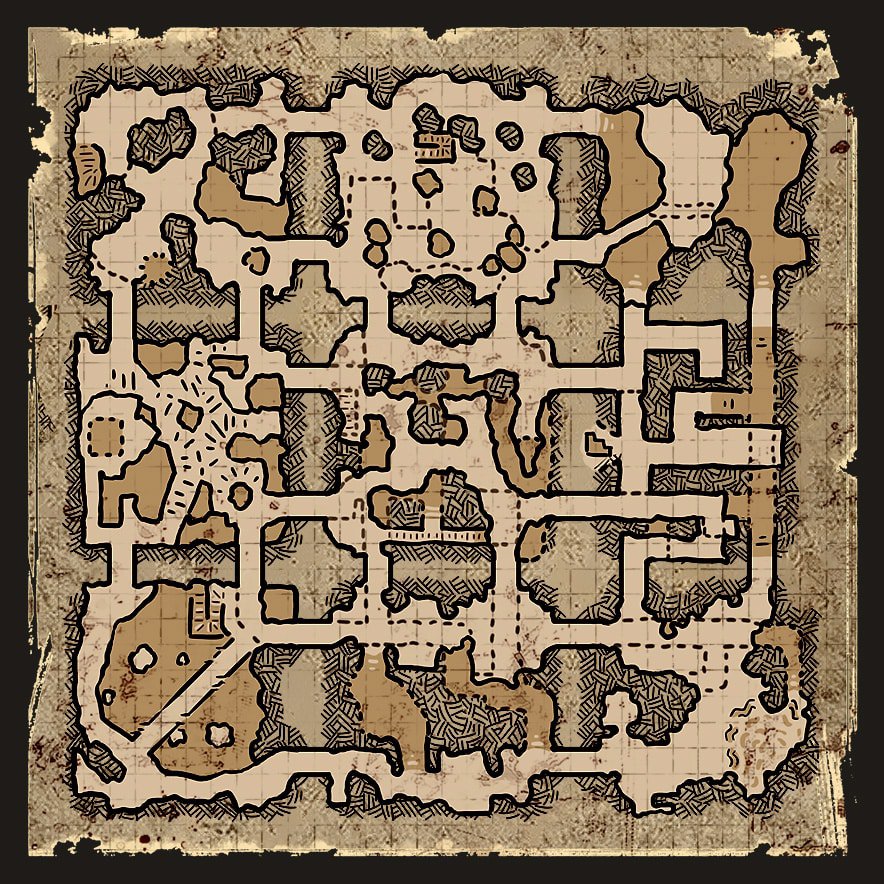
Outlined below you find find each segment of the Dark and Darker Goblin caves explained. These sections will detail what you can expect out of each area of the 3×3 map and the current 5×5 map.
Types of Enemies and How to Fight Them
The Dark and Darker Goblin Caves have several different types of enemies lurking within.
- Skeleton Champion: This is a very tough boss monster found near the center of the map. This monster is equipped with a sword and shield and hits very hard. He’s full melee so you can avoid the attacks. His swings are faster than a normal skeleton so be aware of the timing. He also has much more health. Make sure you keep you distance, and if melee hit and back up quickly before swinging again.
- Death Beetles: These flying monsters can be a big nuisance. They fly around you and spit on you. Try to avoid the ranged spit. You can kill them fairly quickly with a few attacks.
- Giant Dragonfly: There’s only a couple of these located in the Northeast part of the map. The spit from ranged, and can be hard to hit because they are very small. Try to avoid the spit and they can be killed fairly easily.
- Skeleton Archer: There’s only one of these near the center of the map. Line of site the arrows, and then engage to take him out.
- Skeleton Guardsman: These are equipped with swords. They have a decent range with the sword, but swing slow. Hit and move to avoid damage.
- Spiders: These can be a problem when there are several on you at once. Aim at the ground and back up while swinging or attacking to take them out. Make sure you take out the spider pot in order to prevent them from continuously spawning.
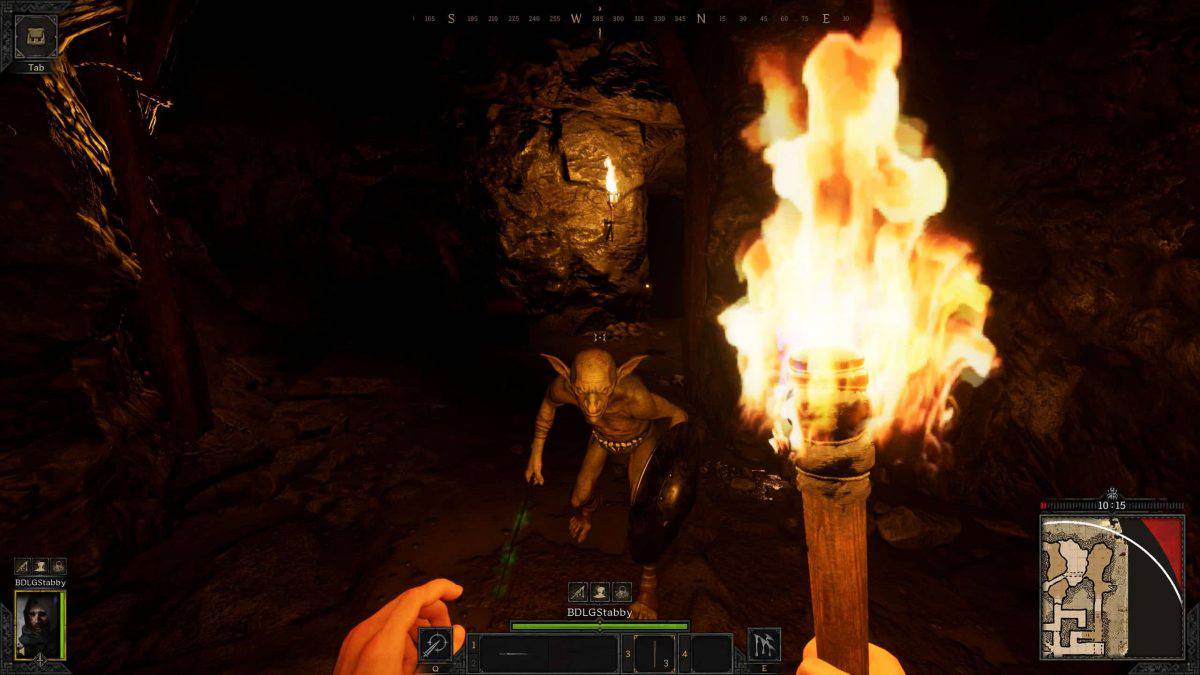
- Goblin Archer: Armed with poison arrows. Line of site the archer until you can attack. Attack and the line of site again until dead. The poison hurts. Make sure to avoid.
- Goblin Warrior: Armed with a poison blade and shield. These guys hurt if you get hit. They have a very short range and telegraphed attacks. Just hit them and back up. Let them swing. Hit them again. They are fairly tanky, but once you learn the attack pattern the attacks are very easy to avoid.
- Death Skull: The bat like creatures will rush you when their eyes turn yellow. You can duck or side step to avoid the rush. They can be killed in one or two hits but they are flying creatures which make them a little harder to hit.
- Mummy: Very slow and telegraphed attacks. Hit and back up. After they swing hit them again. Rinse and repeat until they are dead.
- Skeleton Footman: These are equipped with swords and shields. They have a decent range with the sword, but swing slow. Hit and move to avoid damage.
- Zombie: These guys will spit out poison clouds that deal damage. Their attack pattern is very much like a mummy. They are very slow. Hit them, move and avoid the poison cloud, then hit them again after they attack.
- Goblin Mage: These cast magic at range. They are fairly squishy and easy to take down. Line of site the magic and attack in between their casts.
- Goblin Axeman: Similar to the warrior, the attacks are short ranged and hit hard.
- Cave Troll: This is the boss of the map. He is located in a room in the center of the map. He hits extremely hard. He has a ground smash and a scream that also deal massive amounts of damage.
- Giant Centipede: A newer mini-boss added to the map. The Giant Centipede hits hard but is very easy to navigate. Simply alternate between strafing left and right and you can dodge every attack this way. Also, avoid the poison spit.
Northwest
There’s a couple goblins near the top left spawn that you will have to deal with. There’s also a chest near you. It’s fairly safe to go to the chest, but make sure you’re aware of the goblins so you don’t accidently pull aggro while trying to loot.
There’s also a spider pot to be aware of, and several traps in the area. If you can take out the initial goblins there’s another chest to be looted. Beware of the dragonflies and death beetles lurking around the top left of the map as well.
North
The northern part of the map is a fairly dangerous spawn point. If you spawn here make sure you tread carefully. There’s a chance there’s another player spawn nearby. It’s only divided by a door to the top right side of the map. However, you can also use this to your advantage and rush them early game if you choose.
At the northern area there’s also several goblin warriors around. Make sure to not be careless and take unnecessary poison damage from their blades. If you’re melee then back up after each attack to avoid getting hit by the blades. The goblins have very short range so you should be able to avoid the blades fairly easily. Just be careful not pull several of them at a time.
Ther’s also a goblin mage in the center of the northern area, surrounded by a few goblin warriors. The mages are fairly weak, but can deal a decent amount of damage. If you happen to pull the mage, make sure you line of site the attacks while you take out the surrounding warriors.
Northeast
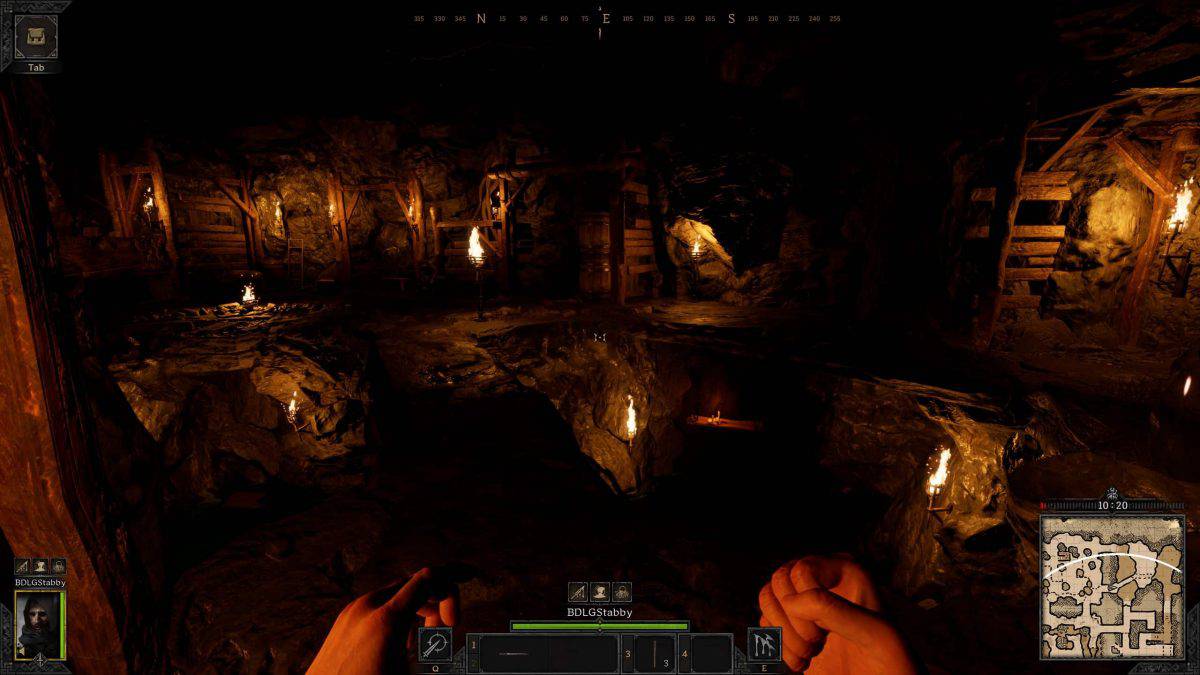
The northeast section of the cave has two floors. In order to access the second floor you have to navigate to the top part of the map and use the doorway. This room is fairly dangerous. There are death beetles, goblin warriors, goblin archers, and a goblin mage here.
There’s also a special random chest located in the very top northeastern corner on the bottom floor.
East
The east side spawn will spawn you close to the secret escape route. If you can not find a blue portal to escape through you can utilize the stairs escape. There are metal bars blocking the escape and they will not lift up until near the end of the dungeon timer.
If you take this route to escape you will see rocks fall and you’ll make your extraction. Be aware that only one person can utilize this method. If someone has already used it, you can no longer access it.
Aside from the extraction point, you will spawn near a dead body that you can loot.
There’s also a spider pot and some traps to be aware of on this side of the map. The east side also has goblin archers, goblin warriors, a zombie, and a goblin mage. Tread carefully when you see big groups. You do not want to aggro all of them. This could mean your death.
Center – Troll Cave Entrance
The Dark and Darker Goblin Caves feature a unique boss, the cave troll. In order to get to the cave troll you will need to make your way into the center of the map.
This area is filled with spiders, traps, and skeletons instead of the typical goblins found around the rest of the map. This area does have a spike trap that you can use to your advantage to take out the skeletons in the area.
The entrance to the troll cave is located down a ramp. There you will find a stone door. Behind the door is the boss.
West
On the left side of the map you’ll find several goblin archers, goblin warriors, and a lot of floor spike traps. Make sure you tread carefully in this area. Look out for traps wherever you go.
The ground floor in this area contains a lot of spikes, but also has several chests that can be looted. Also be on the lookout for wall spikes. There are several in the area. Make sure you’re crouching if you’re near a wall so you can avoid taking unnecessary damage.
Southwest
If you spawn in the Southwest spawn there should be a chest close by. Like other areas of the map this place is filled with Goblins. Both goblin archers and warriors reside here, so be ready to avoid poison damage.
There’s also a lot of Rubysilver and Cobalt ore in this area. This is an excellent area to farm the ore, but can be a dangerous one as well due to the concentration of mobs here.
The best way to exit here is to get out of there by exiting with either of the doors near your spawn.
South
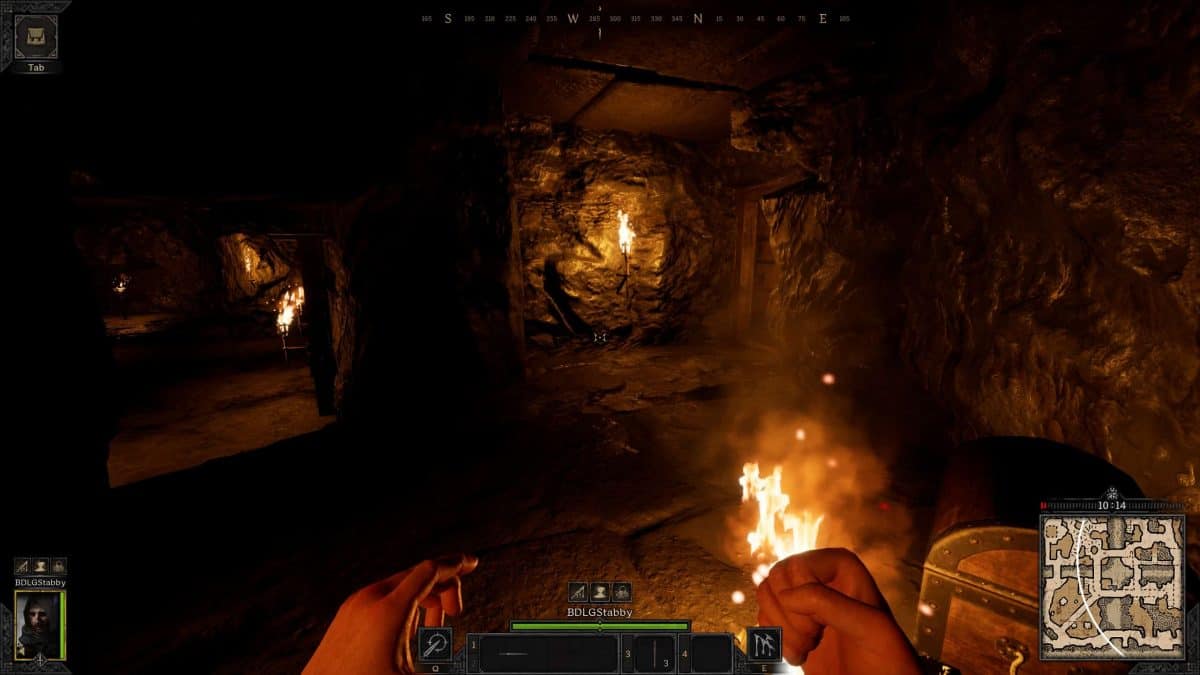
If you spawn here you will see a wooden blockade in front of you. There’s also a chest beside your spawn, so make sure you loot the chest before breaking the blockade and continuing the dungeon.
There are mostly goblin warriors in this area. However, there are a couple goblin archers if you move north, and a mummy as you move north into the center of the map. The mummy is guarding a shrine of protection.
Southeast
The bottom right spawn is pretty decent. However, it is riddled with death skulls, and a spider pot near one of the doors. You can aggro the death skulls one by one if you’re careful. If you can manage to take them out there’s a few chests in the area that can be looted. Lookout for wall spikes here. There’s a couple of them in the area.
As you move more north there’s also a couple mummy’s that you’ll have to deal with.
5×5 Goblin Cave Map
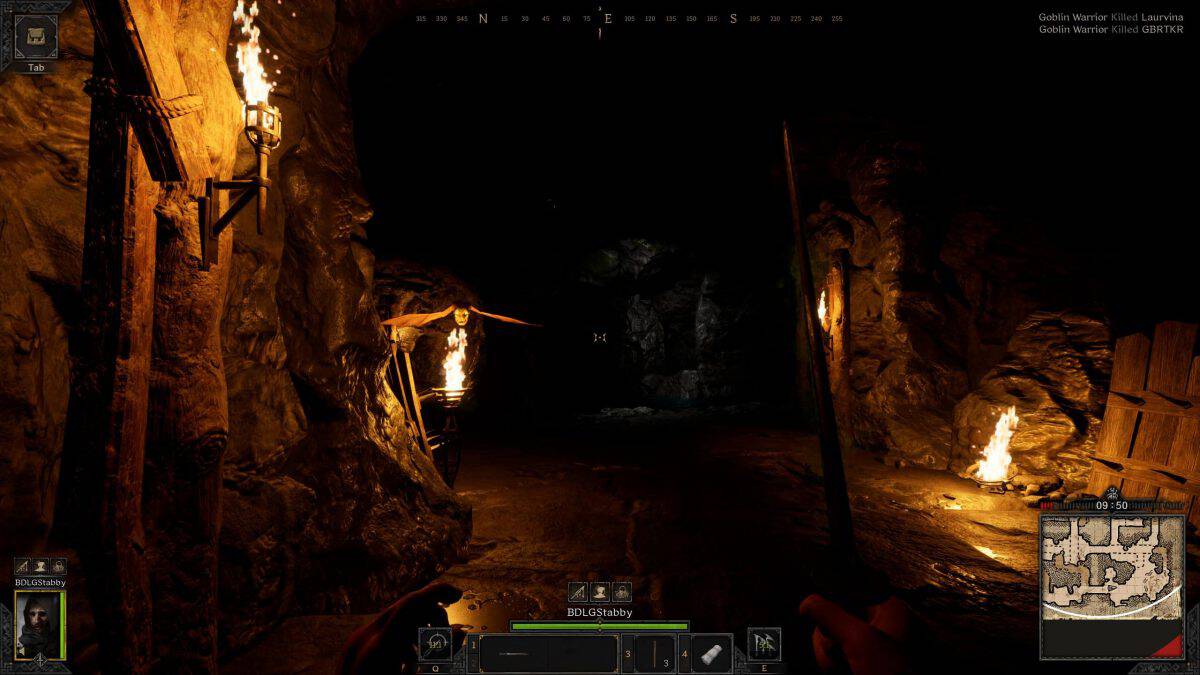
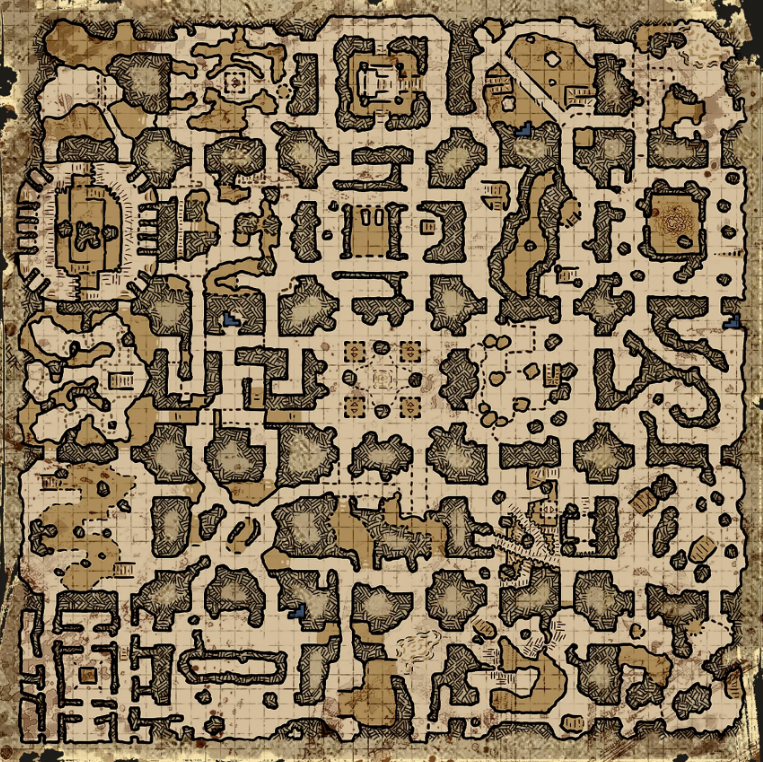
Currently, the Goblin Cave Map is played on a 5×5 map module. The map is fully timer based, with the cave collapsing when the timer hits zero – killing everyone inside. However, there is several points of interest to be aware of when navigating the 5×5 version of the Goblin Cave.
Boss Locations
In the 5×5 map module of the Goblin Caves, both the Cyclops AND the Cave Troll spawn on the map.
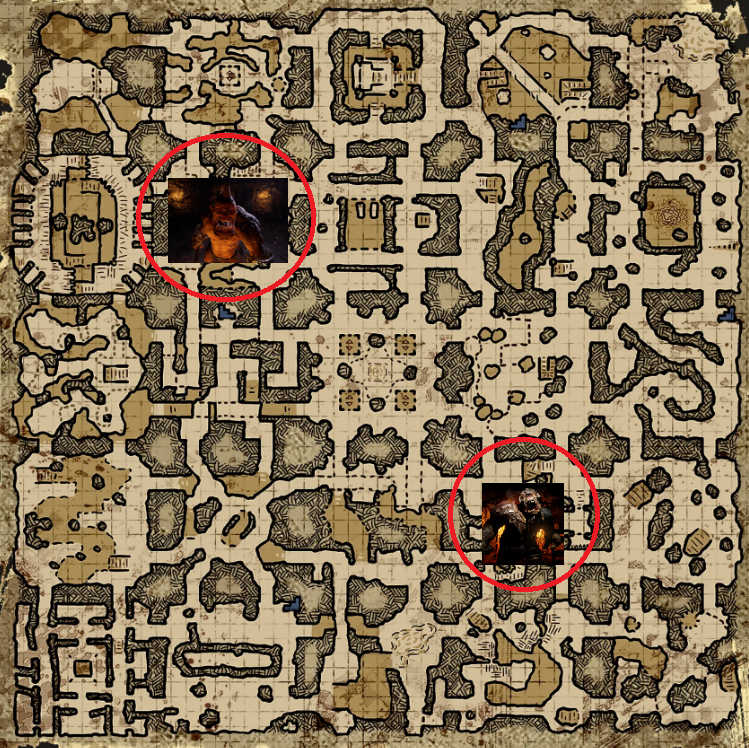
The Cyclops and the Cave Troll both live in their own separate rooms below the section of the map they’re located in. The Cyclops has tricky mechanics that can cause blindness or summon rocks to fall on top of you. Whereas the Cave Troll has a pretty basic kit that simply needs to be avoided at the right time. Killing both of the bosses (or having them die in general) during a match opens both a treasure room AND a room to farm Gold Ore nodes.
Central Elevator Room
The central elevator room is a great room not only to clear & loot, but to control in general. In the 5×5 module, the centre room has an elevator extract that periodically lowers and rises throughout the match.
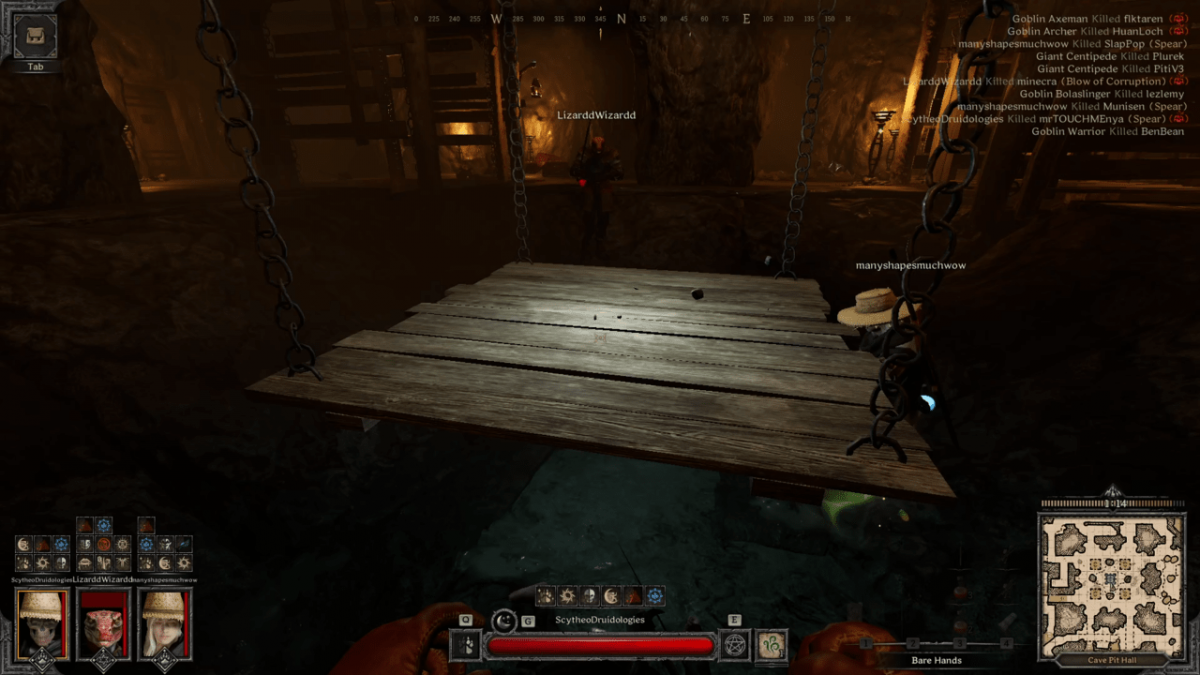
Surrounding the upper layer of the elevator room is several Goblin monsters, chests and Cobalt Ore nodes. As a result, clearing the top floor and looting it is fairly safe and easy. Controlling this room as a guaranteed means of escape while looting the nearby rooms can be a very consistent strategy for the map.
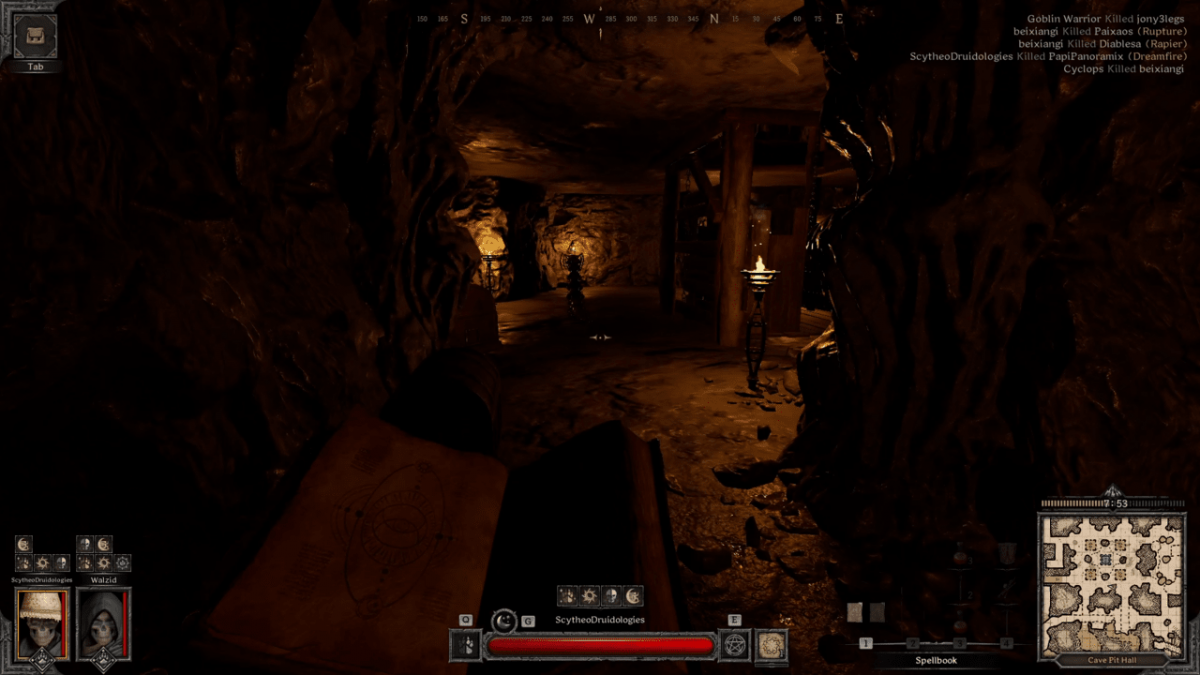
On the lower layer of the elevator there is plenty of extra chests and mobs to kill. You’ll find an Altar of Sacrifice there too. However, there is also two Centipedes in the corners of the lower layer to farm. Overall, this room is one of the best rooms to reach in the Goblin Cave. Between the lower layer and upper layer, you can easily fill your inventory up and farm 30~ Cobalt Ore. To move between each layer, there is four smaller elevators near each corner of the room.
Rope Extracts
A few rooms on the outer-edges of the 5×5 map module have extraction points in the form of an Escape Rope. These ropes become available with around 3~ minutes remaining in the match.
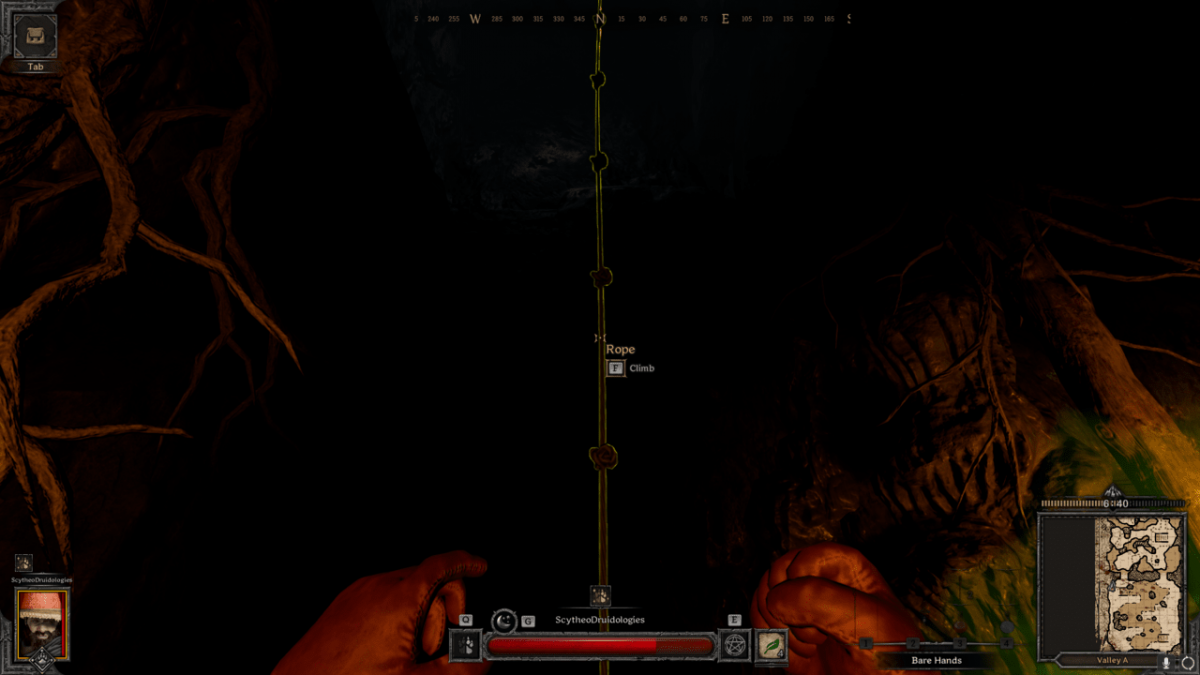
Interacting with the rope attaches you to it and begins lifting the rope. It takes around 17~ seconds for the extraction to complete. However, you can use the “F” key to drop off the rope should you suddenly be attacked by another player. The rope can only extract one player.
Conclusion
The Dark and Darker Goblin Caves can be a brutal experience for your first several spawns. Remember, learning the map is key. Once you learn the map and the spawns it becomes much easier.
If you’re interested in more Darker and Darker guides make sure to check out our complete Dark and Darker guide section here.

